Looks excellent @Duimon. What does the added Gel layer do? I’m seeing a lighter more translucent look to the “liquid crystals”. Is that because of the additional gel layer?
Fantastic!

Looks excellent @Duimon. What does the added Gel layer do? I’m seeing a lighter more translucent look to the “liquid crystals”. Is that because of the additional gel layer?
Fantastic!
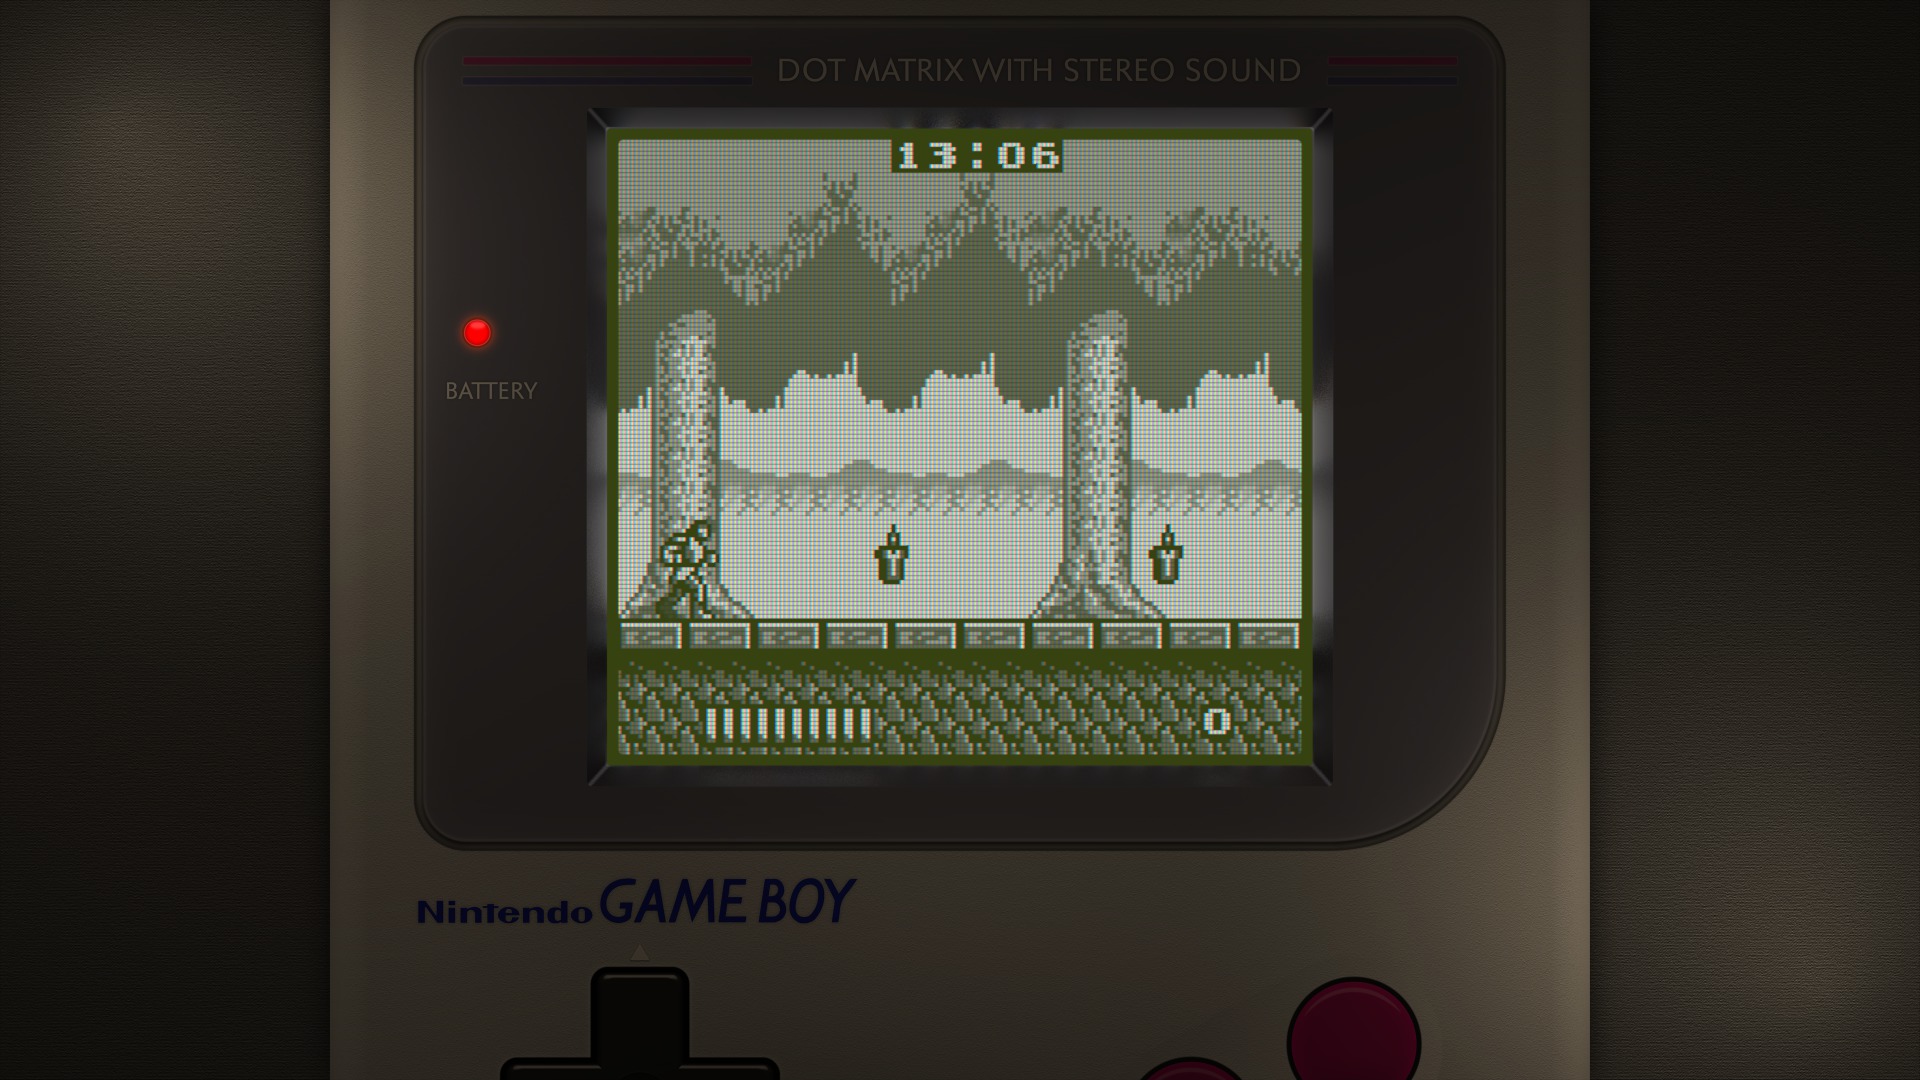
The Gel layer is a gameboy green-ish image.

In Additive blending mode, with the right opacity, and the right color of diffuse image layer, it lightens the blacks so they seem semi-transparent.
I increased the screen black edge width and used the parameter that puts the diffuse layer over the screen black edge… then I turned on the tube shadow image and scaled and positioned it so it was on the top an right side.
I also turned on colorize for the screen diffuse layer and tweaked it’s color to be more like the border shader.
Then I turned the bezel height and width down to 20.00.
All on top of my existing tweaks for my Game Boy screen.
It’s pretty amazing that the Mega Bezel has all these features.
Even without the reflection it does a good job of showcasing the features. 
BTW. The rest of the Mega Bezel features, not the reflection, was my motivation to do devices with this type of screen. In the end I decided that they could benefit, with or without a reflection.
I’m really glad you took up the challenge even though I haven’t played nor emulated a Game Boy game in decades. I still like to see things look the best they could be though and I think you’ve nailed this one and successfully given us a fine dmg alternative!
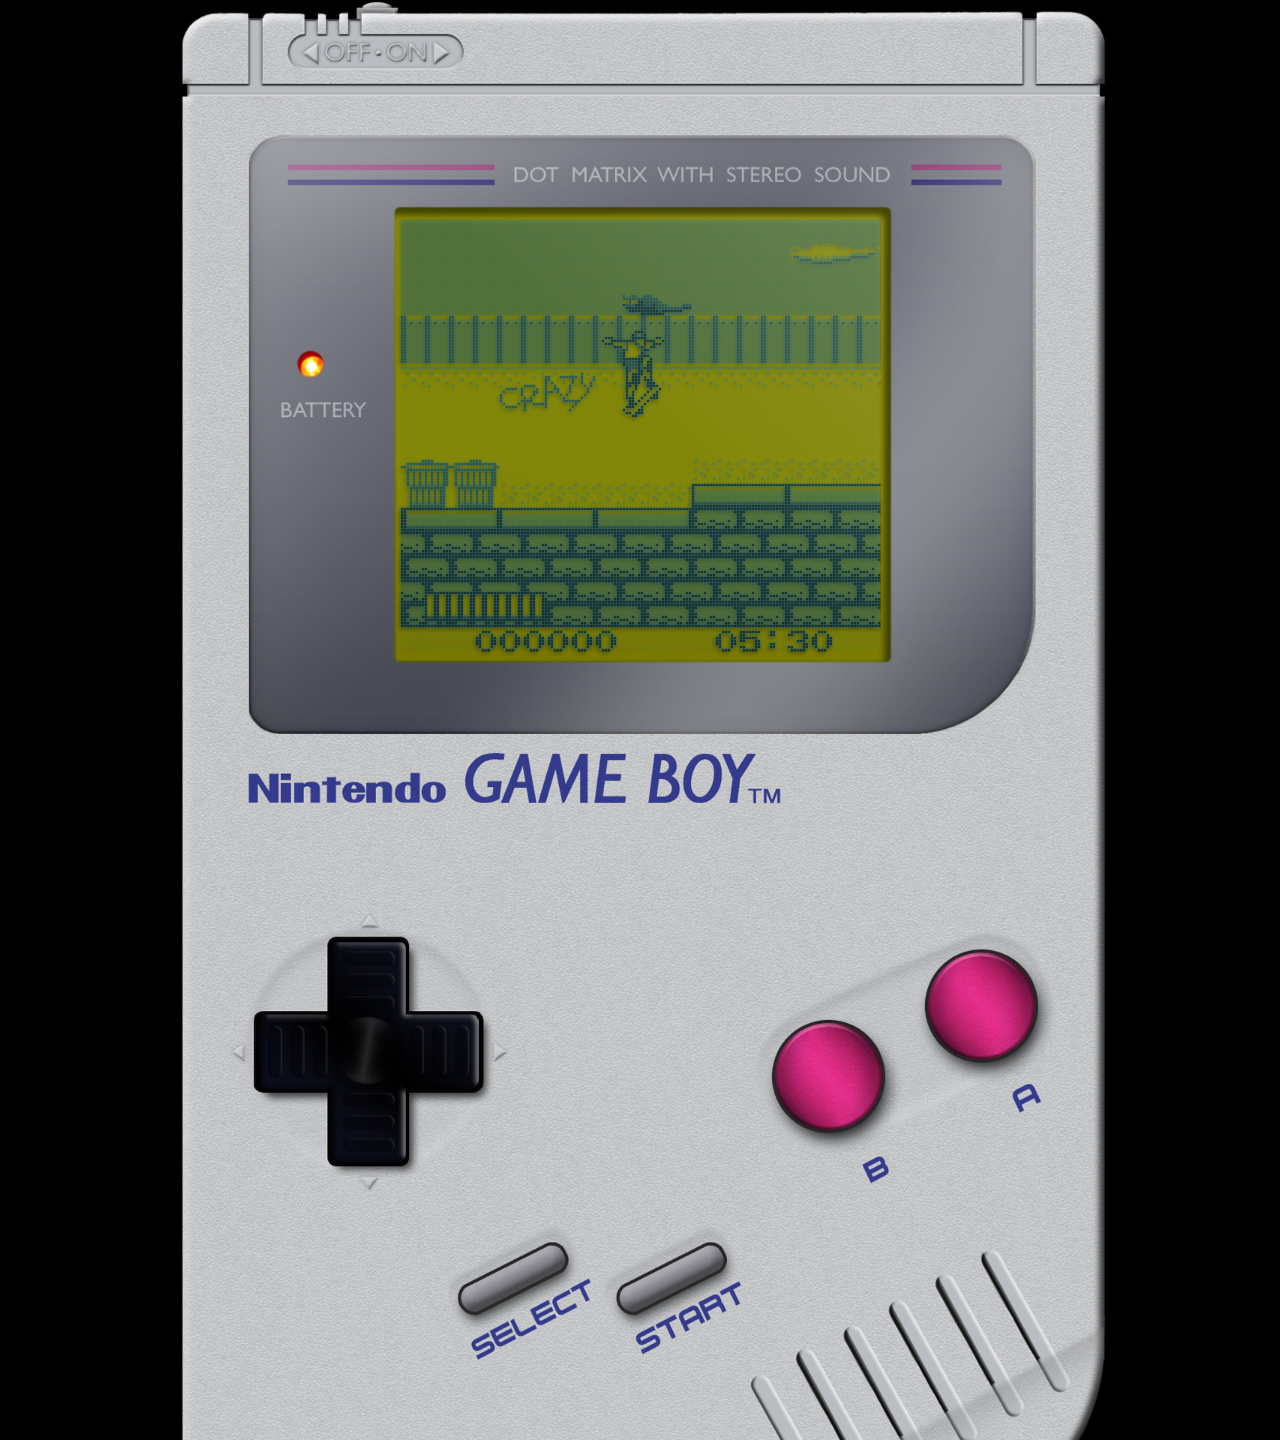
Before (Old)
DMG
After (New)
I think it looks pretty good. I am going to tweak it a bit and I have in mind to do a custom night image render with a single spot highlighting the screen. It may give us a natural looking night mode for this. (Keep us from having to turn the Ambient multiplier down on the Diffuse and Gel image layers.)
Yes I was downloading the master as a zip. Used to work fine. I’ve installed the Git software now. Seems to work. Thank you ! =)
If it works using the Git method then I think any error with the ZIP method is beyond my control. In any case, using the Git method will make updating more bandwidth friendly.
I don’t know what GitHub would do if my bandwidth started getting in the TB range. 
I did some more work on this.


I changed the color of the Gel image and lowered the CRT on Diffuse amount to actually lower the CRT opacity instead of just faking it.
For the night I lowered the Diffuse Image brightness. It’s dark but that is more like how it would look in reality. (It looks brighter in a dark room.)
To be honest I don’t have any way of telling if there were any errors. The command line didn’t give any errors, as far as I know…
I did zip the downloaded contents to a file locally, with no error. I am assuming something to do with a max master zip size.
There are limits to the size of repos, the size of individual files etc.
This is one reason I have never created an actual GitHub release. If I did just 3 versions it would be almost 15GB. I need to conserve that space until I finish this. I have no way of knowing how large this will end up being.
I was thinking that uzebox_all might be better without the LED and just set LED Opacity to 100 on those. Just a thought.
thank you very much for your help Duimon, and for your professional work

That’s the way It is set up now. So the color of the LED can be changed.
Technically, I could do this to most of my presets and graphics but I don’t really intend for the colors to be changed on all of them, so I won’t.
There is also a visible difference in the LED appearance when it is not built in to the background. (Both in normal mode, and night mode.)
Especially the LED outer glow.
I put this thought through because if I changed the Background Layer color the LED would change as well, on Custom-Bezel_002, PVM20, and TM20. I found a way to do it and keep the color without removing the LED from the Background.
Edit: Don’t know if its intentional or not but the LED is still attached to uzebox_all image that is why the LED changes with the Background.
Not desirable but necessary. This image is used in presets that don’t have enough layers left to split the uzebox into 3 separate layers.
In these you won’t be able to change the color of the uzebox with the same freedom.
The Decal layer has to exist if you want to increase the brightness of the Device and still keep the Decal black.
I could still separate the LED though.
On a related note.
When I designed the PVM presets it was my intention to showcase the Mega Bezel as much as possible. For this reason I have the drop shadow separate so it can me scaled etc.
It occurs to me that this is a feature that may never get used.
At some point (Not soon.) I will bake the shadow into the Device Layer and free up the Top Extra Layer.
I have done some more work on the new Game Boy style screen.
I think it is about as good as we can get without actually having the DMG shader.
I have also done some more work on the Apple II.
After looking at some more reference images I removed the texture from the bottom half of the floppy drive face.
Then, for the background, I created date appropriate software manuals and swapped out the 3.5" floppy disk box for 5.25".
Finally, I tweaked the CRT settings to be more in line with the monitor technology. (Removed the mask, adjusted glow and scanline properties.)
I would say that is what my mine gripe would be. I can see why uzebox_all image is necessary seeing why those three need so many layers.
Apple II is in the repo.
I also added default cropping to the Tomy Tutor. This means that it won’t work correctly with other content. (Which shouldn’t be an issue.)
I will do this, but I caution you to take care.
I will not consider doing the same thing to all my graphics and presets.
Keep in mind that I have almost 5000 presets. Even with search and replace tools, making even simple changes to all of them is work I won’t do without a very good reason.
Not to mention the time it would take to go into all my source, make changes, export, and do post on the graphics.
Please don’t take my time and effort lightly.
I am not asking for all of them just Uzebox.
hey i’ve managed to get this far with apple2 in retroarch/mame but can’t seem to get the games to run any idea how i can do this, i’ve checked for a solution but everything i read is not working. some people say using a certain bios will work (apple2e) but not sure how to achieve this in retroarch mame core. thanks for any help you guys can give