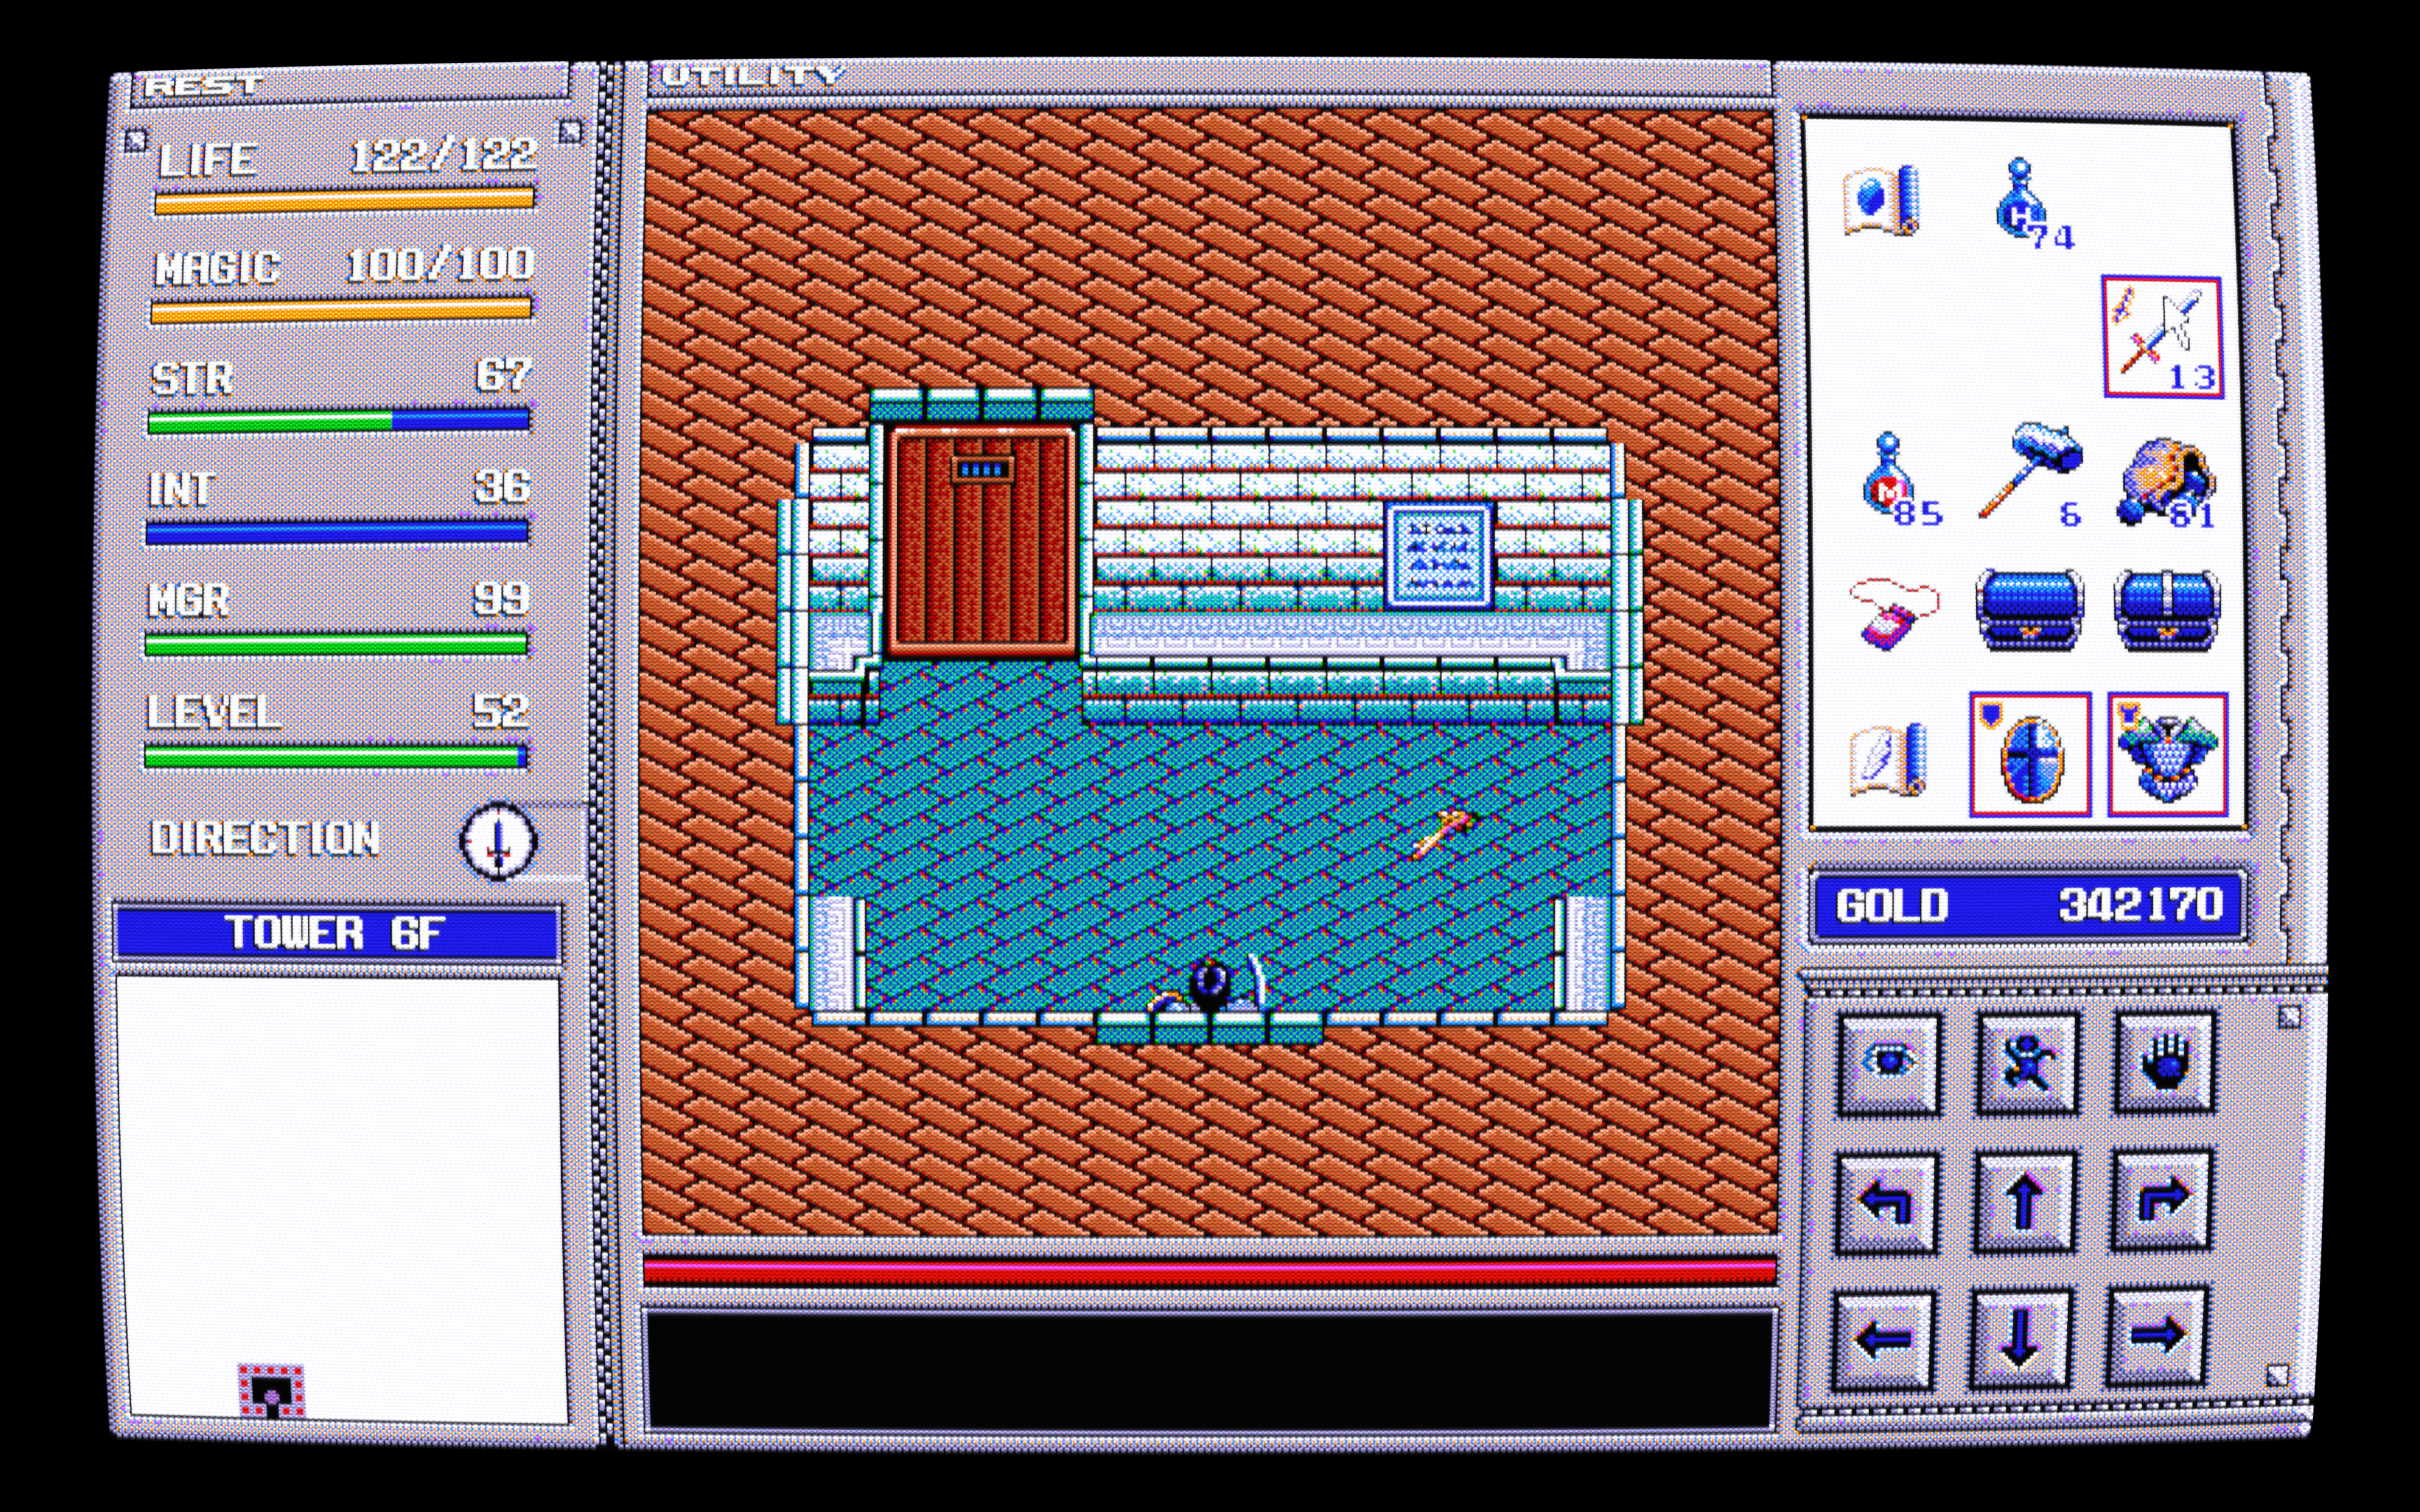
Nice I’m glad you’ve been enjoying them. I can’t even pick a favorite because I constantly switch between them depending on the system and game but yes RF is perfect for those really old systems up to snes/genesis. S-video presets I designed them with PS1/Sega Saturn in mind.
That’s correct, RGB is basically like my “arcade monitor” preset so there’s no blended dithering going on there.
On another note I think I finally managed to put together a uborder preset:
That’s a 1080p preset, I had to change from using crt mask 6 to 11 because the mask was looking too “chunky” on 6 to me on that smaller screen. I guess I’ll run into similar issues when trying to make 1440p and 4k versions.
Looks like things have been made easier to create them though as there’s a option to just append uborder under any preset you want, although I dread having to do this one by one for each preset. Maybe I’ll figure out a way to “multi-append” them using notepad++ or something.
Yes, 1440p needs Mask 9 and 4K needs like, Mask 13/14. Depending on the size of your screen. Higher TVL is needed for bigger screens because they become unrealistically spaced out for what a CRT would have done at that size.
Ah ok. Thank you that already saved me some time troubleshooting and guessing. Adjusting the mask size seems to be the only hassle dealing with uborder so far, I also turned off most of those “lighting” settings uborder comes pre enabled with, my presets are already bright as it is don’t need any other brightness. I guess users will just tweak things to how they like it when the time comes.
Yeah there’s a bunch of options in the parameters to lower or raise the reflection effect to your liking, I left those settings at default. My main concern if nothing else is making sure the masks on each resolution type fits the screen properly and reducing that moire effect as much as possible from too many “curving” effects.
Changed Output to Vulkan, Updated slang shaders, updated to latest @guest.r shaders, and implemented @sonkun shaders. Still, I get the error “Failed to load preset”. This only happens with sonkun shaders and no other shader.
Welcome to the forum. Even though I’m currently working on a new pack to replace that old outdated pack I’ll go fix that real fast. That failure is due to a extra shader pass I’ve included that has now been moved to a completely different location but my presets are so old that it’s still trying to find that shader pass in the old location which is probably what’s triggering the failure. It’s a really easy fix I just never fixed it but I’ll do it today.
Honestly I’d rather you try out the new samples I’ve been working on that I’ve posted above instead, I’m currently switching things up experimenting with new looks and have been posting sample packs for everyone to try out as I go along my journey.
You can try that last sample pack here:
In order to use them though you’d have to also gey guest.r’s latest shader update here:
After installing guest.r’s update, unzip, copy and paste my presets of your choosing into just the root “shaders” folder not “shaders_slang” then load them up from right there.
Edit: Just put up a new working link in the first page, those should work however that old pack will most likely only work with that corresponding old guest.r shader update I also have linked on the first page, I’m not sure if they’ll work with guest.r’s latest update. I didn’t test anything at all just replaced that shader pass I was talking about so just letting you know.
Trying your latest pack and noticed some oddities when playing PC-98 games.
For the first image, the default interlacing of 5 causes the screen to flicker rapidly. Setting it to 4 fixes it but I noticed that the colors are really blown up. The last screenshot if of your older pack and that one looks fine.
I did, just wanted to point it out as a possible side effect of changing the default from 4 to 5 compared to the older pack. But beyond that, the colors being vastly different is noteworthy I feel.
So the name of the game for today’s sample pack is contrast. I’ve been wanting to try tweaking some of that in for a while to try and clean up some of those “shaded” areas but wasn’t sure how to balance it with the brightness but I think I may have found some middle ground.
I’m honestly not sure if including these are worth the hassle but let’s see what some of you think. Before using them go to settings/video/scaling/aspect ratio and set it to “full” to get the whole intended image. There’s these weird horizontal thick lines that appear every few lines going down the image that I can’t seem to get rid of, not even interger scaling fixes it.
But anyway you guys know the drill unzip copy and paste to use them. Don’t use interger scaling, aspect ratio should be 4:3.
I notice that flicker as well, I assume it’s the way guest.r intended for that particular version of Interlacing to react, I also notice if the content isn’t getting full fps the flickering becomes even more crazy. Number 4 was my favorite simply because it kept the screen still no matter the content but it blew the brightness out of proportion, not even I like that much brightness lol.
Out of all choices though 5 is the best looking one to me as it keeps the colors looking the same as it looks on non interlaced content. And wow haven’t seen how my old pack looks in months, things definitely look different now.
Thanks man, I think I spent about 2 days strictly playing with just contrast. As soon as I enabled it the image got dark instantly so my first obstacle was to get that brightness back but still keep the effects that contrast gives and the results definitely show. That shmup image with the reddish sky and ground shows off the effects the best I think.
Tweaking shader settings is probably the most artistic thing I do these days, I treat the guest.r shader like a painting where I just try out little things here and there, like a Bob Ross painting episode lol.
You may have to repost your image on another site or something, it doesn’t show here and clicking it brings me to a non working link
I suppose you could also add scanlines to interlaced content with the “Internal Resolution downsample divider” setting at 1.00 if that could help as an alternative and your game should more or less look like this: