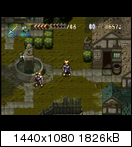
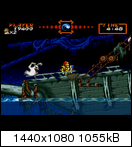
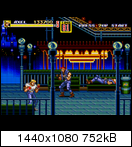
Added RGB Mask to CRT Shader

I decided to switch the horizontal filter to Lanczos in order to deal with the harsh blocking that appeared in games with lots of gradient shading. It was a problem that was especially noticeable in SNES games due to the lower horizontal resolution:

http://screenshotcomparison.com/comparison/101678 Mouse over to see the new filter.

The sharpness is still adjustable in both directions, and the shader is still pretty fast.

Setting the following will use the previous filter which is faster: #define ENABLE_LANCZOS 0

Link to the shader: https://github.com/libretro/common-shaders/raw/master/crt/crt-easymode.cg

Some screens:

I wanted to say thanks for this excellent shader. Combining it with hunterk’s interlacing.cg and tweaking the settings in a way that I am sure was not intended, is the first time I’ve actually had something which is close to an approximation of a real CRT without some awful artificial bloom effect or a noticeable alteration of the original colors. While I understand the complexity of trying to approximate a CRT on an LCD display, the output from most shaders is so blurry that I can’t stand to look at it - nothing at all like a real CRT in that respect.

The way I am using the shaders sacrifices huge amounts of resolution and brightness, and places some restrictions on scaling (horizontal scaling must be a multiple of 3) but as long as I crank up the backlight on my TV to compensate for this, it looks fantastic. One side-benefit I have found is that combining it with interlacing.cg (at 4x nearest) actually means that you can get away with odd vertical resolutions rather than requiring them to be even for the scanlines to look good.

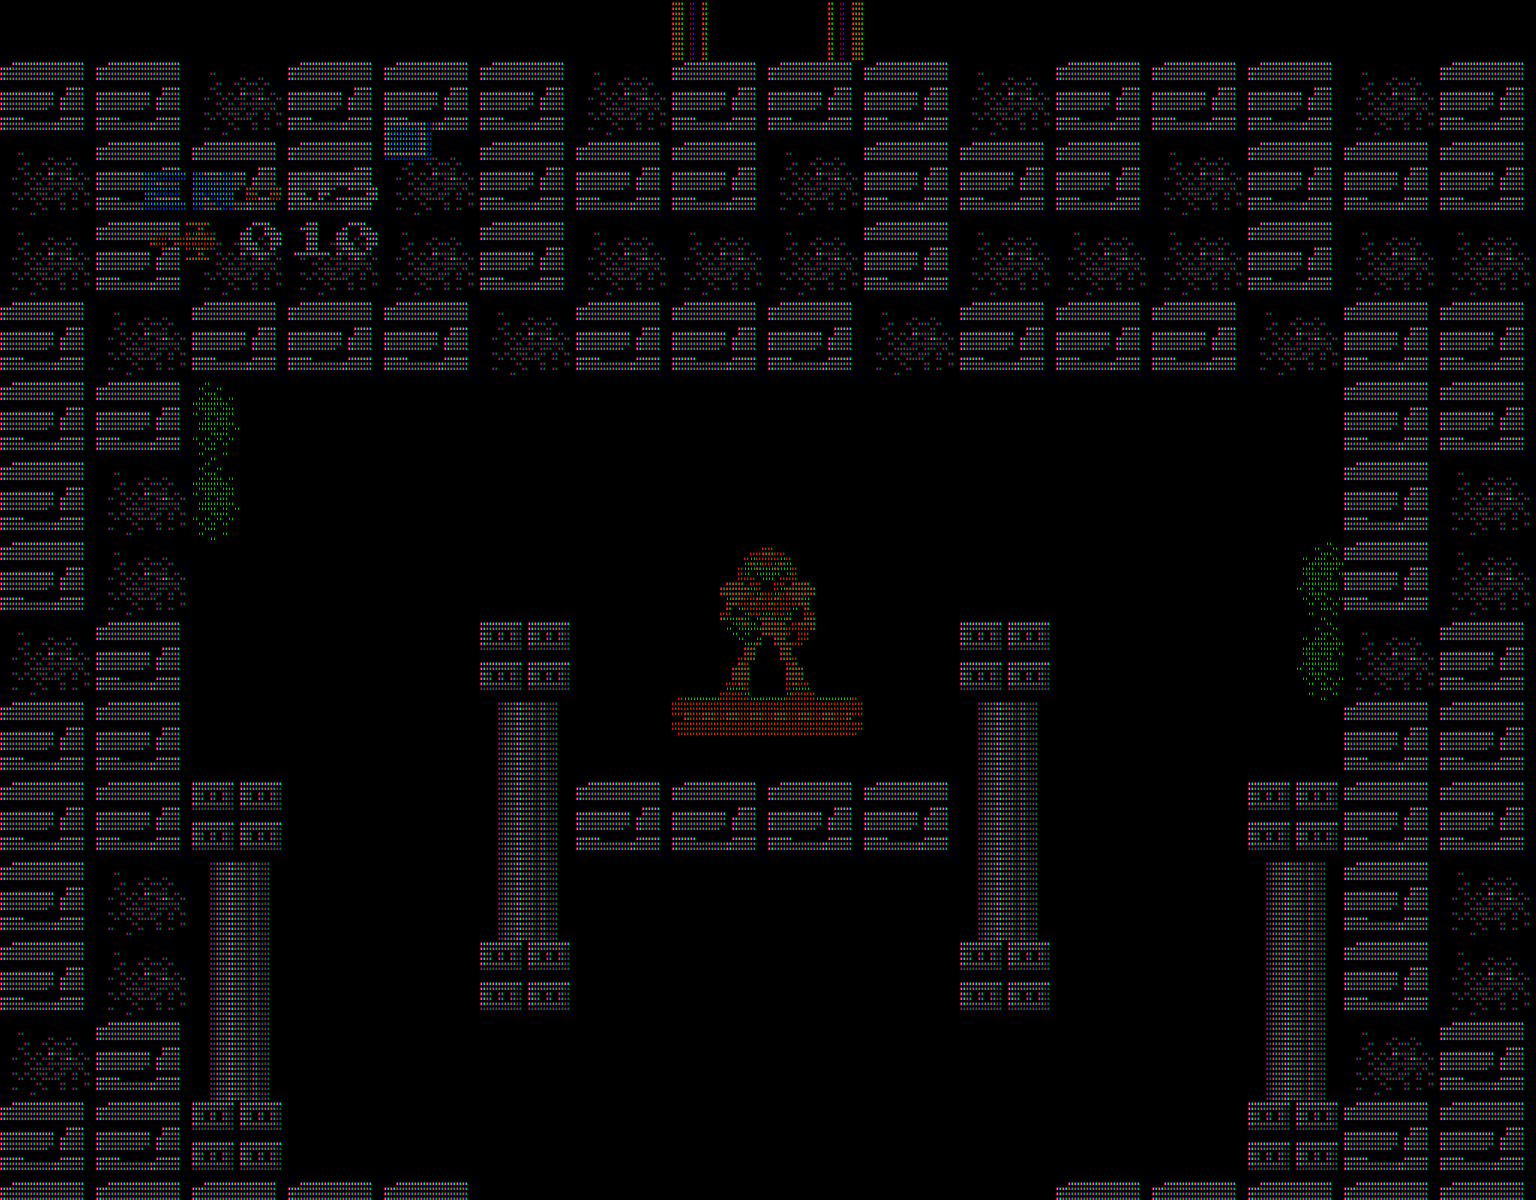
This is a good example of how it’s just throwing resolution and brightness at the problem. That 1536px image (NES at 6x5) is effectively representing a 512 TVL CRT. To represent a really high-end 900 or 1000 TVL CRT, and keep the aspect ratio close to 4:3 you would need a 4K or even a 5K display, depending on the system you’re emulating - and you’d better hope it has a bright backlight.

I was wondering though: is there any way to switch this from rendering an RGB mask to a BGR mask? For some stupid reason my LCD uses BGR pixels instead of RGB.

And just because I was curious, I tested what it would take to actually render a Genesis game in perfect 4:3 like this - you need to scale up to a 42x45 output in RetroArch! (13,440 x 10,080)

But I’m sure that you would agree, it looks a lot like macro photographs of CRTs - only this would be the highest resolution, most perfect CRT ever produced. (almost 4500 TVL with zero distortion) However you don’t have to go that far as long as you are willing to accept close enough to 4:3. After all, most CRTs never had the geometry perfect anyway.

1 Like

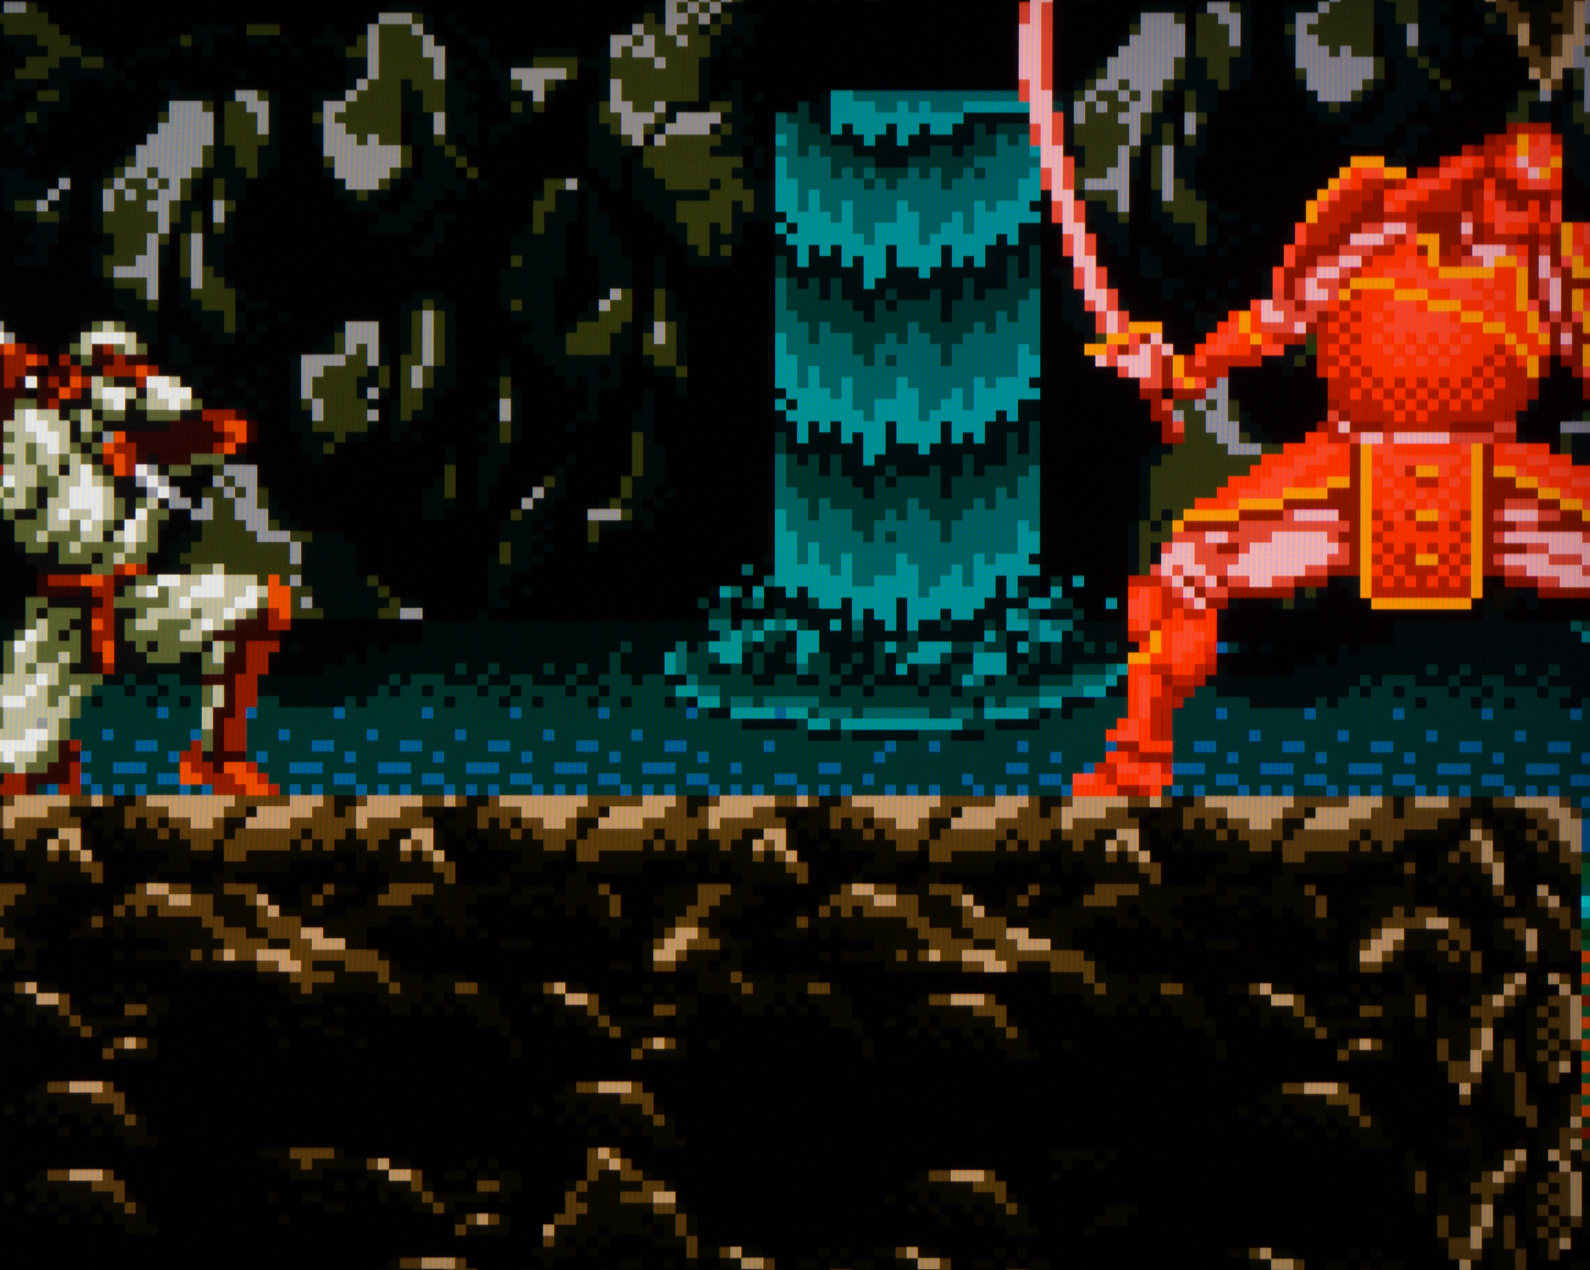
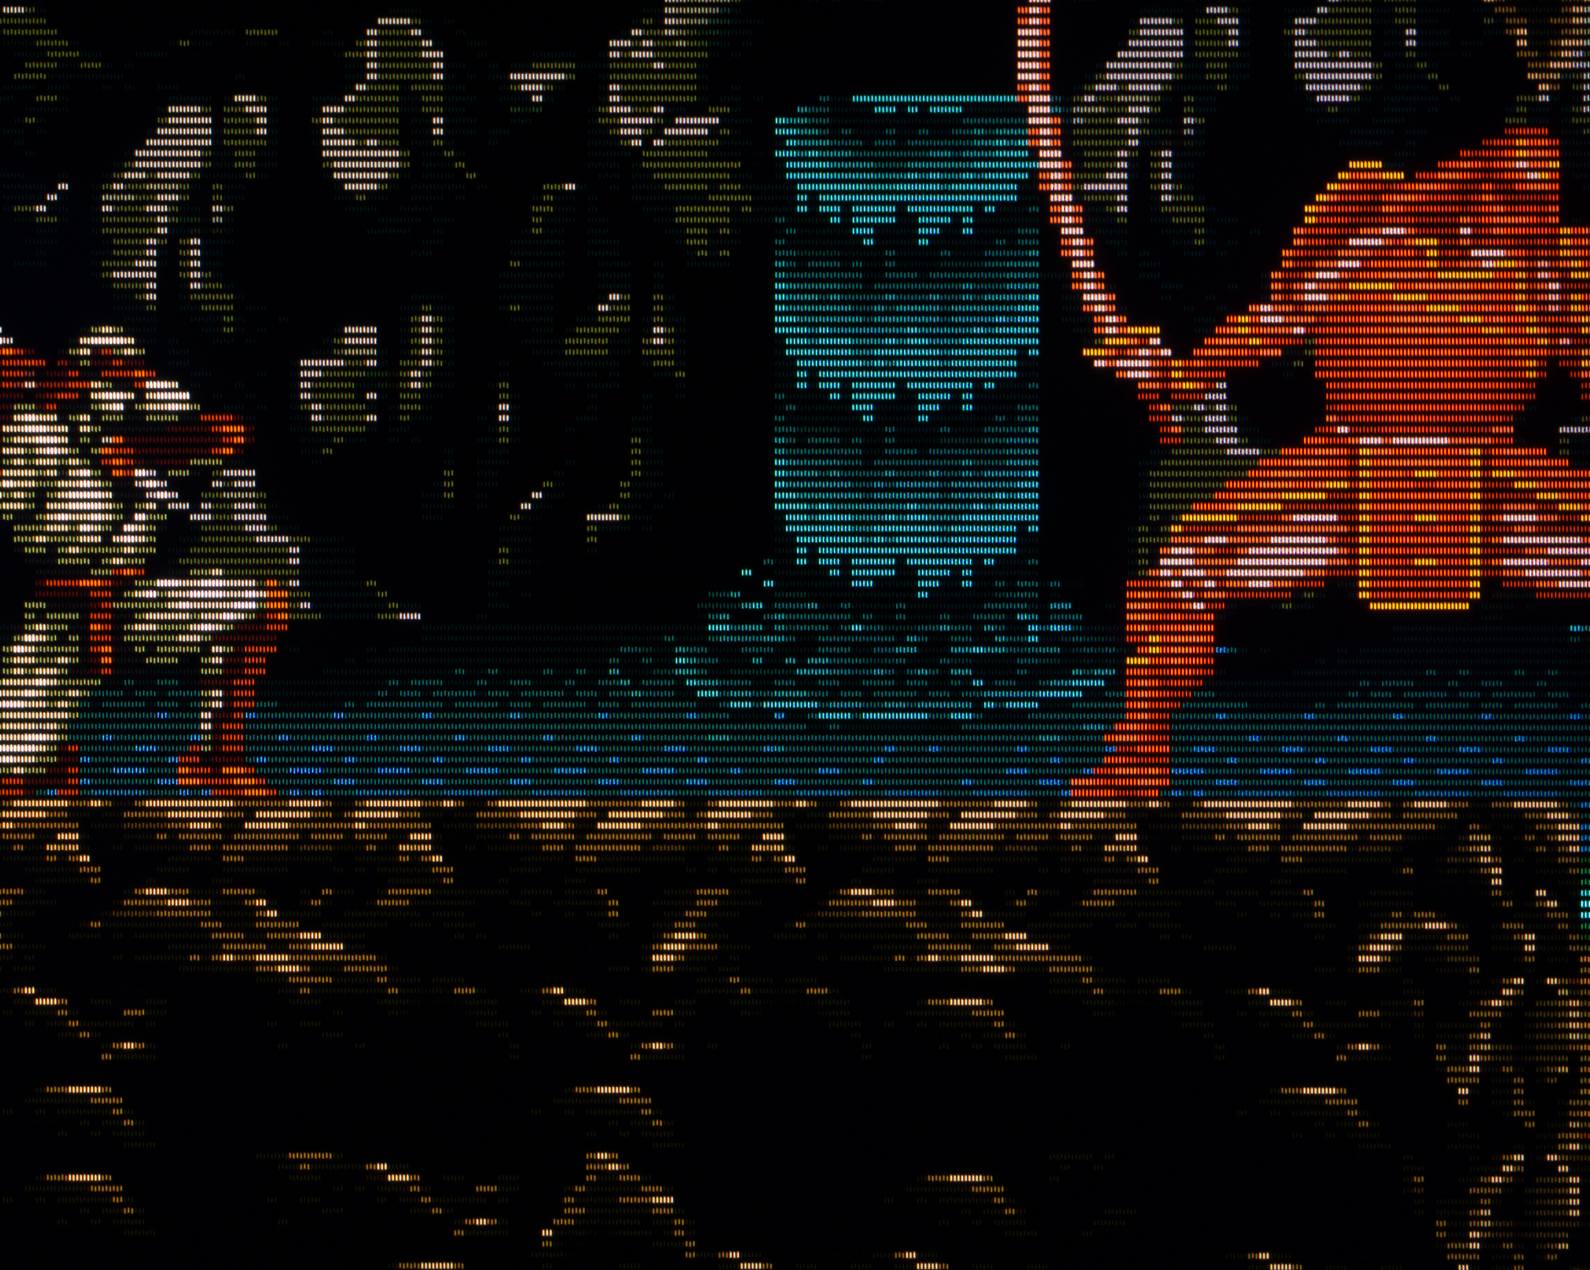
Just to show that it is not quite as ridiculous as the Metroid screenshot may suggest, here are photos taken first with no filtering applied at a normal backlight setting (3/10) and then with the RGB mask and the backlight up at 10/10.

Any color/brightness difference are due to the camera instead of the photo. Aside from the “texture” which is added by this process, it’s a very similar brightness. What is really surprising to me is that after using this for a few days, going back to unfiltered sprites actually looks “soft” in comparison.

It should look even better if I could set it to output BGR though.

1 Like

Sorry for not replying sooner, I was having login trouble.

You can change the order to BGR by replacing this block of code:


    if (dot_no == 0) mask_weight = float3(1.0, mask, mask);
    else if (dot_no == 1) mask_weight = float3(mask, 1.0, mask);
    else mask_weight = float3(mask, mask, 1.0);

with this:


    if (dot_no == 0) mask_weight = float3(mask, mask, 1.0);
    else if (dot_no == 1) mask_weight = float3(mask, 1.0, mask);
    else mask_weight = float3(1.0, mask, mask);

Turning up the Scanline and Mask strength and cranking up your display’s brightness is a neat trick. I’ve played around with that in the past, and the results can look quite nice if your display has brightness to spare.

1 Like

Works great thanks. Strangely, color fringing is more noticeable using BGR rather than RGB - even though I have previously confirmed that the display starts with blue subpixels on the left edge of the screen.

Not to resurrect and then derail a three year old thread, but, what the heck.

I’ve also been using the “backlight trick” for a while now to compensate for the lost brightness resulting from applying scanlines, and it works very nicely with my ASUS VG248QE. The only downside is that this raises black level somewhat, but this isn’t noticeable when playing a game and it’s a necessary compromise.

With HDR, it will be no problem to compensate for the lost brightness resulting from scanlines and mask effects. Current LCDs are just barely bright enough for CRT emulation and are easily washed out when mask effects are applied. A strong backlight and a dim/dark room are required.

Here are my current settings (CRT easymode is just a bit too much for my Intel NUC6CAYS):

Video Settings:

bilinear filter: off

integer scale: 6x5

fullscreen: on

Shader Settings:

Shader #0: Zfast CRT+dotmask (see: “combining shaders”)

Shader #0 filter: nearest

Shader #0 scale: don’t care

Parameter Settings:

X axis blur: 0.00 (this adds some slight blur compared to nearest neighbor but is nowhere near as blurry as bilinear filter)

Scanline darkness low: 9.00

Scanline darkness high: 8.00

Dark pixel brightness boost: 1.00 (off)

Mask effect: 0.00

Mask/scanline fade: 0.60

Lottes mask effect: 2.00 (aperture grille)

Lottes mask dark: 0.20

Lottes mask light: 2.00

edit: updated my shader settings.

1 Like

Actually that would be a 360 TVL CRT but with perfect sharpness. :stuck_out_tongue_closed_eyes: TVL is the number of vertical lines that can be drawn in a horizontal span that is equal to the height of the display area (which is 1080). 1080 divided by 3 LCD pixels per emulated CRT phosphor triad = 360.

I’m curious about the shots in your next post; can you actually see the emulated RGB “phosphors” when viewed up close? I’m assuming that you can’t see them due to the camera.