
Hi there,
I hope it’s fine when I use my first post to present a new shader chain, that I submitted a few days ago. With so many great CRT shaders already available, the “market” seems quite saturated. However, I hope that it will still bring something new to the table.
CRT-Yah! - pronounced like the German Ja! (Yes!) and an acronym for “Yet Another Hyllian” - started as a small personal modification of the original CRT-Hyllian about three years ago. My goal was not really clear from the beginning and I stopped working on it several times.
In the end, the result was a shader chain with many additional features, but as few settings as possible, without being limited to a certain look.Another important aspect is that most effects are automatically scaled depending on the input and output resolution, also their orientation is adjusted automatically.
It goes without saying that this shader chain would not have been possible without the previous work of Hyllian, The Maister, Hunter K. and others. Credits are given in the individual files. If you spots an oversight, please let me know.
Features:
-
Scanlines (of course): In its core still based on the original interpolation method, but the parametrization has been changed. One noticeable change is the continuous variable interpolation between Box, Hermite, Catmull-Rom, Mitchell-Netravali and “quasi” B-Spline filter.
-
Mask: A high-resolution procedural generated mask for Aperture Grill, Slot Mask and Shadow Mask, with various sub-pixel variants. The mask can be applied additive or multiplicative.
-
Color Adjustments: Simple Saturation, Contrast, Brightness settings and some that let you change small nuances, like Color Overflow, Color Burn (for Scanlines) and Color Bleed (for Mask).
One other important setting is the Brightness Compensation, which approximates the brightness change caused by different mask and scanlines settings.
-
Color Profile*: This is based on the LUT shader by Hunter K. and you can switch continuous between NTSC, Normal and Trinitron.
-
Color Temperature: Switch continuous between the white points D55 (warm), D65 (normal) and D75 (cold).
-
Color Deconverge*: This is based on the MAME implementation, with simplified settings for linear and radial deconverge. The direction of the linear deconverge is fixed in direction of the scanlines with red and blue diverging into opposite directions while green stays unchanged.
-
Phosphor Burn-in*: This is based on an implementation by Westley M. Martinez, where you can configure the amount and the decay of the burn-in effect.
-
Halation*: This effect uses the blur shader code by Hunter K. and you can configure the blur amount and diffusion.
-
NTSC Effect*: This is based on the NTSC-Adaptive shader by Hunter K. which itself was based in the NTSC implementation by The Maister. My modification supports both vertical and horizontal orientation within the same code base, which allows to switch orientation on-the-fly. The settings are striped down to a profile (Separate Y/C, Composite and Radio Frequency) and the quality (Two Phase, Three Phase, + Field Merge).
-
Other Effects: Curvature, Vignetting, Noise, Corner Radius/Blur, Scanlines Offset/Jitter
You might have noticed that some features are marked with a star. There is also a single-pass variant of the shader in which those effects are missing.
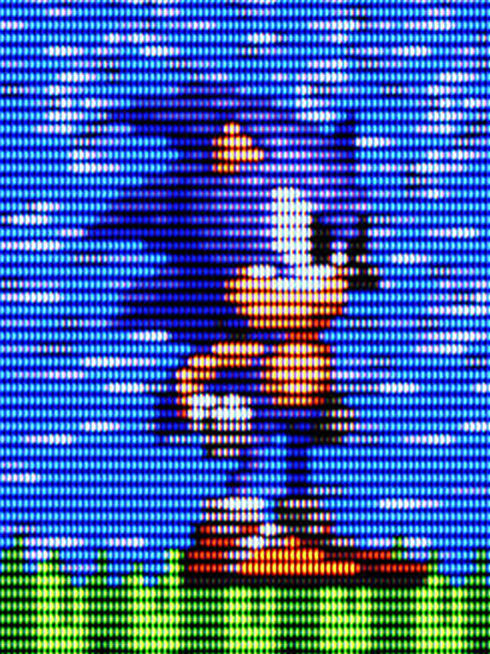
Screenshots:
The shader chain comes with four presets.

The overall brightness of all presets is quit similar due to the brightness compensation. Here is another direct comparison for the “pure” preset, which is especially dark when turned off.

As mentioned above, the scaling of effects is done automatically, but you can adjust the scaling manually as well. This example shows how the “pure” preset will look in different screen resolution.

Here is another example, where the scaling setting has been manually reduced to fit the low-resolution.

In this example the high-resolution input has been automatically down-scaled and then again manually up-up-scaled.

Yet another example, that uses the high-resolution mode of the SNES to display a semitransparent UI.

This example uses the same default setting, but the orientation of the effects like scanlines has been automatically adjusted.

The following shots demonstrate the procedural generated masks with the “pure” preset. (open in new tab)


And here are some other screenshots with the default “medium” preset. Enjoy!


 I would be glad to look at your settings and tweak the defaults or add them as a separate preset. Maybe you can elaborate a bit on the “misconfigurations”.


 Can it simply be added to a chain so that any crt shader will take advantage or does it need to be implemented by the dev?