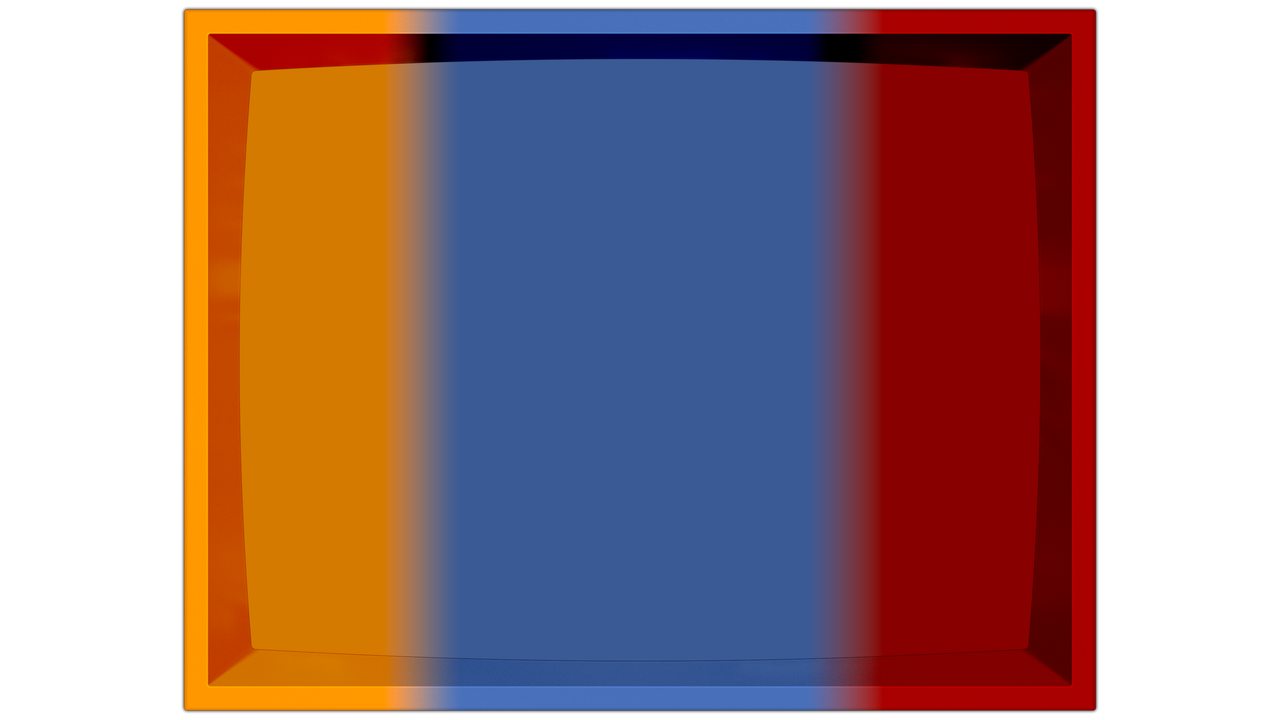
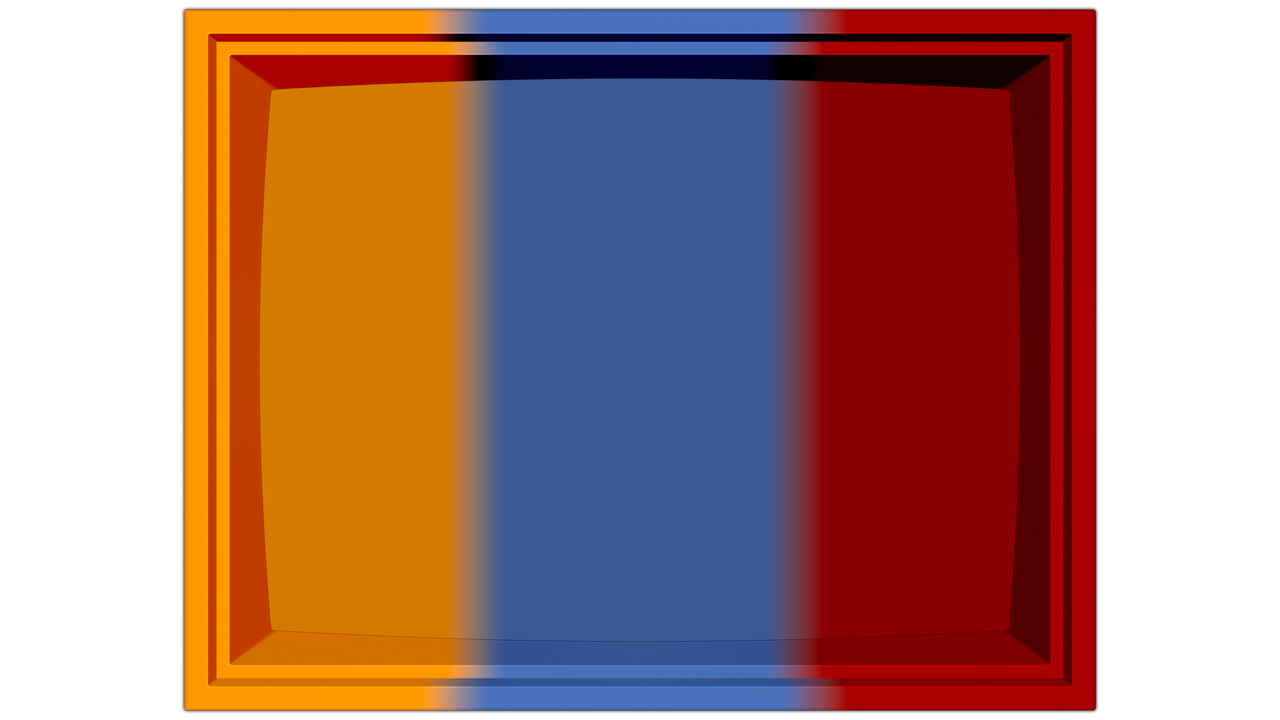
It really depends on what you want. It could be as simple as this…
In other words a simple Gradient. I can literally make that in a minute.
Edit: Just checked the Custom Bezel 1 Code to check the images. I see the image is applied as Frame Texture Image.
Just a sec.
Try this.
Use it as the Device layer in one of my [Bezel] presets, order the layer under the CRT, turn the opacity of the bezel and frame to “0”, and scale it to match the reflection. It probably wont be possible OTB on the dual bevel bezel but we could make something work. Of course you will have no control over bezel or frame width etc.
BTW. I took very little care with this so it is just for testing.
Ohhhh, that really gives me inspiration for the Turbografx one, except going vertical not horizontal.
I was thinking the double bevel bezel will probably have to be applied to the image.
Edit: Added the red Dreamcast Logo to the right.
Are you talking about transitioning between the two colors that the logo is made of?
We can’t do it the old way, but I can create a static version like this image, when I have the time.
OK, so I understand the process on how to get it in there. I used the tri-colored one to test and make sure I put it in there correct. Now to learn how to make my own gradients, lol. Rabbit hole, here I come!
I would recommend to have a limit on how many you make per, to keep from going down the rabbit hole.
This one will be tough to get to work. After turning down the bezel and frame opacity, you’ll need to scale the screen, (Before setting the inherited scale of the Device layer.) then change the inherited scale to “Bezel” or “Tube”, and finally scale the Device Layer. You may also need to adjust the bezel height and width so the reflection matches the image.
Good luck! 
I wonder if it would be worth adding a new image for the diffuse/base color for the frame or bezel at some point, it would make adding this sort of adjustment easier.
At some point I’ll probably add the double bezel (optional) as it can look cool and a number of people really like it, also a number of different kinds of crts have something like this
This is about as close as I could get it.
[Bezel]
Width: 35
Height: 20


[Decal Layer]
Position Y: -3.45
Edit: Definitely don’t use this image on the Custom Bezel 2 parameters. I just added Device Image and changed the parameters from above in the Dreamcast-[STD]-[Guest]-[Bezel].slangp file.
Things like this take a bit of practice. 
Maybe, but I would hate to sacrifice two textures unless it looked like it was a popular idea.
I have always thought of this bezel as just a temporary thing, until you had some free time after v1.0. 
At my rate of practice, I’ll have a bezel done in…2023! 
Hey all, I’m new here but have been using these awesome presets with the amazing HSM Shader. I just look to grab the updated version of both and got myself into some troubles around the new relative paths and the folder changes. I kept having issues with the relative paths and nothing loading as the loading path was skipping a folder. I found what was causing my confusion and perhaps it’s just me but I thought I’d mention it here.
The new readme shows the new presets folder should be setup as an example:
Retroarch/shaders/Mega_Bezel_Community/Duimon-Mega-Bezel /Presets /Nintendo_3DS
So I extracted the git folder contents into my folder shown below “D:\Emulators\RetroArch\shaders\Mega_Bezel_Community\Duimon-Mega-Bezel\presets\Panasonic_3DO”
The fix obviously was to leave the first set of folders (4K_Vertical, Advanced, Hybrid, Potato, Standard) and it all loads, it is mentioned to clone the git which would have not caused this issue and perhaps something I should setup.
Just thought I’d mention it here as perhaps it’ll cause someone else an issue, thanks for everyone’s hard work!
Welcome to our little corner of the world!
Looks like I need to update the readme to include instructions for manually installing.
Done!
I have added the following text…
Note!! If you are manually installing by downloading a zip and extracting it. Make sure to rename the extracted folder from “Duimon-Mega-Bezel-master” to “Duimon-Mega-Bezel”.
For example, the path to my Advanced presets should be…
%RetroarchFolder%/shaders/Mega_Bezel_Community/Duimon-Mega-Bezel/Presets/Advanced


