Please show off what crt shaders can do!

What you’re looking for are some good close-ups using a macro lens, which will reduce the amount of bloom added by the camera to a minimum. If you can get things looking right at the macro scale, then it will look right at normal viewing distances, too.

Even a good photo at normal viewing distance isn’t going to look like a CRT when seen in person, in my experience.

There are some good photos here, with the contrast maxed out, since that seems to be your preference.

EDIT: meh, just realized you’re probably looking for a reference you can use for color. Oh well.

1 Like

Cool, thanks fellas!

@Nesguy - everything actually. Mainly color right now yeah but it’s always good to check scanlines and masks and sharpness and details and things, so all is welcome :slight_smile:

Have been using Easymodes shader for a good few years as with a little alteration i got it to look real nice (in my eyes) but have recently come across guest.r & Dr. Venom shader and its excellent!!.

One question i have is there a way to remove the banding effect you get when adding screen curve?

Also any chance of guest.r or Dr. Venom giving a simple description on what each setting actually changes as some im unsure of

thanks again for this great shader

Are you talking about color banding or are you referring to the moire pattern as banding?

If you’re referring to the moire pattern, it’s a lot less noticable in crt-guest-dr-venom, but it’s still there.

Use the EWA Curvature shader to lessen moire.

Getting beautiful color out of hunter’s mangler. It really makes a difference.

6 Likes

Could you show comparisons?

I second @lfan and some settings would be cool, I personally like trying other peoples set-ups, I like trying color changing set-ups even more.

1 Like

Here are some examples using my current settings, prioritizing brightness and image quality. I increased mask/scanline fade quite a bit to add some phosphor-like glow and beam width variation. The scanlines look pretty xVM-like, but the mask looks like a 20" TV up close; that’s what the masks look like at 1080p. A more convincing/realistic mask requires higher resolutions.

I’ve adjusted my backlight from 30% (normal) to 50%, which leaves me with enough spare brightness for black frame insertion. At a backlight setting of 100% I’m still getting an acceptably bright image with BFI enabled, which I didn’t think was possible while using the mask. I had to decrease the mask strength quite a bit and increase mask/scanline fade to accomplish this.

The x-axis blur from zfast_crt seems to combine pretty well with the signal resolution adjustment from TVout-tweaks; I’m pretty happy with how that turned out.

Dunno about the colors but anything other than sRGB looks wrong to me after playing that way for so long/I have trouble getting this monitor to look good with anything but a warm color temp.

current shader settings:

alias0 = ""
alias1 = ""
alias2 = ""
BLURSCALEX = "0.500000"
BRIGHTBOOST = "1.000000"
CRT_GAMMA = "2.500000"
DOTMASK_STRENGTH = "0.300000"
filter_linear0 = "true"
filter_linear1 = "true"
filter_linear2 = "true"
float_framebuffer0 = "true"
float_framebuffer1 = "false"
float_framebuffer2 = "false"
HILUMSCAN = "8.000000"
LOWLUMSCAN = "10.000000"
MASK_DARK = "0.000000"
MASK_FADE = "0.500000"
maskDark = "0.700000"
maskLight = "1.700000"
mipmap_input0 = "false"
mipmap_input1 = "false"
mipmap_input2 = "false"
parameters = "TVOUT_COMPOSITE_CONNECTION;TVOUT_TV_COLOR_LEVELS;CRT_GAMMA;TVOUT_RESOLUTION;TVOUT_RESOLUTION_Y;TVOUT_RESOLUTION_I;TVOUT_RESOLUTION_Q;BLURSCALEX;LOWLUMSCAN;HILUMSCAN;BRIGHTBOOST;MASK_DARK;MASK_FADE;shadowMask;DOTMASK_STRENGTH;maskDark;maskLight"
shader0 = "D:\retroarch\shaders\shaders_glsl\crt\shaders\tvout-tweaks-multipass\tvout-tweaks-pass-0.glsl"
shader1 = "D:\retroarch\shaders\shaders_glsl\crt\shaders\tvout-tweaks-multipass\tvout-tweaks-pass-1.glsl"
shader2 = "D:\retroarch\shaders\shaders_glsl\crt\shaders\zfast_crt+dotmask.glsl"
shaders = "3"
shadowMask = "2.000000"
srgb_framebuffer0 = "true"
srgb_framebuffer1 = "false"
srgb_framebuffer2 = "false"
TVOUT_COMPOSITE_CONNECTION = "0.000000"
TVOUT_RESOLUTION = "512.000000"
TVOUT_RESOLUTION_I = "83.199997"
TVOUT_RESOLUTION_Q = "25.600000"
TVOUT_RESOLUTION_Y = "256.000000"
TVOUT_TV_COLOR_LEVELS = "0.000000"
wrap_mode0 = "clamp_to_border"
wrap_mode1 = "clamp_to_border"
wrap_mode2 = "clamp_to_border"
5 Likes

I have really enjoyed reading and looking through this topic here. I use crt-geom on absolutely everything from Atari 2600 to PS1. I know the individual can do whatever they want on their own setup but at the same time that is me being a bit lazy, and uneducated. I genuinely like the generic CRT look crt-geom gives but after looking through here it makes me realise just how truly customisable this area is and how you can be more of a purist by getting a more authentic look that is true to individual platforms. Thanks to all who shared your efforts as it definitely provides motivation to improve ones own setup.

5 Likes

This is Sonic 1, Mega Drive, Trinitron.

This is GenesisPlus default colour

And this is my quick approximation

As you can see, it’s basically a palette swap!

5 Likes

Oh and I also suspect that a lot (if not most) of crt tvs are actually wider than 4:3. The screenshots above are 1.38, and that matches the Trinitron’s a.r. 1.33 (4:3) is noticeably skinnier.

@Squalo Are you using color-mangler for those screenshots?

If so, mind sharing your settings?

Is it possible to have a slang version of the Zfast_crt+dotmask shader, please ?

@Syh sure of course. I didn’t save that particular one, did it on the fly, but this should yield very similar results.

gamma_boost_r = "0.200000"
gamma_boost_g = "0.200000"
gamma_boost_b = "0.200000"
sat_r = "1.200000"
sat_g = "1.000000"
sat_b = "1.100000"
lum = "1.000000"
cntrst = "1.000000"
r = "1.000000"
g = "1.000000"
b = "1.050000"
rg = "0.050000"
rb = "0.050000"
gr = "0.000000"
gb = "0.180000"
br = "0.000000"
bg = "0.080000"
blr = "0.000000"
blg = "0.000000"
blb = "0.000000"

Also, Saturn :heart:

3 Likes

For those that don’t know, a while back I made the “crt-potato” shader that was intended to be similar/inbetween to crt-royale-kurozumi and PVM RGB… except very fast. I didn’t like the way those other shaders had so many effects stacked on top of each other, creating a very large performance penalty, when I never messed with the settings and just used the defaults.

crt-potato has no settings, and it was designed to run on, well, potatoes, so just about anything, including rpi’s. Here is a comparison:

It’s current available in the “crt” folder of the default RetroArch shaders if anyone has a use for it.

8 Likes

This is definitely more my style; I like to keep it simple with shaders. Actually, I recently started playing around with overlays again, and I’ve been pleasantly surprised by the results one can achieve with just a simple scanline overlay and some light blur.

I think CRT-potato could stack nicely with TVout-tweaks for some adjustable sharpness/blur, but I haven’t tried it yet. I’ve found that a slight amount of blur can improve the image, and is more like what an actual CRT looks like. No CRT was as sharp as an LCD with nearest neighbor; a CRT at the same resolution will always be less sharp than an LCD. Consequently, pixel art suffers on an LCD when upscaled with nearest neighbor because it’s much sharper than what the artist could have possibly intended.

I was thinking that the scanline overlays+blur concept could be turned into a good lightweight shader. You’d have the following options:

Scanline overlay resolution: choose 896, 960, or 1120

Scanline overlay beam dynamics: for 896 or 960, choose 1-4. For 1120, choose 1-9. This would essentially switch between different overlays for the selected resolution (see below).

Scanline opacity: 0-100

add TVout-tweaks

add dotmask

Scanline overlay patterns (numbers represent % black, 100 is full black)

896/960 resolution:

100
0
0
100

50
0
50
100

55
0
55
90

60
0
60
80

1120 resolution:

100
0
0
0
100

100
0
0
100
100

100
25
0
25
100

95
30
0
30
95

90
35
0
35
90

85
40
0
40
85

80
45
0
45
80

75
50
0
50
75

70
55
0
55
70

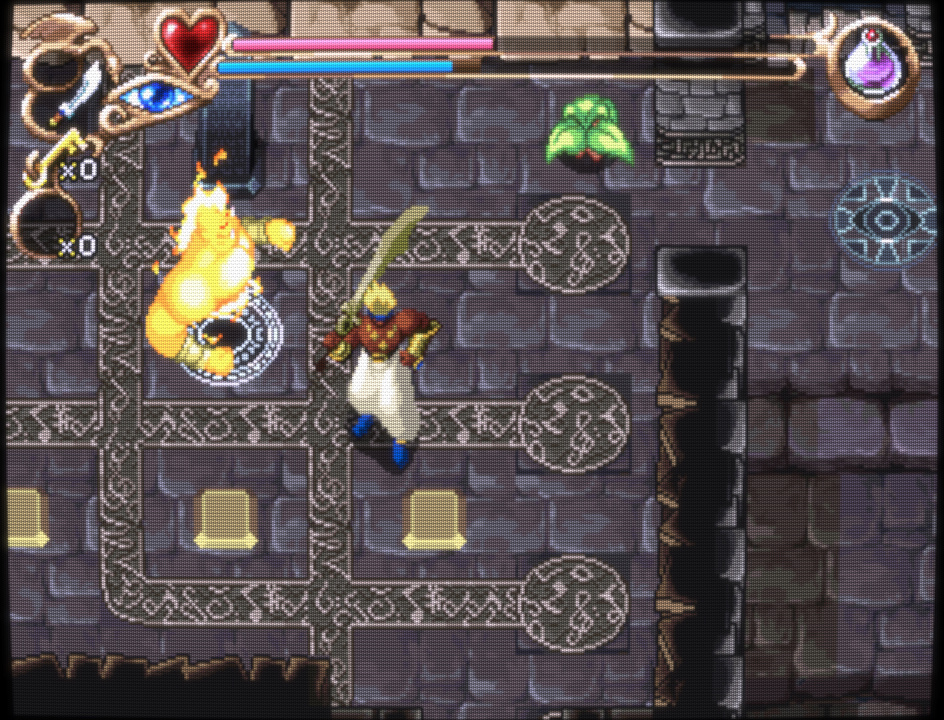
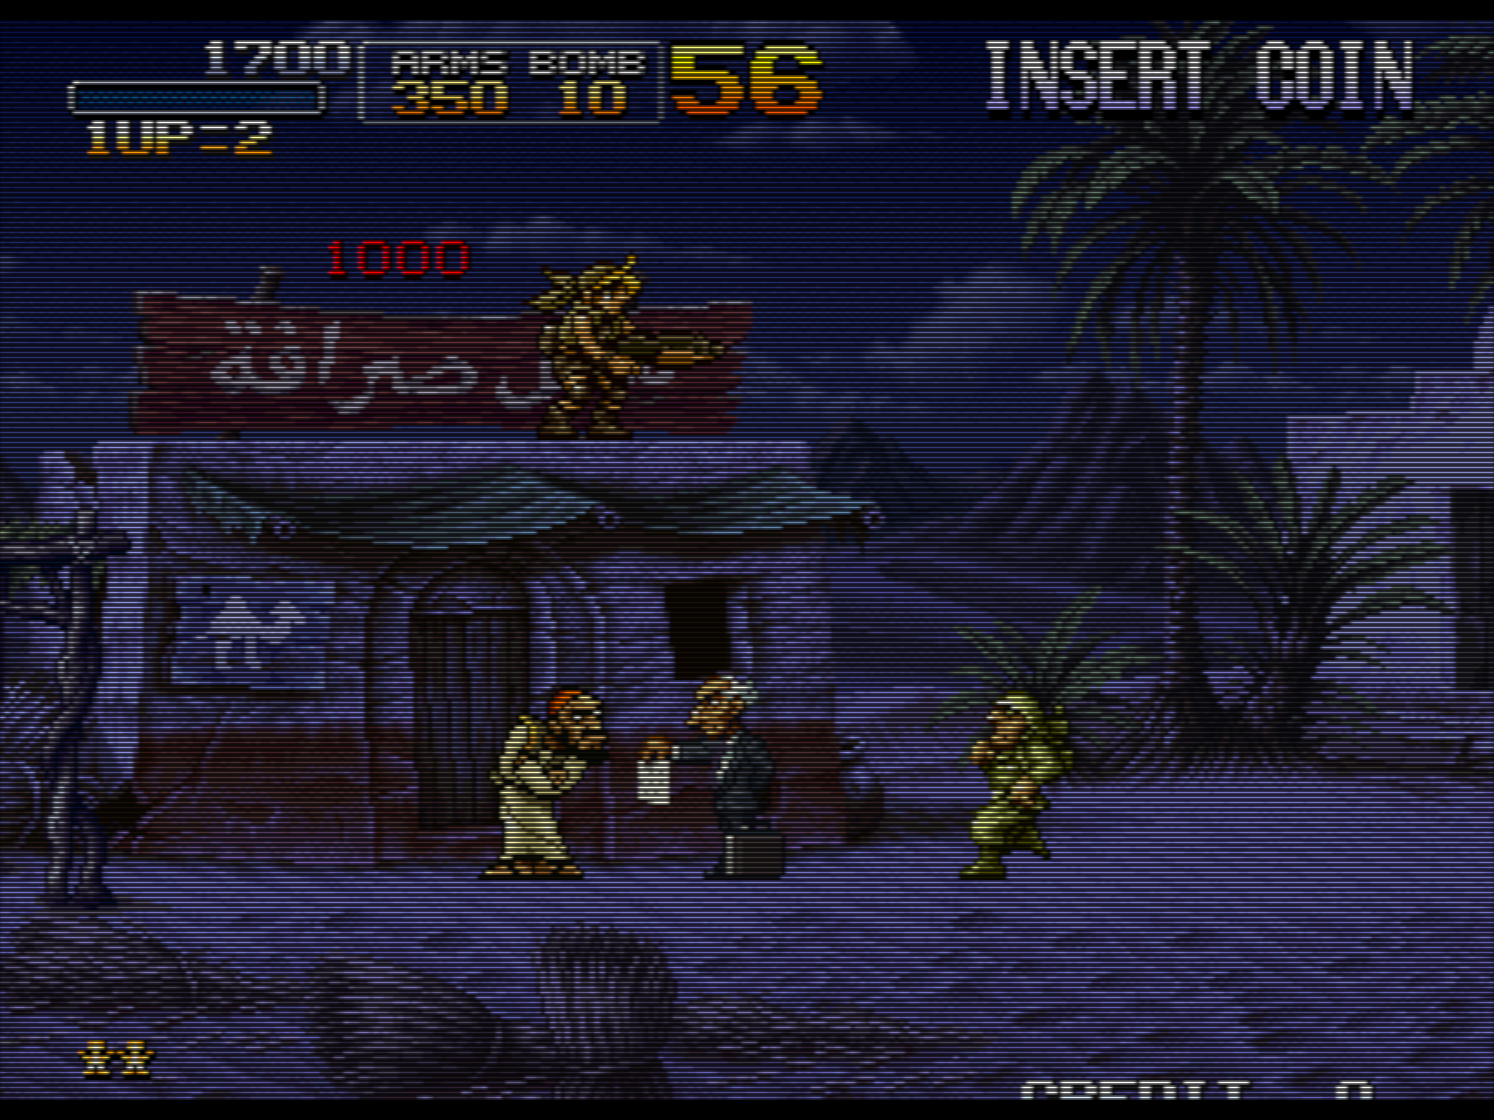
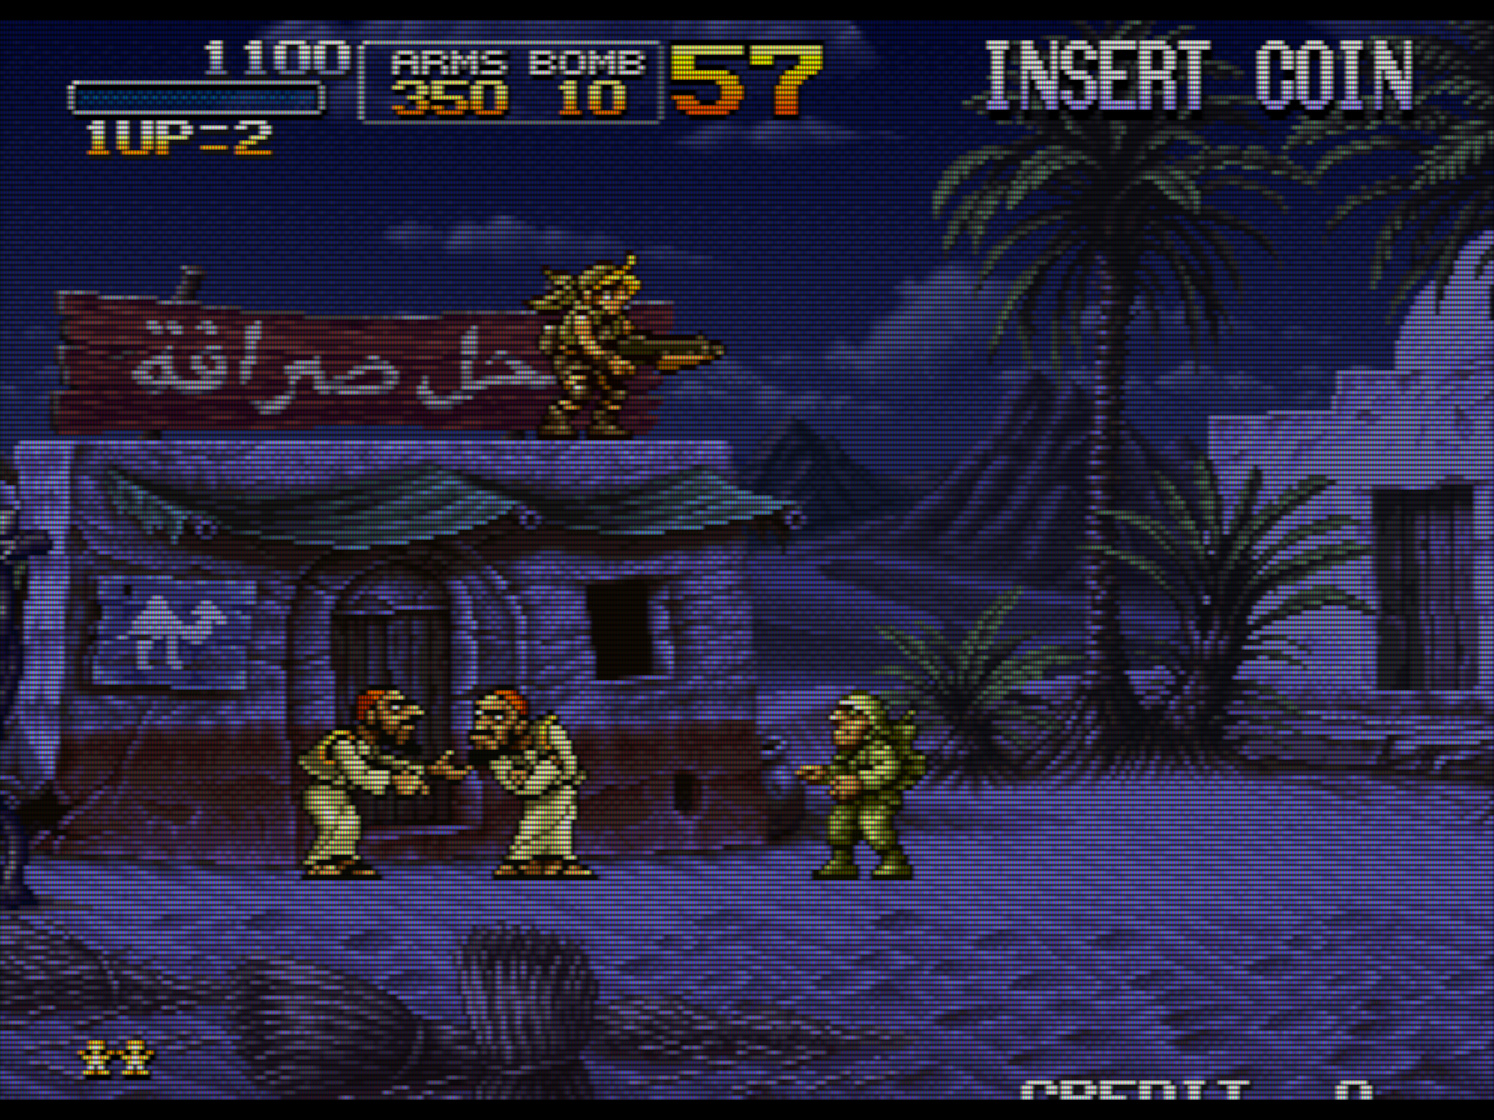
Here’s an example using one of the 1920x1120 overlays and TVout-tweaks-multipass:

I should have added that I always crank up my display’s backlight when attempting any kind of CRT emulation, to compensate for the lost brightness from scanlines without altering the original color values. I don’t care for the overbloomed, poorly-maintained CRT look.

Some people prefer the way a 15kHz consumer-grade CRT looks compared to a high quality PVM, BVM, or 31kHz CRT. It’s a very different look. You can certainly achieve results like that with a scanline overlay, dotmask shader and some slight blur.

This is with version 1 of the 1920x1120 overlay I made, at 50% opacity, with some blur added by TVout-tweaks and the dotmask shader applied.

2 Likes

Hello ! I don’t speak very well english. Here’s a better link with no quality loss https://ibb.co/yWgc0dk ,click on the picture for full quality size,i will try to explain my preset used in retroarch. I deleted my last post cause had loss in quality. Edit: It must be opened with paint on windows for real colors and aspect ratio, do not use windows photo viewer cause it changes colors and brightness ! 2nd Edit : i have a 4k screen and i didn’t activated subpixels offset runtime for fan noise even if it’s better look with subpixels offset .

2 Likes

Looks good. What shader/settings are you using?

2 Likes