It’s probably a stretch to say there is no connection, because most older 15 khz arcade monitors will loosely adhere to the NTSC standard (e.g. most games running at 224 active lines etc), but afaik arcade monitors are similar to PC monitors i.e. your location doesn’t matter, there is no PAL/NTSC color decoding and 50/60 Hz difference dependening on your location.
So going back to the conversation above about arcades and NTSC signals and what not, it may or may not be that relevant to simulating the Virtua Fighter screen depending on what the arcade cabinet did. I’m guessing they picked and chose the parts of the system that was cheapest/gave best results etc and ditched the rest because it wasn’t needed.
General about CRTs condition, I recently openend up two displays (never did that before) for tweaking the FOCUS and Screen knobs after adjusting Brightness. These seemingly trivial adjustments were making huuuge differences.
Yeah, there’s no region to worry about with arcade stuff. It’s all region-free, and while most are ~60 Hz, they vary wildly. Virtua Fighter, for example, is “medium” res, which means: 25 kHz [email protected] Hz (super-weird)
Some other notable weird ones are R-Type and other IREM games at 55 Hz, Mortal Kombat and NBA Jam at 53 Hz and Bad Dudes, Robocop and other Data East games at 57.4 Hz.
Righty ho my first attempt at horizontal convergence and its a bit too discrete - when you actually change this value right now it pops over at the triad level.
I need something that continuously changes to get some more smoothness in the shapes.
I also think I may need to let the horizontal axis effect more than one scanline away.
However given all that I think this is a marked improvement over the first attempt (maybe in true Microsoft style at attempt three I get it right(ish))
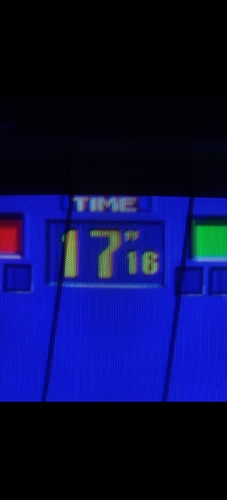
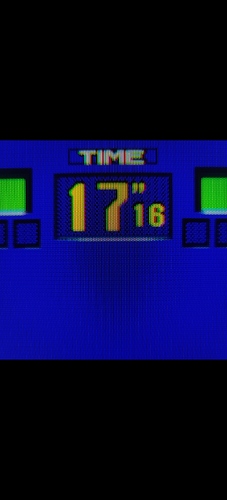
Both LCD photos are of the same frame just at different ISO’s to show the effect double the brightness has. Not sure what the dark patch below the number is (reflection of my black phone possibly?)
CRT Photo: OnePlus 8 Pro Camera: Pro Mode, ISO 200, WB 5000K, Aperture Speed 1/60, Auto Focus, 48MPixel JPEG.
LCD Photo1: OnePlus 8 Pro Camera: Pro Mode, ISO 400, WB 5000K, Aperture Speed 1/60, Auto Focus, 48MPixel JPEG.
LCD Photo2: OnePlus 8 Pro Camera: Pro Mode, ISO 200, WB 5000K, Aperture Speed 1/60, Auto Focus, 48MPixel JPEG.
You may want to take a look at Guest’s deconvergence in terms of how he does it, basically there is one pass which has the scanline dynamics, then the next pass samples this (and samples with offsets for deconvergence) then applies the mask over this. I’m not sure if this method directly works with how your shader works or not. His deconvergence also has a sort of radial deconvergence as well
I think this is how it should work, yeah.
I think that dark spot is just where your camera is properly focused. Everywhere else it’s getting blurred, just like with conventional CRT shaders 
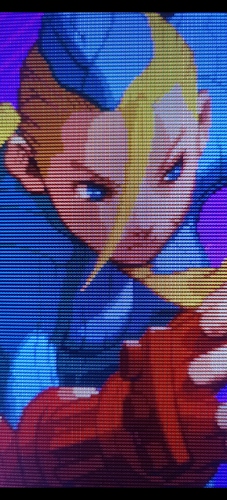
Another attempt at my Sammy Atomiswave playing Xmen Vs Street Fighter. Playing around with contrast and paper white and ISO levels on the camera. Plus a tweak to the horizontal width of things to give it a more blurry look like the CRT.
So theres definitely a white balance issue - I need to move the white balance down to 3500K to match the CRT’s 5000K. We’re also still a bit darker.
BUT this is much closer than above I’m sure you’ll agree?
CRT Photo: OnePlus 8 Pro Camera: Pro Mode, ISO 200, WB 5000K, Aperture Speed 1/60, Auto Focus, 48MPixel JPEG.
LCD Photo1: OnePlus 8 Pro Camera: Pro Mode, ISO 200, WB 3500K, Aperture Speed 1/60, Auto Focus, 48MPixel JPEG.
LCD Photo2: OnePlus 8 Pro Camera: Pro Mode, ISO 400, WB 3500K, Aperture Speed 1/60, Auto Focus, 48MPixel JPEG.
Maybe there isn’t a problem with the white balance as I just noticed these photos I took at 5000K - yellows look better: Overall it just needs more brightness.
Again let me know what you think!
CRT Photo: OnePlus 8 Pro Camera: Pro Mode, ISO 200, WB 5000K, Aperture Speed 1/60, Auto Focus, 48MPixel JPEG.
LCD Photo1: OnePlus 8 Pro Camera: Pro Mode, ISO 200, WB 5000K, Aperture Speed 1/60, Auto Focus, 48MPixel JPEG.
LCD Photo2: OnePlus 8 Pro Camera: Pro Mode, ISO 400, WB 5000K, Aperture Speed 1/60, Auto Focus, 48MPixel JPEG.
Hi @oscartilheiro thanks for the like! I dont know if you are the same oscartiheiro on the retro gaming boards but if you are I’d love to see some close up shots of your PVM with the above camera settings. I’ve created a post here detailing what I’m after. Thanks!
I wonder what it would look like if you added some glow or bloom? The CRT photo is blurred so that you don’t see the individual RGB strips. But then it’s a question of making it look like the photo, or making it look like how a CRT actually looks. Kinda goes against the idea of the shader, too.
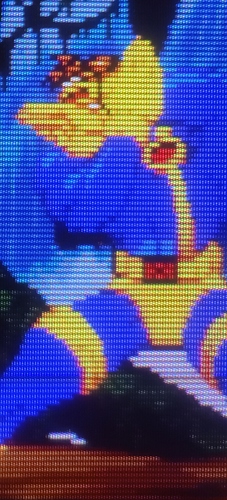
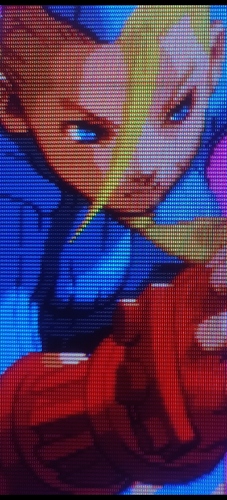
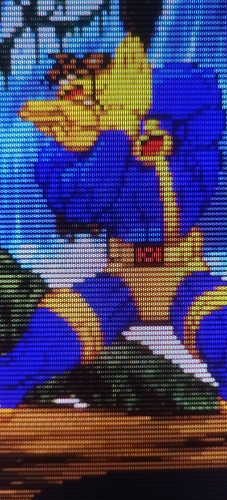
So yes you’re absolutely right - I need to go back and get a better photo! I will do - however its good enough to give me an idea of the shape and size of things. I’m not going to add bloom etc as this is an artifact of the CRT photo above. I do have better pictures so I may concentrate on those rather than the more interesting but flawed Cyclops photo. However I do have a small update:
I noticed in the last photos the top pixels of Cyclops glove are too fat because I smeared out the horizontal scanline too much. I’ve hopefully corrected these below. Also in the background the darker scanlines next to his arm were getting too narrow and I’ve hopefully resolved that a little bit. How much I’m fixing to get nearer to flaws in the photo though I’m not too sure.
I will leave Cyclops now and find a better quality photo.
Last photos:
New photos:
CRT Photo: OnePlus 8 Pro Camera: Pro Mode, ISO 200, WB 5000K, Aperture Speed 1/60, Auto Focus, 48MPixel JPEG.
LCD Photo1: OnePlus 8 Pro Camera: Pro Mode, ISO 200, WB 5000K, Aperture Speed 1/60, Auto Focus, 48MPixel JPEG.
LCD Photo2: OnePlus 8 Pro Camera: Pro Mode, ISO 400, WB 5000K, Aperture Speed 1/60, Auto Focus, 48MPixel JPEG.
Here are pics using the SNES 240p suite color bars. One is stock the other with the latest crt-sony-pvm-2730-rk-hdr. Peak luminance is set to 1500 in settings:HDR and on the shader. All combinations of turning on and off dimming have little effect to the lack of contrast I seem to be having.
Samsung Qn90a: Nikon Z6 iso 100, WB 3000, Aperture 1/60. (First is scaled down second is full res crop.)
Ah brilliant work - thanks for doing this. I’ll do my bit now and see where my monitor comes out with the test 240p suite and try and figure out what’s wrong. Sadly I’m away visiting family over the weekend so itll have to wait until Tuesday. Unless the storm here stops us from going.
Sadly?
Looking forward to a storm?
Take a break and enjoy the quality time wholeheartedly my friend. We can wait. They are priority!
 yes that may have come across like that - don’t worry I’m very much looking forward to seeing my family - it was more the unfortunate timing of the post I was talking about.
So just looking at this picture the greens and reds look fine but the white is quite noisy for some reason - just wondering whether that is the camera or the TV? Have you got a close up of the blue like that - I just want to match the sub pixels up.
Sure, here is a crop from that same image. I should add it’s softer towards screen right as that is the edge of the frame.
So your screen is definitely a BGR instead of RGB have you got that setting turned on in the shader? I haven’t had a chance to fully test that but it should work at 600TVL.
Yes, BGR is on. You can see the colors move when toggled on and off.

