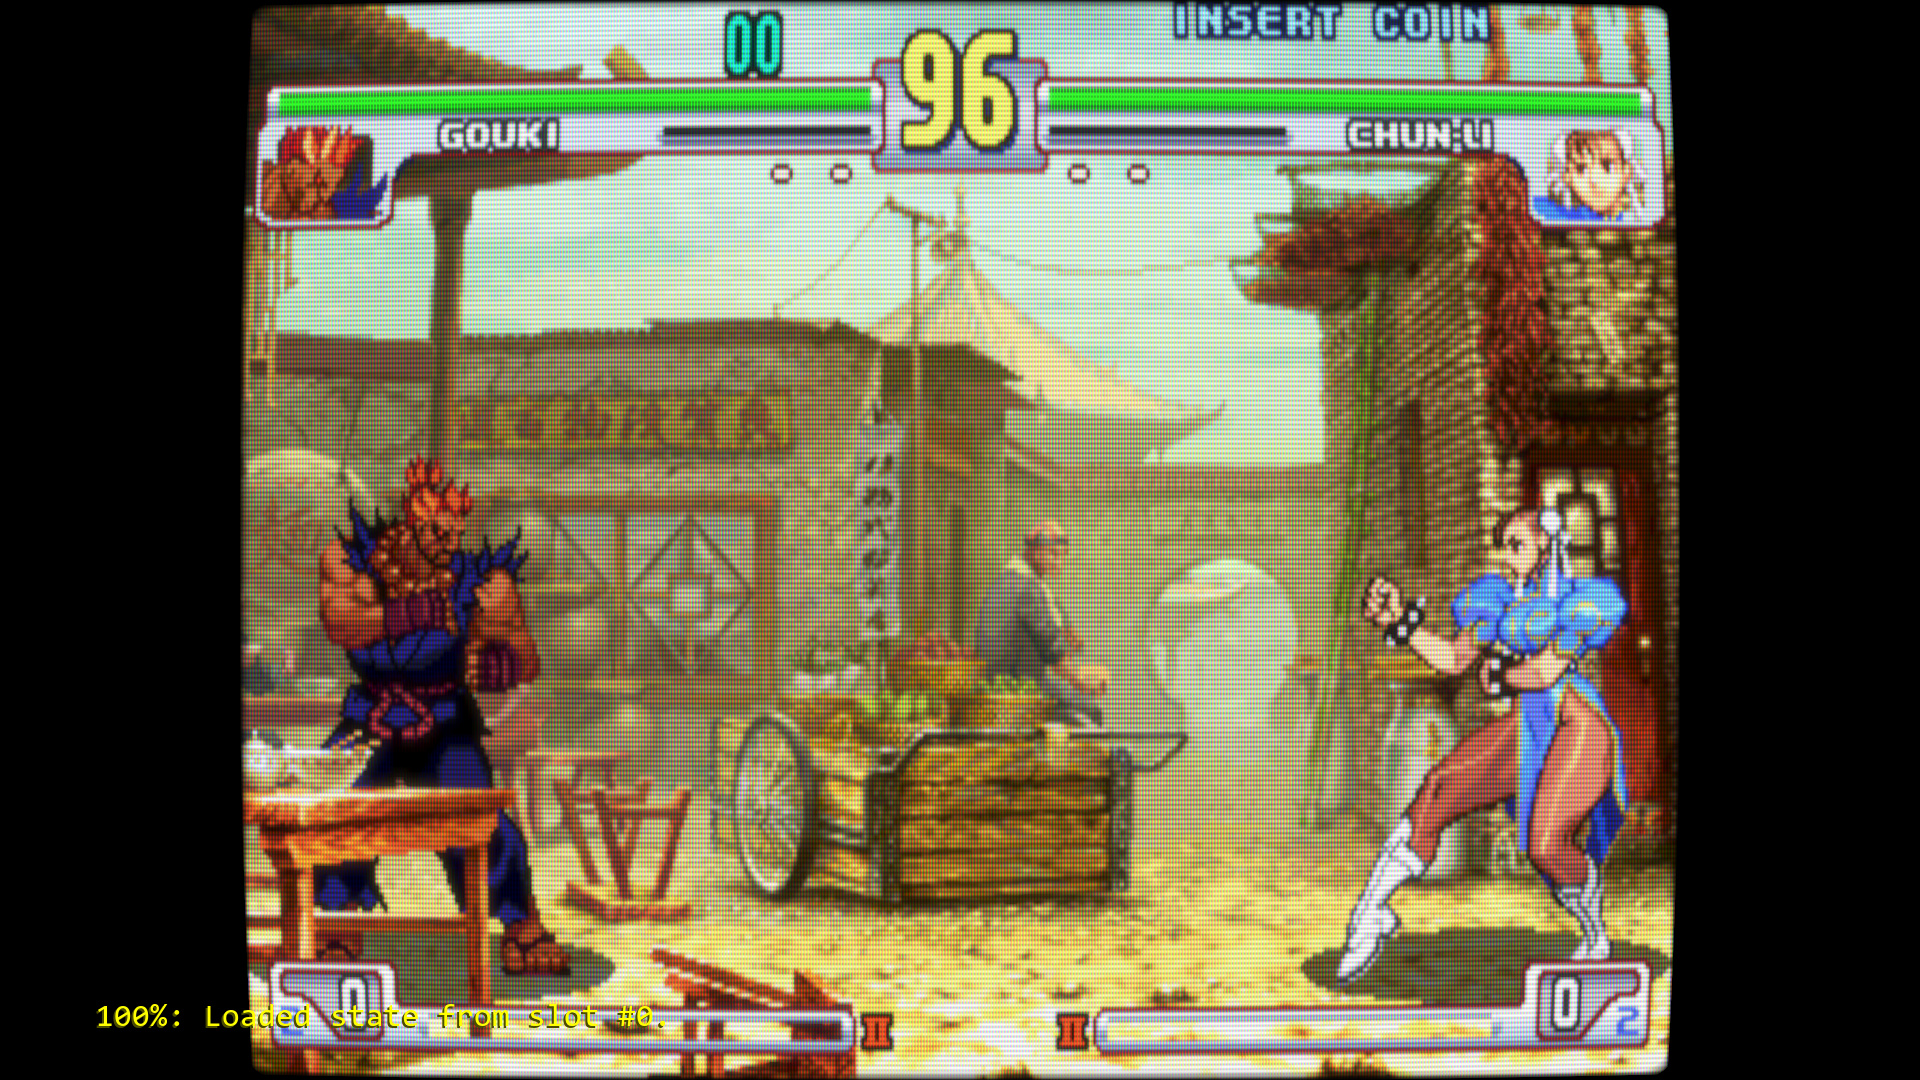
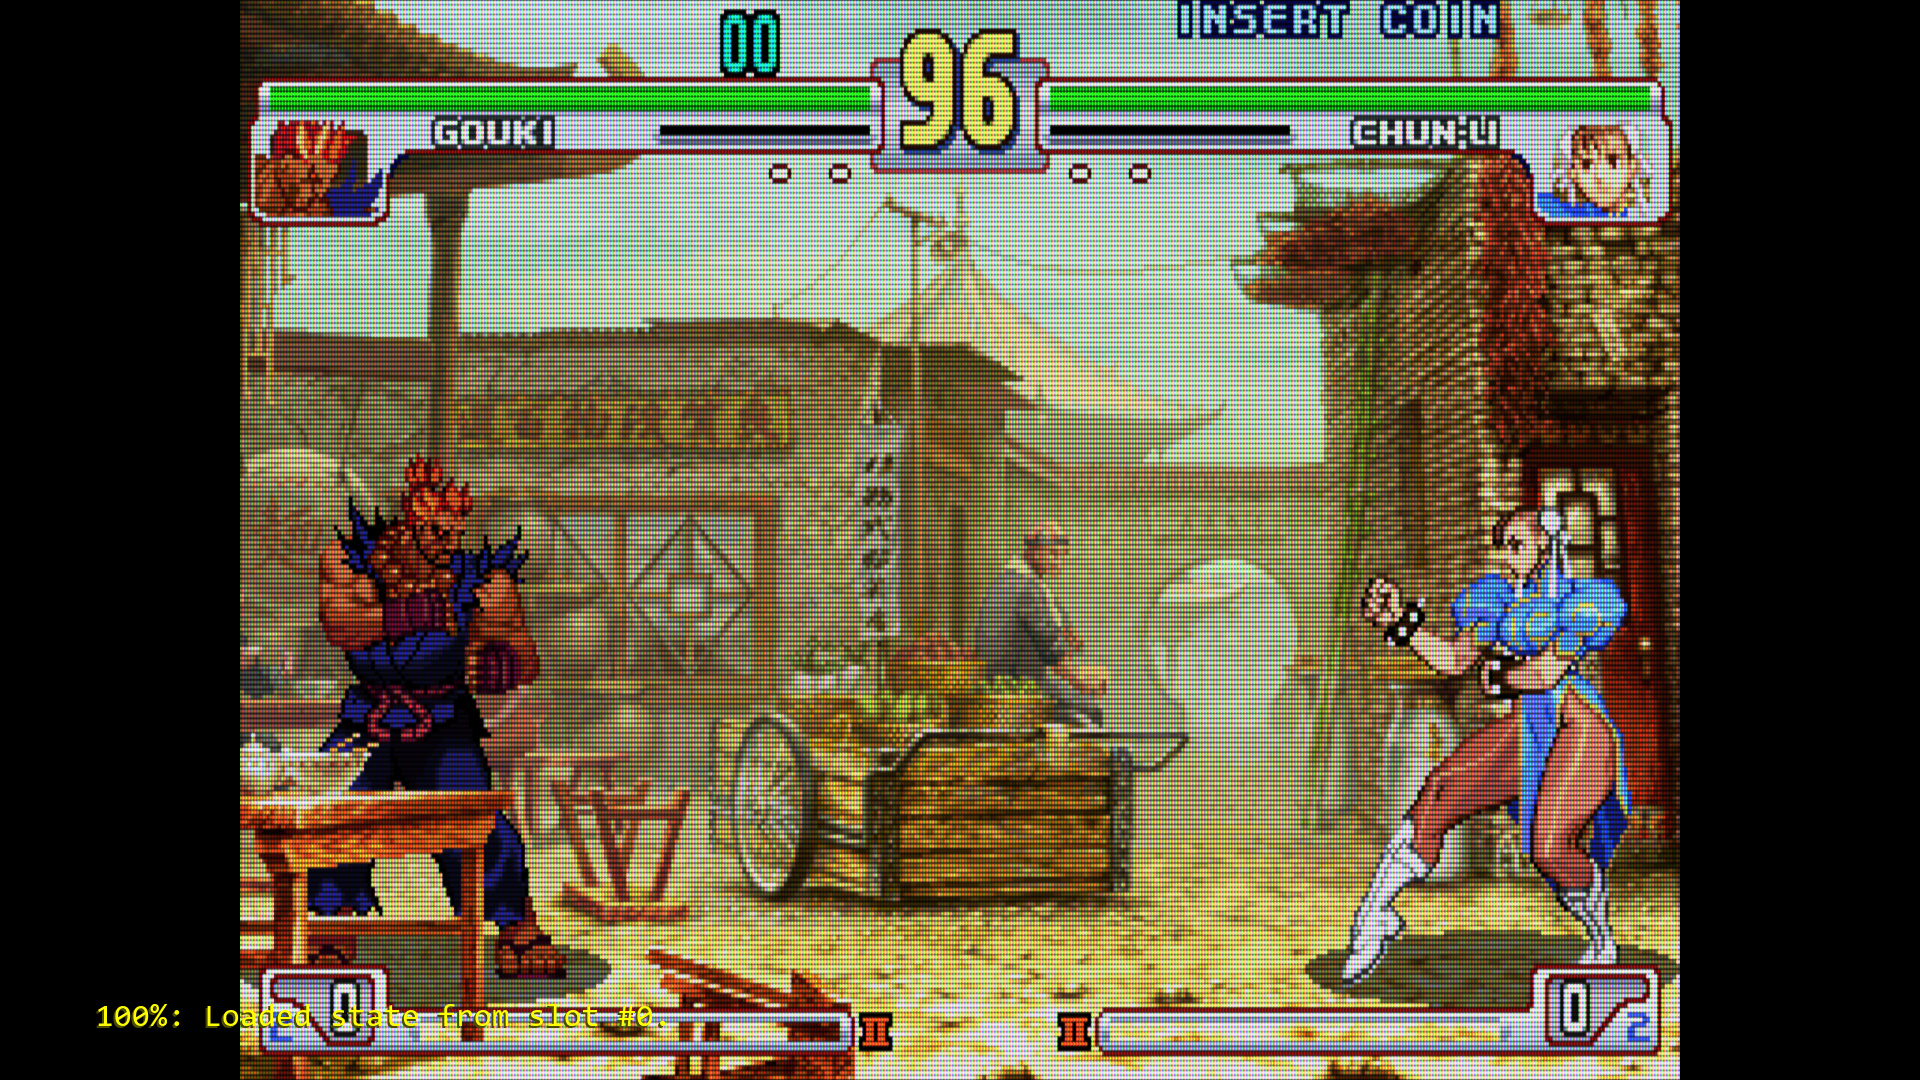
For 480i/480p content, I would suggest zfast_CRT+dotmask, and disable the scanlines by making the following changes to the parameters:
HILUMSCAN = “0.000000”
LOWLUMSCAN = “0.000000”
For the other settings, see post 93 and post 96 in this thread.
You’ll have to adjust mask dark, mask light, bright boost and mask fade. For optimal results, you’ll need something like Fudoh’s 240p test suite and a light meter (or smartphone with a light meter app).
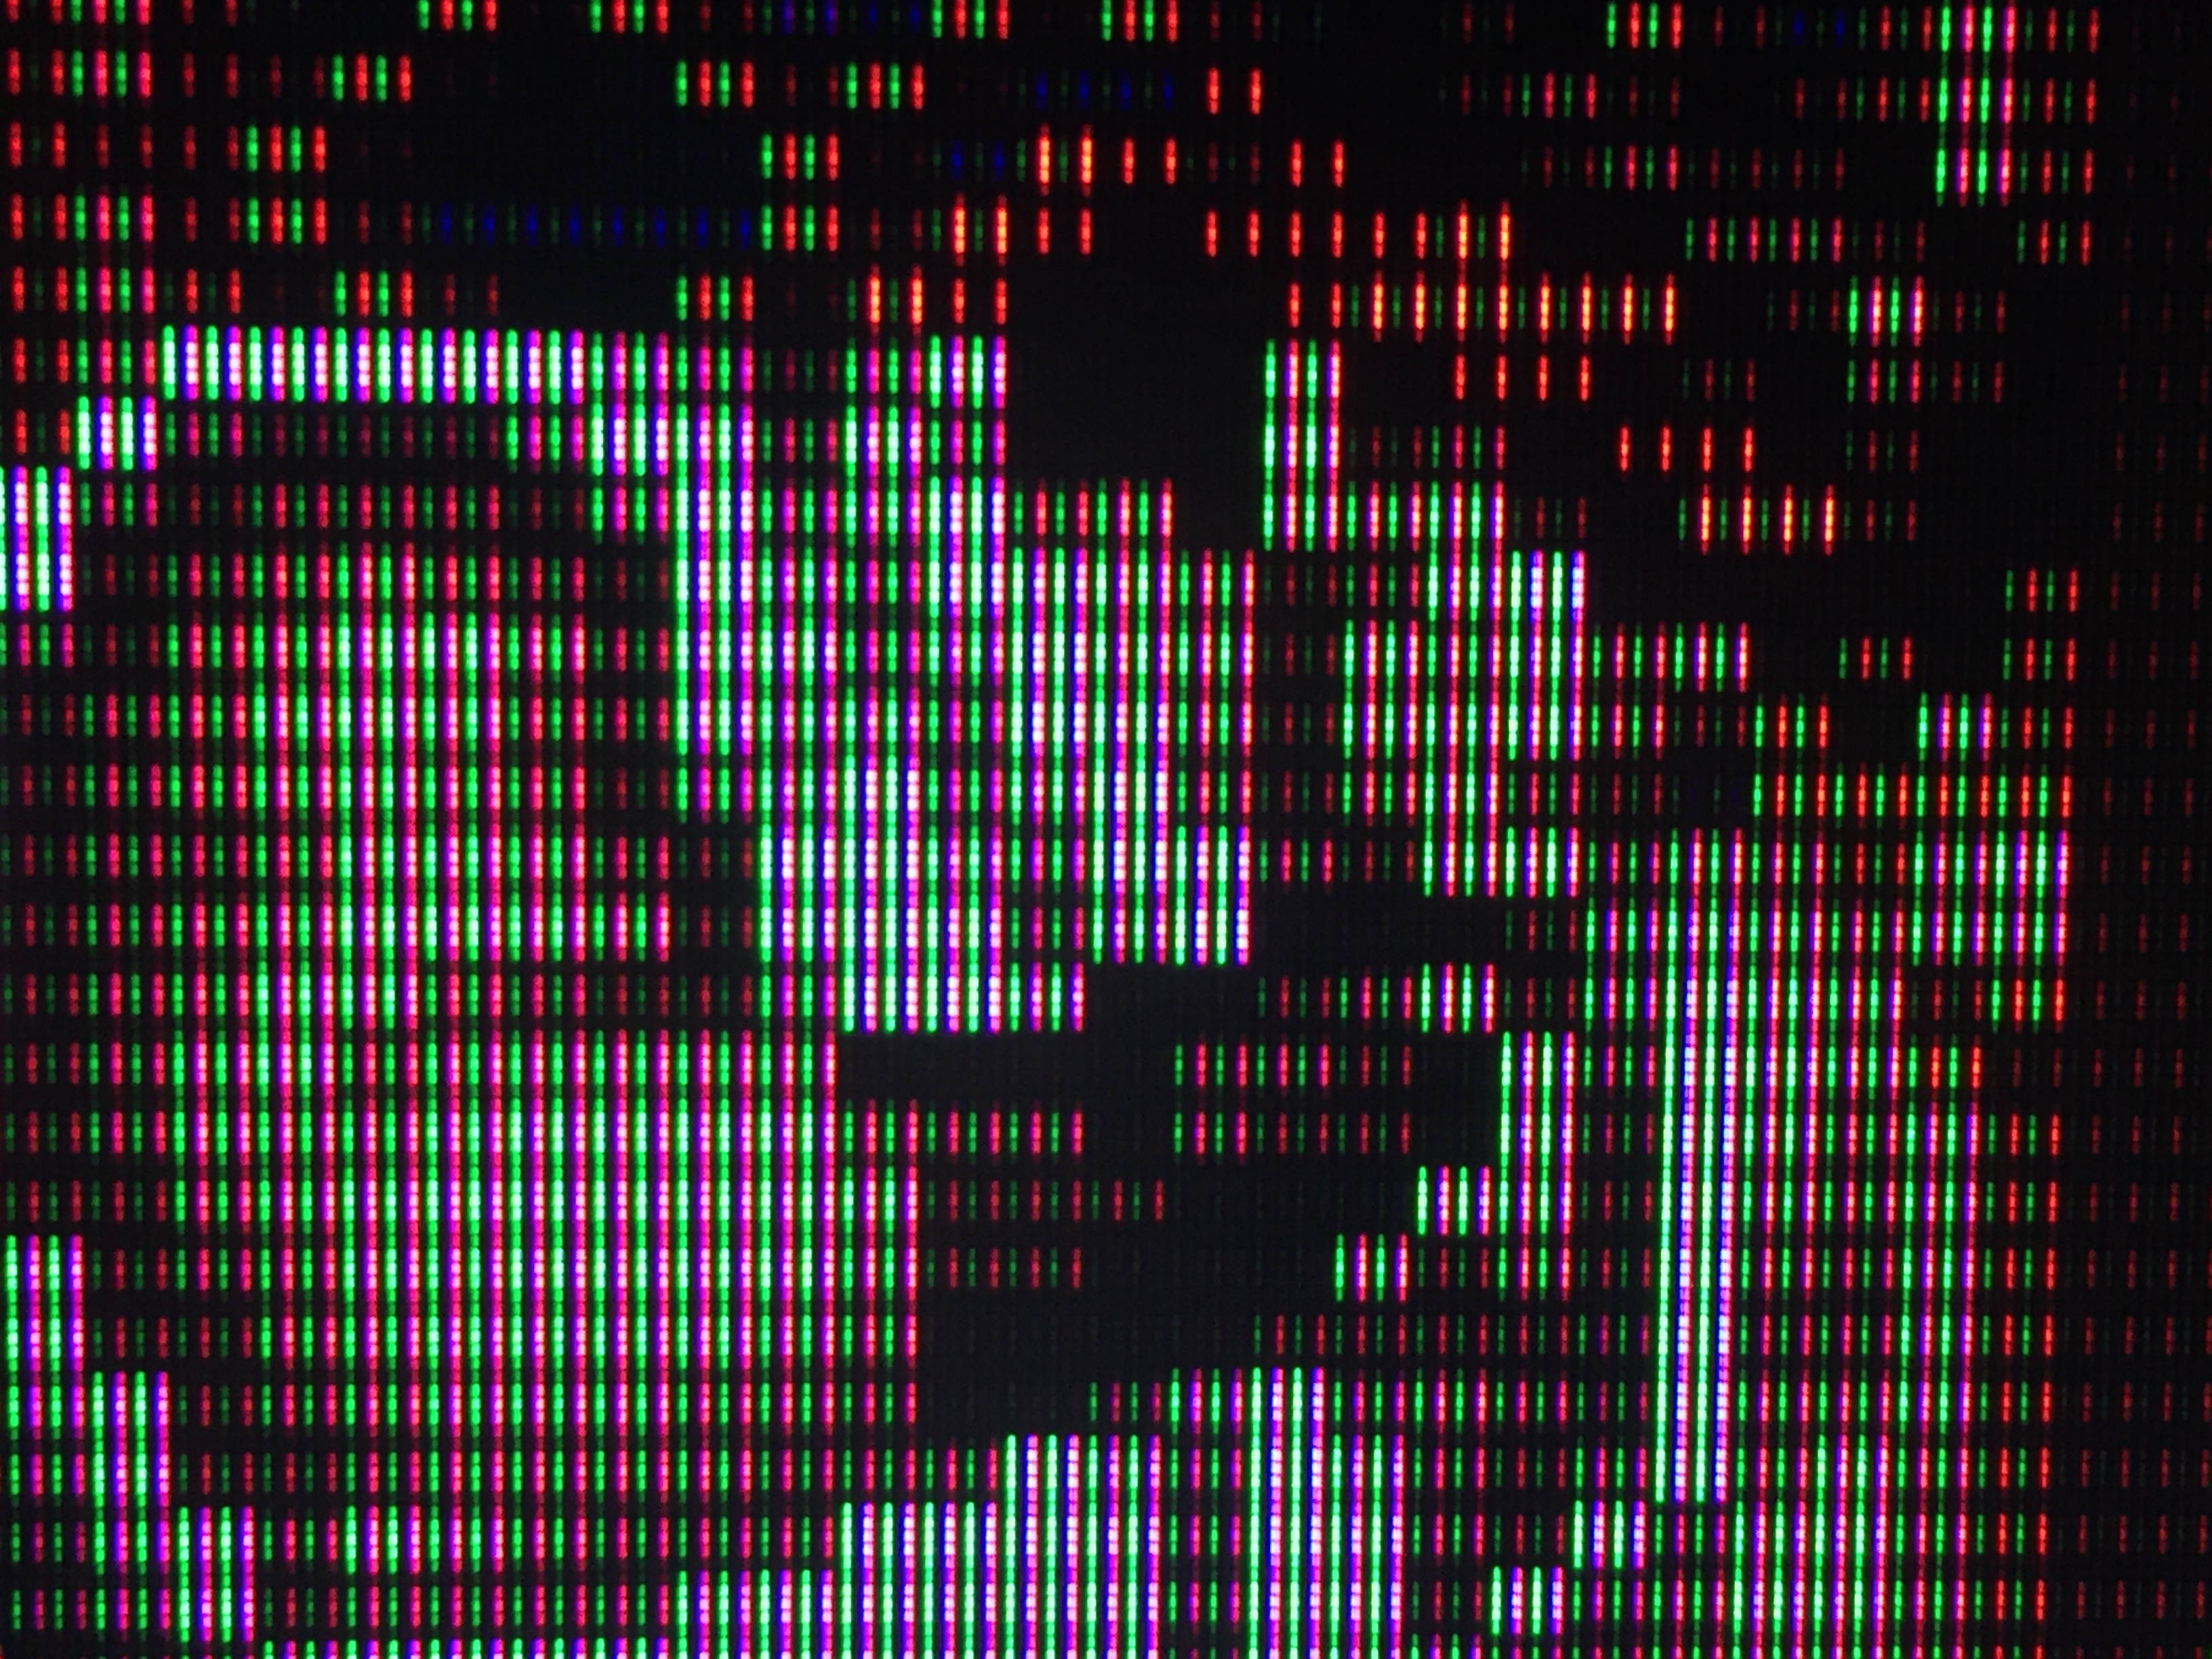
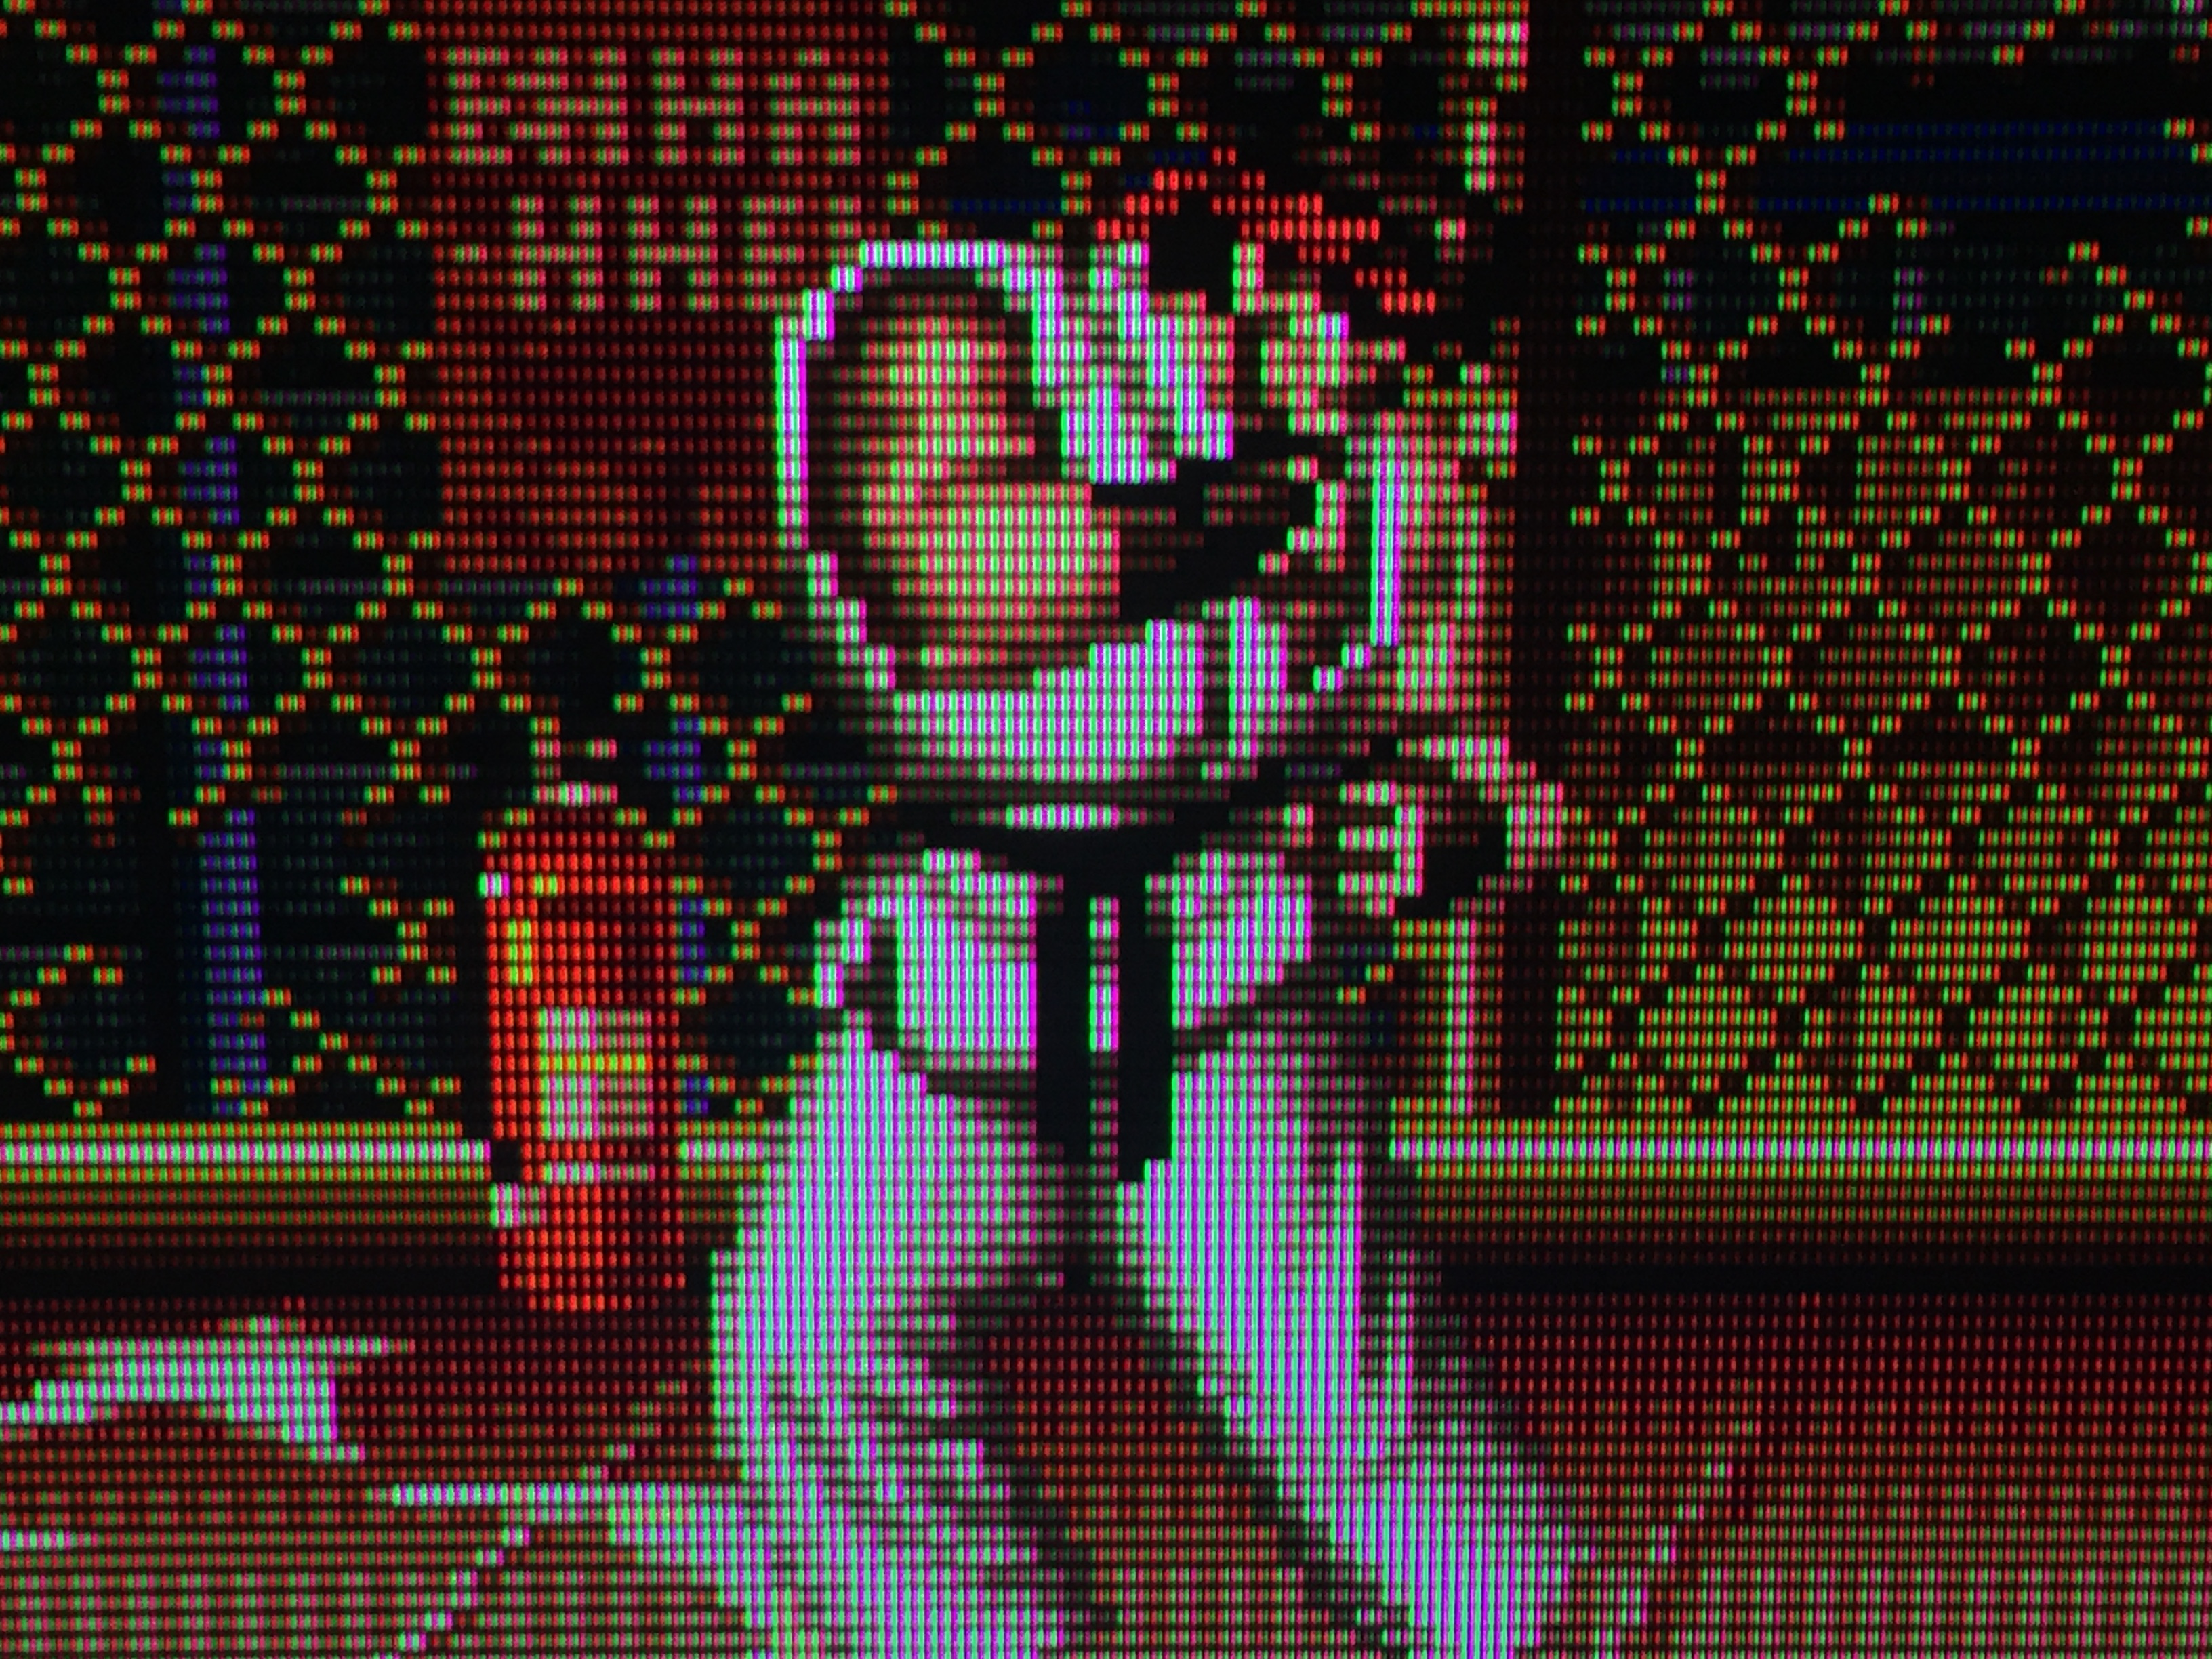
Here’s zfast_CRT+dotmask:
/*
    zfast_crt_standard - A simple, fast CRT shader.

    Copyright (C) 2017 Greg Hogan (SoltanGris42)

    This program is free software; you can redistribute it and/or modify it
    under the terms of the GNU General Public License as published by the Free
    Software Foundation; either version 2 of the License, or (at your option)
    any later version.


Notes:  This shader does scaling with a weighted linear filter for adjustable
	sharpness on the x and y axes based on the algorithm by Inigo Quilez here:
	http://http://www.iquilezles.org/www/articles/texture/texture.htm
	but modified to be somewhat sharper.  Then a scanline effect that varies
	based on pixel brighness is applied along with a monochrome aperture mask.
	This shader runs at 60fps on the Raspberry Pi 3 hardware at 2mpix/s
	resolutions (1920x1080 or 1600x1200).
*/

//For testing compilation
//#define FRAGMENT
//#define VERTEX

//This can't be an option without slowing the shader down
//Comment this out for a coarser 3 pixel mask...which is currently broken
//on SNES Classic Edition due to Mali 400 gpu precision
//#define FINEMASK
//Some drivers don't return black with texture coordinates out of bounds
//SNES Classic is too slow to black these areas out when using fullscreen
//overlays.  But you can uncomment the below to black them out if necessary
//#define BLACK_OUT_BORDER

// Parameter lines go here:
#pragma parameter BLURSCALEX "Blur Amount X-Axis" 0.30 0.0 1.0 0.05
#pragma parameter LOWLUMSCAN "Scanline Darkness - Low" 6.0 0.0 10.0 0.5
#pragma parameter HILUMSCAN "Scanline Darkness - High" 8.0 0.0 50.0 1.0
#pragma parameter BRIGHTBOOST "Dark Pixel Brightness Boost" 1.25 0.5 1.5 0.05
#pragma parameter MASK_DARK "Mask Effect Amount" 0.0 0.0 1.0 0.05
#pragma parameter MASK_FADE "Mask/Scanline Fade" 0.8 0.0 1.0 0.05

#pragma parameter shadowMask "Mask Style" 3.0 0.0 4.0 1.0
#pragma parameter DOTMASK_STRENGTH "CGWG Dot Mask Strength" 0.3 0.0 1.0 0.01
#pragma parameter maskDark "Lottes maskDark" 0.5 0.0 2.0 0.1
#pragma parameter maskLight "Lottes maskLight" 1.5 0.0 2.0 0.1

#if defined(VERTEX)

#if __VERSION__ >= 130
#define COMPAT_VARYING out
#define COMPAT_ATTRIBUTE in
#define COMPAT_TEXTURE texture
#else
#define COMPAT_VARYING varying
#define COMPAT_ATTRIBUTE attribute
#define COMPAT_TEXTURE texture2D
#endif

#ifdef GL_ES
#define COMPAT_PRECISION mediump
#else
#define COMPAT_PRECISION
#endif

COMPAT_ATTRIBUTE vec4 VertexCoord;
COMPAT_ATTRIBUTE vec4 COLOR;
COMPAT_ATTRIBUTE vec4 TexCoord;
COMPAT_VARYING vec4 COL0;
COMPAT_VARYING vec4 TEX0;
COMPAT_VARYING float maskFade;
COMPAT_VARYING vec2 invDims;

vec4 _oPosition1;
uniform mat4 MVPMatrix;
uniform COMPAT_PRECISION int FrameDirection;
uniform COMPAT_PRECISION int FrameCount;
uniform COMPAT_PRECISION vec2 OutputSize;
uniform COMPAT_PRECISION vec2 TextureSize;
uniform COMPAT_PRECISION vec2 InputSize;

// compatibility #defines
#define vTexCoord TEX0.xy
#define SourceSize vec4(TextureSize, 1.0 / TextureSize) //either TextureSize or InputSize
#define OutSize vec4(OutputSize, 1.0 / OutputSize)

#ifdef PARAMETER_UNIFORM
// All parameter floats need to have COMPAT_PRECISION in front of them
uniform COMPAT_PRECISION float BLURSCALEX;
//uniform COMPAT_PRECISION float BLURSCALEY;
uniform COMPAT_PRECISION float LOWLUMSCAN;
uniform COMPAT_PRECISION float HILUMSCAN;
uniform COMPAT_PRECISION float BRIGHTBOOST;
uniform COMPAT_PRECISION float MASK_DARK;
uniform COMPAT_PRECISION float MASK_FADE;
uniform COMPAT_PRECISION float shadowMask;
uniform COMPAT_PRECISION float DOTMASK_STRENGTH;
uniform COMPAT_PRECISION float maskDark;
uniform COMPAT_PRECISION float maskLight;
#else
#define BLURSCALEX 0.45
//#define BLURSCALEY 0.20
#define LOWLUMSCAN 5.0
#define HILUMSCAN 10.0
#define BRIGHTBOOST 1.25
#define MASK_DARK 0.0
#define MASK_FADE 0.8
#define shadowMask 3.0
#define DOTMASK_STRENGTH 0.3
#define maskDark 0.5
#define maskLight 1.5
#endif

void main()
{
    gl_Position = MVPMatrix * VertexCoord;

	TEX0.xy = (TexCoord.xy);
	maskFade = 0.3333*MASK_FADE;
	invDims = 1.0/TextureSize.xy;
}

#elif defined(FRAGMENT)

#ifdef GL_ES
#ifdef GL_FRAGMENT_PRECISION_HIGH
precision highp float;
#else
precision mediump float;
#endif
#define COMPAT_PRECISION mediump
#else
#define COMPAT_PRECISION
#endif

#if __VERSION__ >= 130
#define COMPAT_VARYING in
#define COMPAT_TEXTURE texture
out COMPAT_PRECISION vec4 FragColor;
#else
#define COMPAT_VARYING varying
#define FragColor gl_FragColor
#define COMPAT_TEXTURE texture2D
#endif

uniform COMPAT_PRECISION int FrameDirection;
uniform COMPAT_PRECISION int FrameCount;
uniform COMPAT_PRECISION vec2 OutputSize;
uniform COMPAT_PRECISION vec2 TextureSize;
uniform COMPAT_PRECISION vec2 InputSize;
uniform sampler2D Texture;
COMPAT_VARYING vec4 TEX0;
COMPAT_VARYING float maskFade;
COMPAT_VARYING vec2 invDims;

// compatibility #defines
#define Source Texture
#define vTexCoord TEX0.xy
#define texture(c, d) COMPAT_TEXTURE(c, d)
#define SourceSize vec4(TextureSize, 1.0 / TextureSize) //either TextureSize or InputSize
#define OutSize vec4(OutputSize, 1.0 / OutputSize)

#ifdef PARAMETER_UNIFORM
// All parameter floats need to have COMPAT_PRECISION in front of them
uniform COMPAT_PRECISION float BLURSCALEX;
//uniform COMPAT_PRECISION float BLURSCALEY;
uniform COMPAT_PRECISION float LOWLUMSCAN;
uniform COMPAT_PRECISION float HILUMSCAN;
uniform COMPAT_PRECISION float BRIGHTBOOST;
uniform COMPAT_PRECISION float MASK_DARK;
uniform COMPAT_PRECISION float MASK_FADE;
uniform COMPAT_PRECISION float shadowMask;
uniform COMPAT_PRECISION float DOTMASK_STRENGTH;
uniform COMPAT_PRECISION float maskDark;
uniform COMPAT_PRECISION float maskLight;
#else
#define BLURSCALEX 0.45
//#define BLURSCALEY 0.20
#define LOWLUMSCAN 5.0
#define HILUMSCAN 10.0
#define BRIGHTBOOST 1.25
#define MASK_DARK 0.25
#define MASK_FADE 0.8
#define shadowMask 3.0
#define DOTMASK_STRENGTH 0.3
#define maskDark 0.5
#define maskLight 1.5
#endif

#define mod_factor vTexCoord.x * SourceSize.x * OutSize.x / SourceSize.x

// Shadow mask.
vec3 Mask(vec2 pos)
{
   vec3 mask = vec3(maskDark, maskDark, maskDark);

   // Very compressed TV style shadow mask.
   if (shadowMask == 1.0)
   {
      float line = maskLight;
      float odd  = 0.0;

      if (fract(pos.x/6.0) < 0.5)
         odd = 1.0;
      if (fract((pos.y + odd)/2.0) < 0.5)
         line = maskDark;

      pos.x = fract(pos.x/3.0);

      if      (pos.x < 0.333) mask.r = maskLight;
      else if (pos.x < 0.666) mask.g = maskLight;
      else                    mask.b = maskLight;
      mask*=line;
   }

   // Aperture-grille.
   else if (shadowMask == 2.0)
   {
      pos.x = fract(pos.x/3.0);

      if      (pos.x < 0.333) mask.r = maskLight;
      else if (pos.x < 0.666) mask.g = maskLight;
      else                    mask.b = maskLight;
   }

   // Stretched VGA style shadow mask (same as prior shaders).
   else if (shadowMask == 3.0)
   {
      pos.x += pos.y*3.0;
      pos.x  = fract(pos.x/6.0);

      if      (pos.x < 0.333) mask.r = maskLight;
      else if (pos.x < 0.666) mask.g = maskLight;
      else                    mask.b = maskLight;
   }

   // VGA style shadow mask.
   else if (shadowMask == 4.0)
   {
      pos.xy = floor(pos.xy*vec2(1.0, 0.5));
      pos.x += pos.y*3.0;
      pos.x  = fract(pos.x/6.0);

      if      (pos.x < 0.333) mask.r = maskLight;
      else if (pos.x < 0.666) mask.g = maskLight;
      else                    mask.b = maskLight;
   }

   return mask;
}

void main()
{

	//This is just like "Quilez Scaling" but sharper
	COMPAT_PRECISION vec2 p = vTexCoord * TextureSize;
	COMPAT_PRECISION vec2 i = floor(p) + 0.50;
	COMPAT_PRECISION vec2 f = p - i;
	p = (i + 4.0*f*f*f)*invDims;
	p.x = mix( p.x , vTexCoord.x, BLURSCALEX);
	COMPAT_PRECISION float Y = f.y*f.y;
	COMPAT_PRECISION float YY = Y*Y;

#if defined(FINEMASK)
	COMPAT_PRECISION float whichmask = fract( gl_FragCoord.x*-0.4999);
	COMPAT_PRECISION float mask = 1.0 + float(whichmask < 0.5) * -MASK_DARK;
#else
	COMPAT_PRECISION float whichmask = fract(gl_FragCoord.x * -0.3333);
	COMPAT_PRECISION float mask = 1.0 + float(whichmask <= 0.33333) * -MASK_DARK;
#endif
	COMPAT_PRECISION vec3 colour = COMPAT_TEXTURE(Source, p).rgb;

	COMPAT_PRECISION float scanLineWeight = (BRIGHTBOOST - LOWLUMSCAN*(Y - 2.05*YY));
	COMPAT_PRECISION float scanLineWeightB = 1.0 - HILUMSCAN*(YY-2.8*YY*Y);

#if defined(BLACK_OUT_BORDER)
	colour.rgb*=float(tc.x > 0.0)*float(tc.y > 0.0); //why doesn't the driver do the right thing?
#endif

	FragColor.rgb = colour.rgb*mix(scanLineWeight*mask, scanLineWeightB, dot(colour.rgb,vec3(maskFade)));
	FragColor.rgb = pow(FragColor.rgb, vec3(2.2,2.2,2.2));
   float dotmask = 1.0 - DOTMASK_STRENGTH;

   //cgwg's dotmask emulation:
   //Output pixels are alternately tinted green and magenta
   vec3 dotMaskWeights = mix(vec3(1.0, dotmask, 1.0),
                             vec3(dotmask, 1.0, dotmask),
                             floor(mod(mod_factor, 2.0)));
   if (shadowMask == 0.)
   {
      FragColor.rgb *= dotMaskWeights;
   }
   else
   {
      FragColor.rgb *= Mask(floor(1.000001 * gl_FragCoord.xy + vec2(0.5,0.5)));
   }

	FragColor.rgb = pow(FragColor.rgb, vec3(1./2.2,1./2.2,1./2.2));

}
#endif

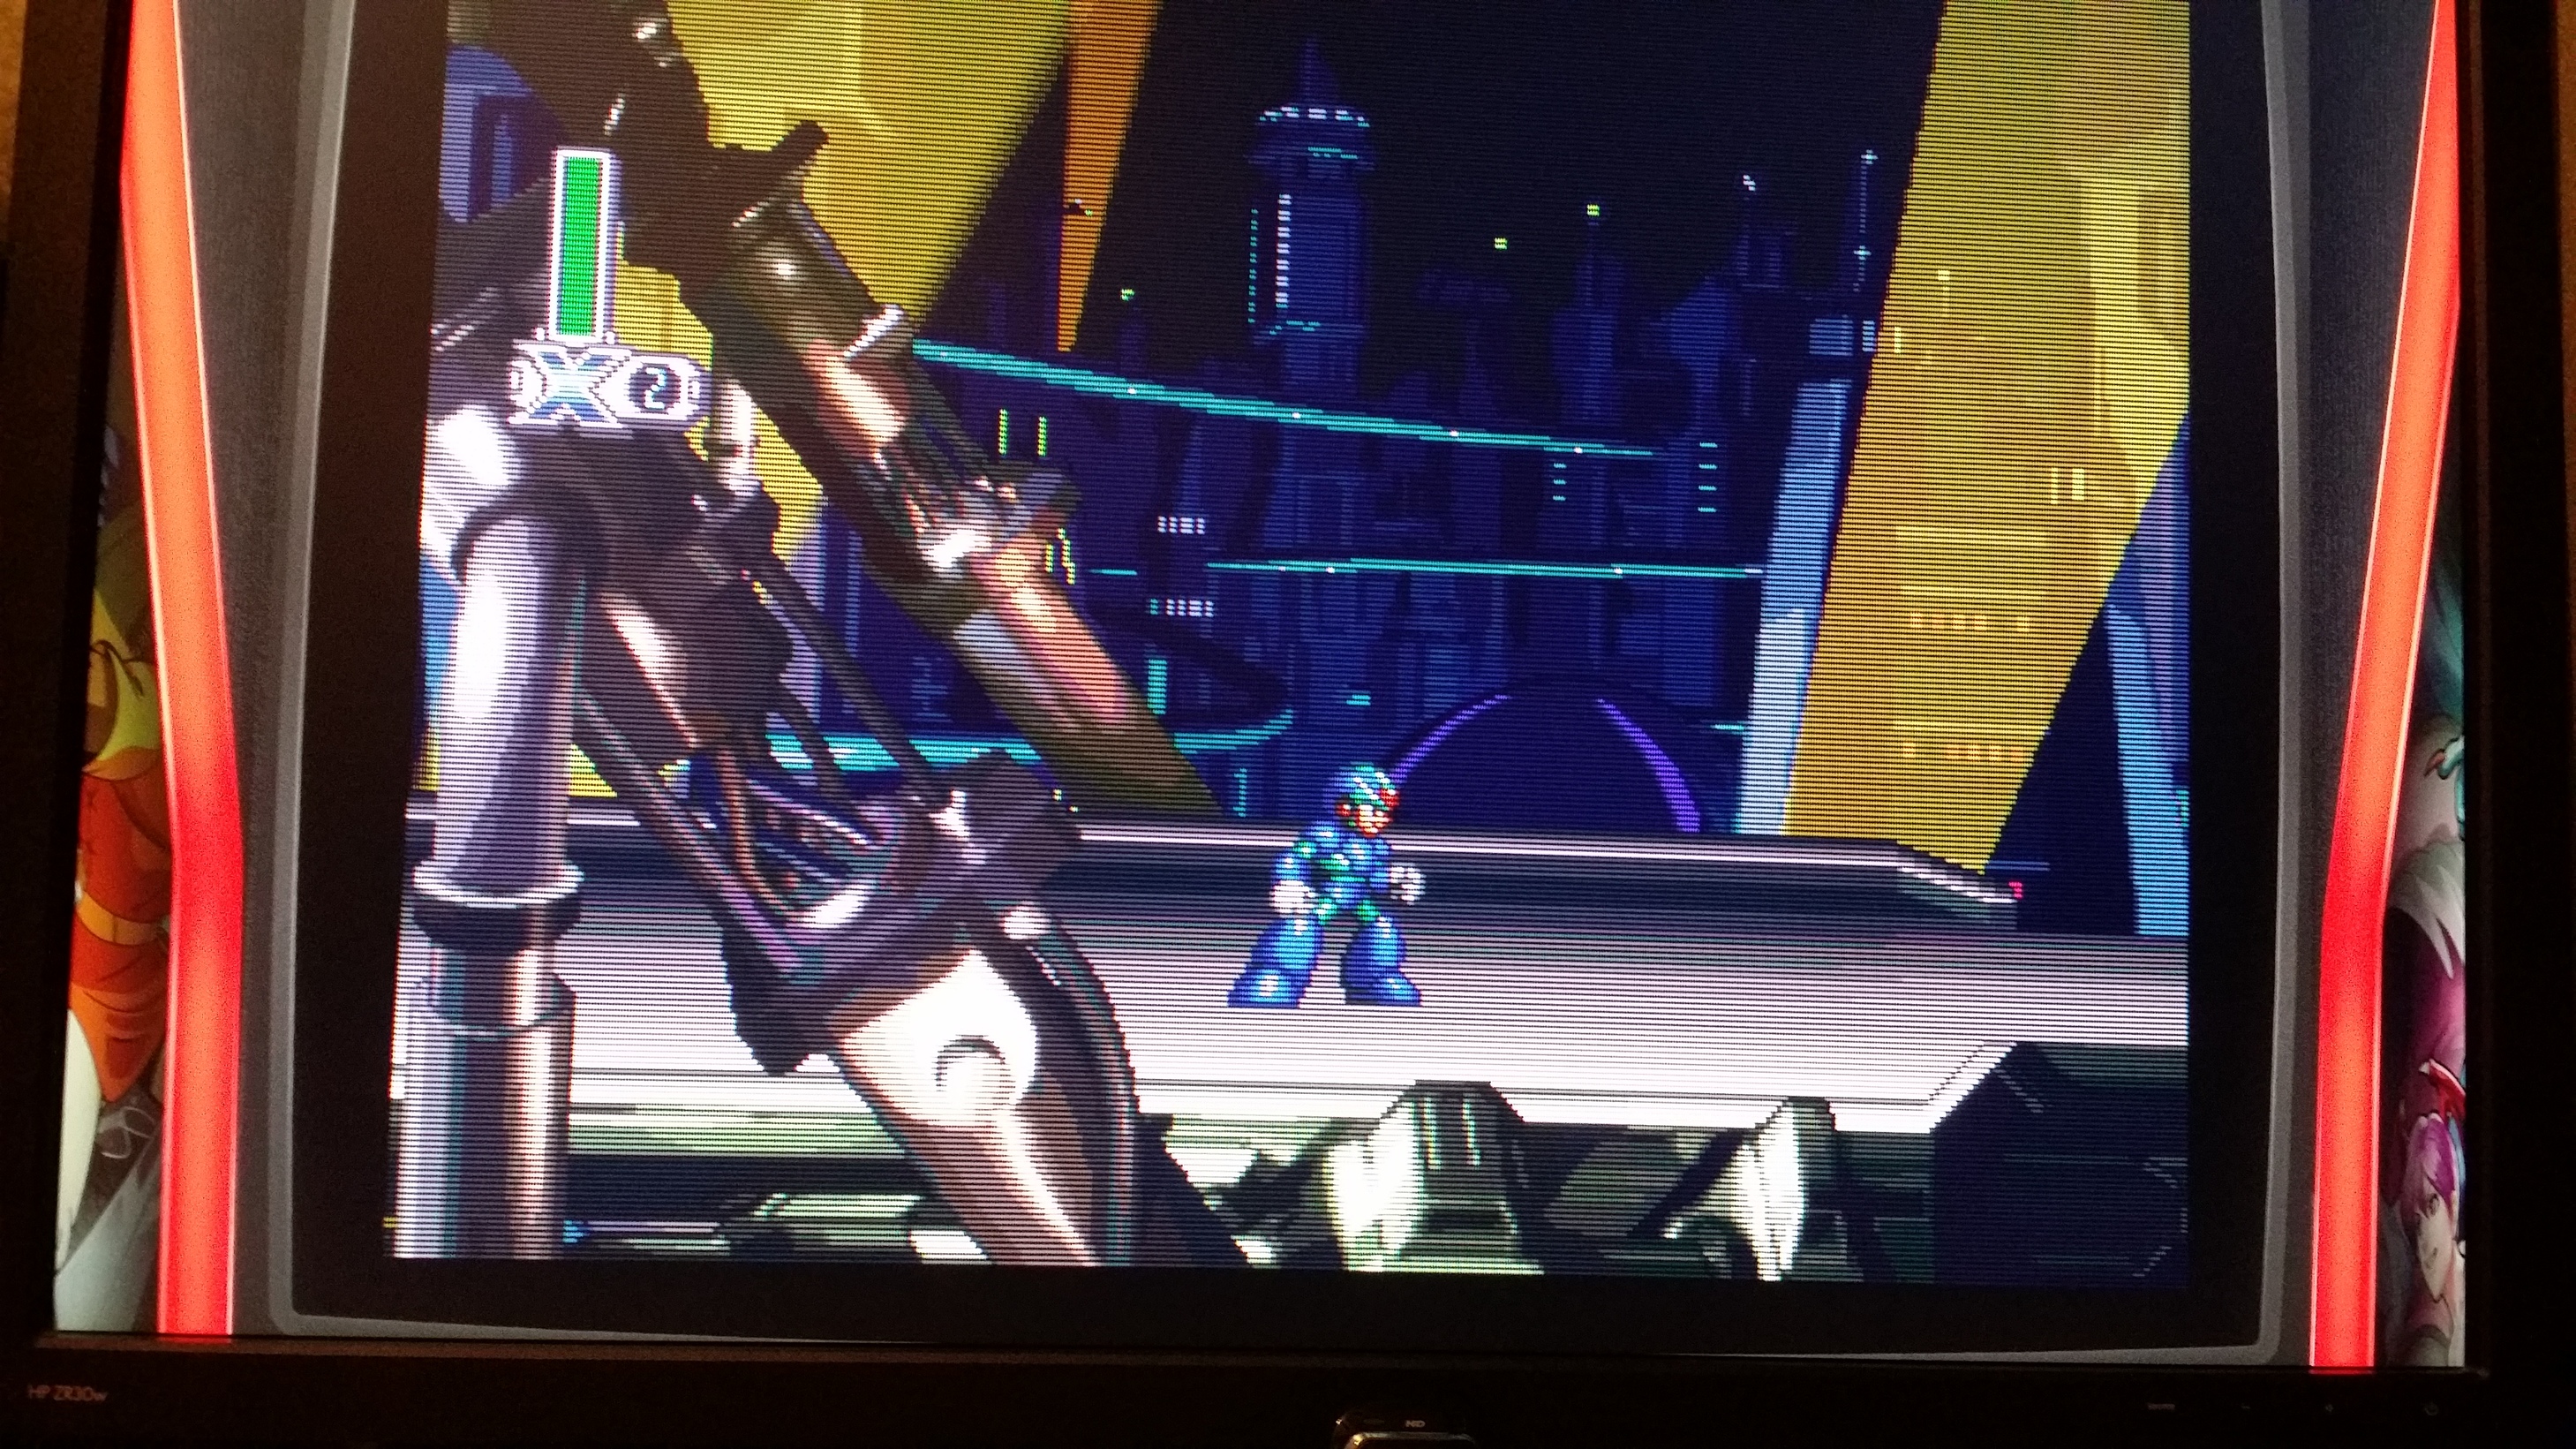
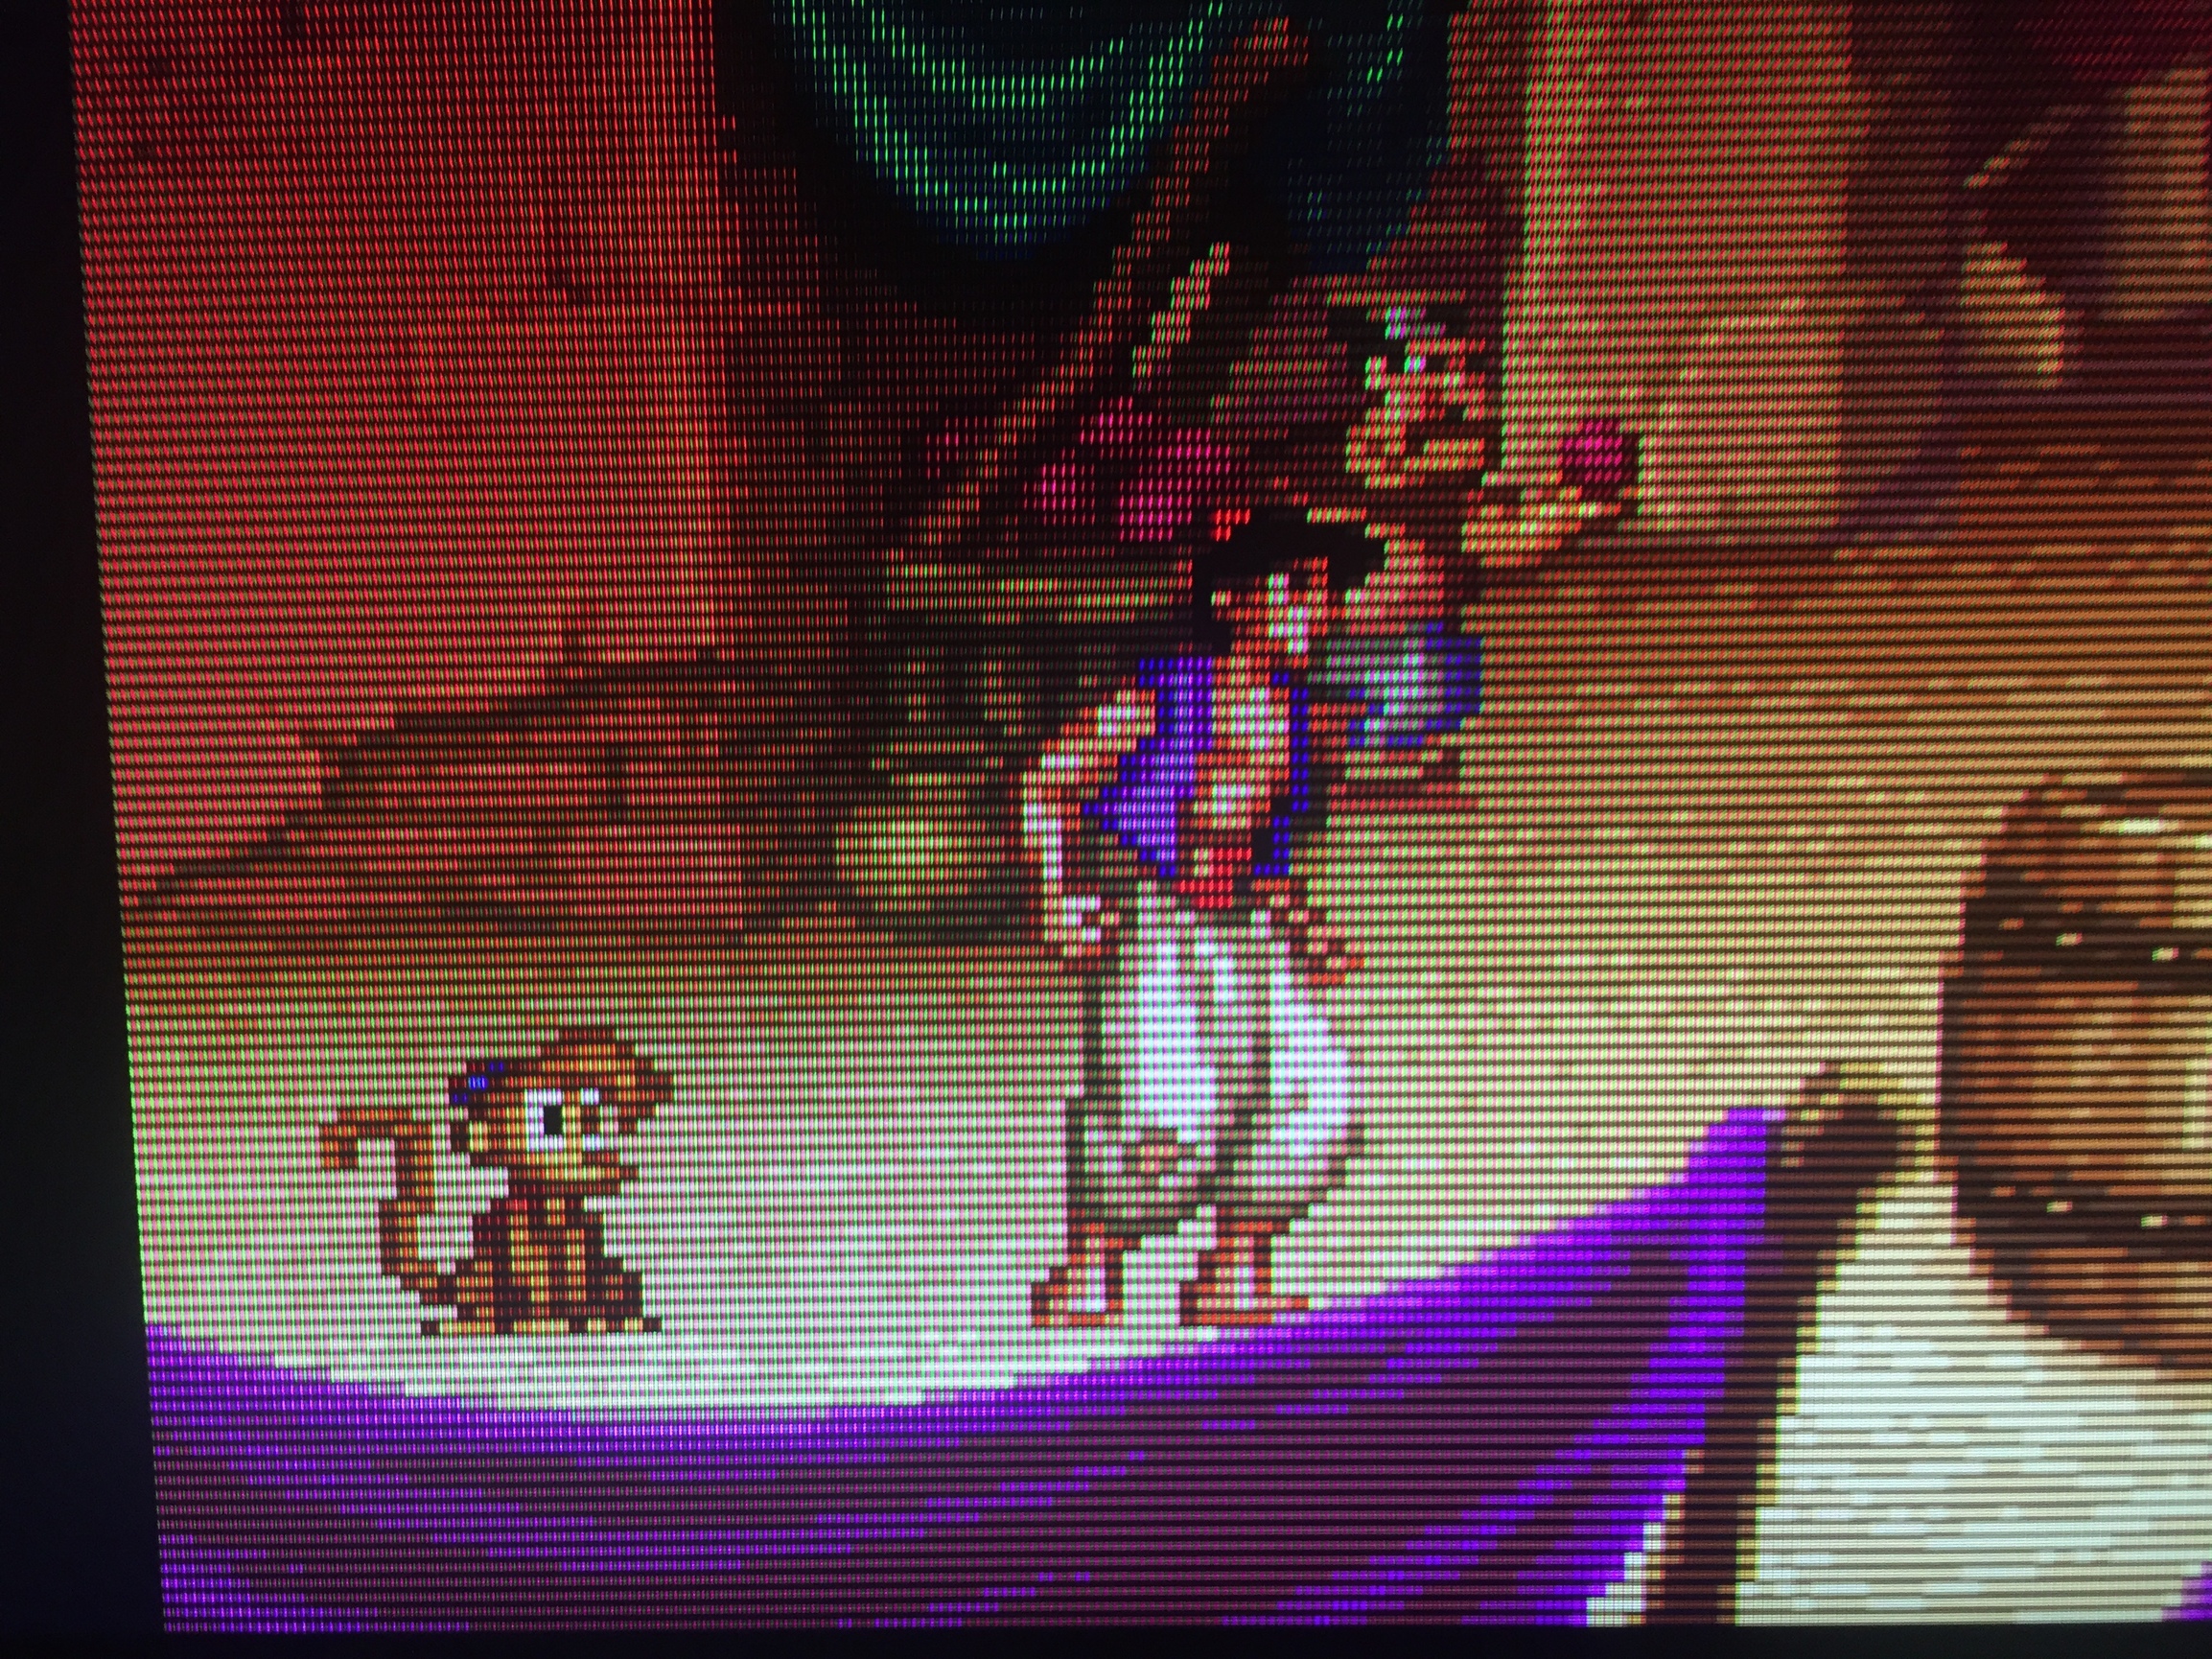
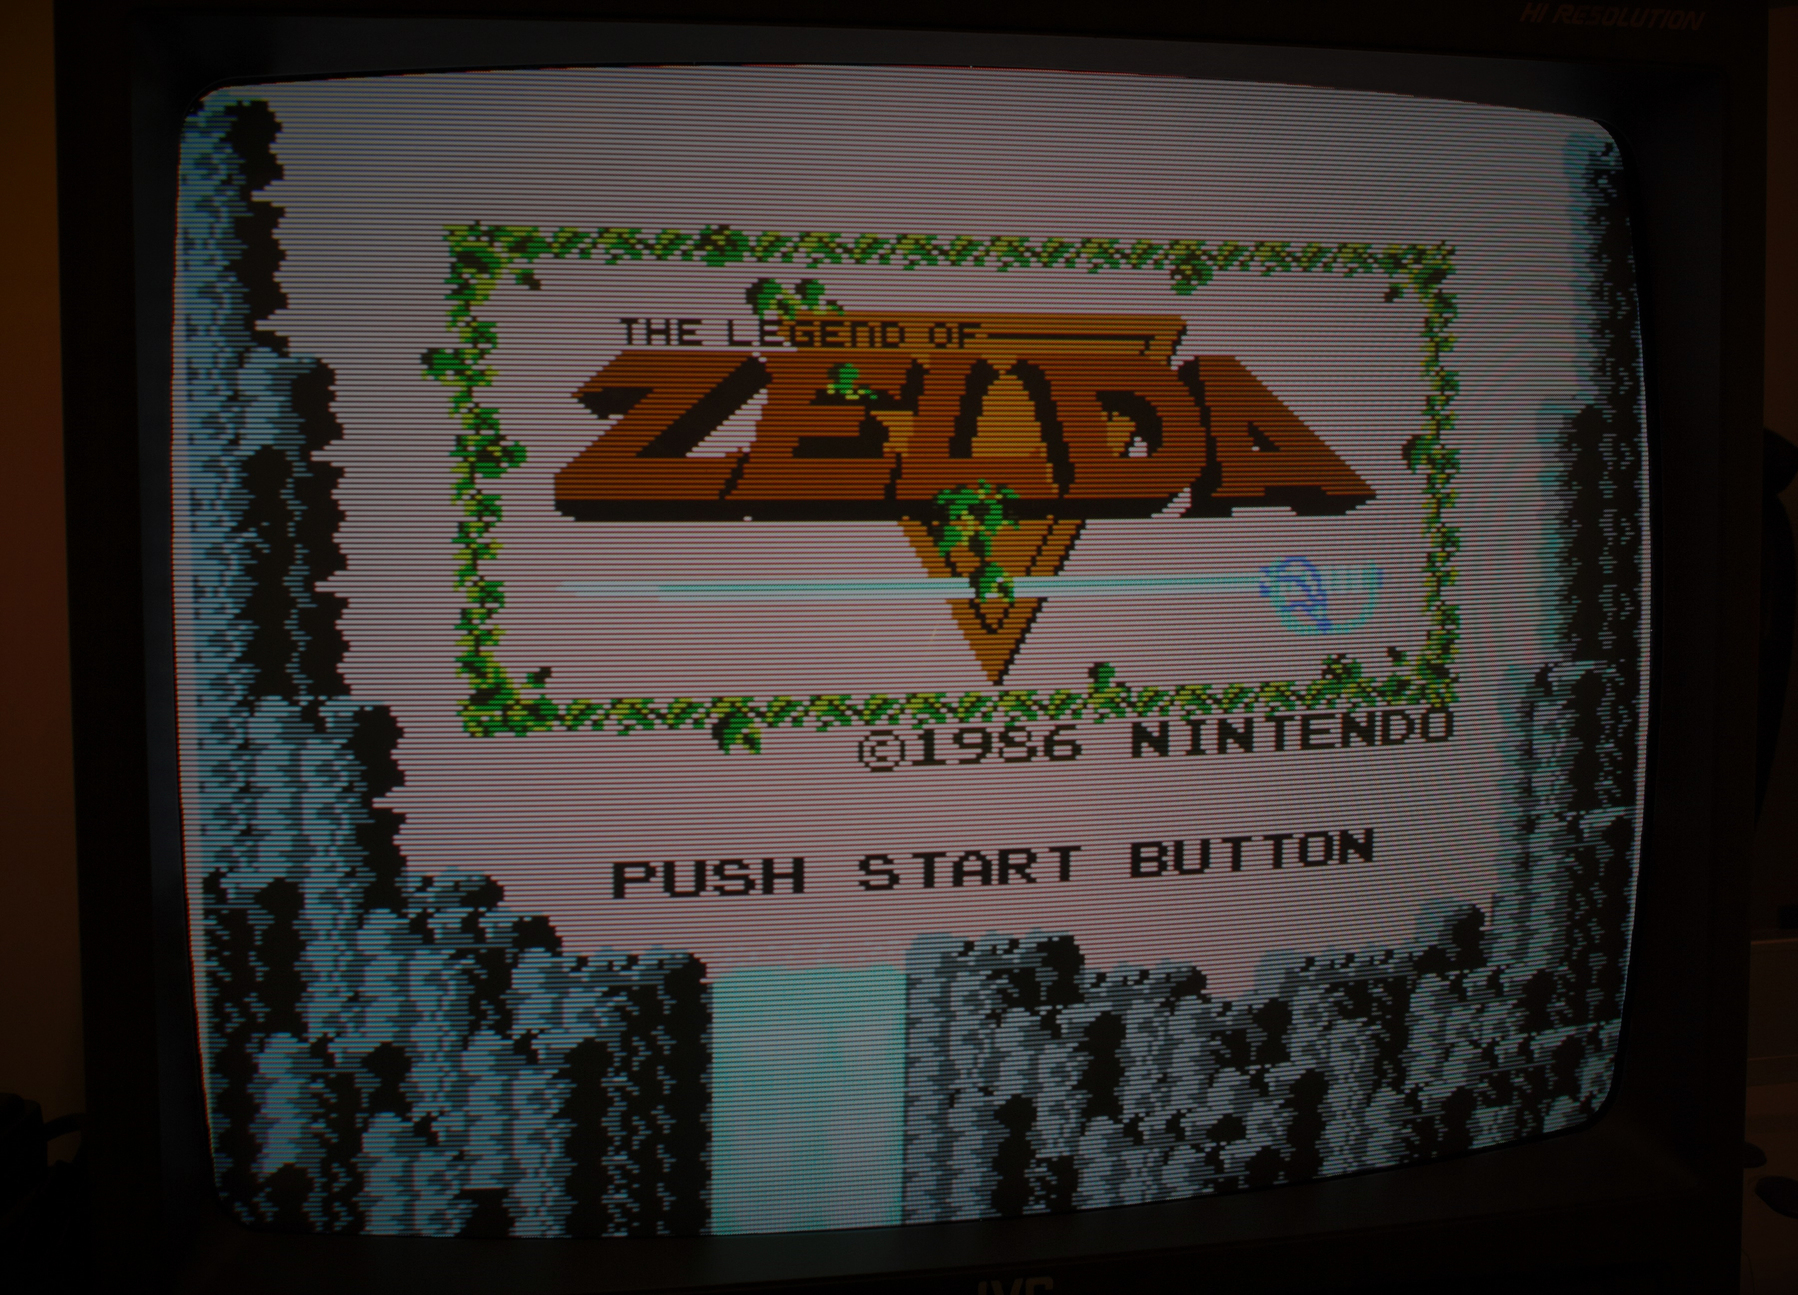
 It is very much as you said, sitting between a PVM and a high-end trinitron. Could you please post the chain again? I messed up the one I got the other day, and I really feel like trying it on the Samsung TV, which is brighter (and much bigger, should look good from the ‘magical viewing distance’).