Good info as always. I’ll watch the linked videos you provided and go from there.
Look forward to any upcoming projects you may have in the works 

Good info as always. I’ll watch the linked videos you provided and go from there.
Look forward to any upcoming projects you may have in the works
do you think the mini led presets may work good with an 55u75k? https://www.rtings.com/tv/reviews/hisense/u7k-u7-u75k
Yes but they might look even better on a 55" TCL QM751G or Hisense U7N/U75N which have the extra brightness headroom to open the door to using BFI/CRT-Beam-Simulator with the TCL having the edge due to it being brighter with more dimming zones and faster transient backlight response.
The TCL QM851G might be a dream with its additional brightness or even an QM850G or the Hisense U8K/U8N.
You can also consider the TCL QM7K.
Cyber, any help on what I’m doing wrong here? I have the corresponding guest.r shaders downloaded/installed.
I have the log as well. I need the format to post it so it wont be a whole long thread.
You can use Pastebin.com or you can encapsulate the log in Preformatted text parentheses.
The preset loads just fine on my end and I checked the paths and nothing seems untoward.
Be sure to update your slang shaders at least once and you can also install one of my packs from the W420M pack and onwards which have the correct guest shader self contained.
Also don’t be afraid to use the miniLED Shader Pack as that would contain many improvements and things that I have learned since making my earlier preset packs. You would just have to adjust the Display’s Subpixel Layout to match the subpixel layout of your display.
Which is something I recommend doing anyway. Of course you’ll also have to adjust the Peak and Paper Paper White Luminance to values that are suitable for your display as well.
Free time today so the plan is to see lots 
This is your issue right here. The required CRT-Guest-Advanced Shader is not installed in the correct folder or not installed properly.
Installing any of my Sony Megatron Color Video Preset Packs from my W420M preset pack, going forward should take care of that for you.
always clutch bro. thank you
These are the only parameters I adjust on my end?
Unless you have an identical display to the one used during the development of the preset, you probably need to adjust some more settings, possibly on your TV or via the Shader Parameters in order for things to look as good as possible on your display.
Newer TVs have features like Dynamic Tonemaping which can significantly alter the image for better or worse.
Remember the presets are already highly fine tuned so any change or difference in how the display processes things or applies its EOTF, Gamma, White Balance, Saturation can lead to things looking more washed out or clipping of colours for example.
So, it’s a step by step process to determine which combination of settings work best with your set/setup.
So here’s where you might need to start trying stuff, seeing how it looks then reporting back with photos and descriptions of what you’re experiencing then you might get a little back and forth as to what to try to adjust.
You seem to be enjoying yourself. Which preset is this?
Once you dial in your specific Peak and Paper White Luminance values, you can use them as a starting point or guide for setting those values for other presets.
Cyber Lab Megatron miniLED 4K HDR Game BFI PSX S-Video Cyber Tron Sharp Advanced Neo-GX Ultimate.slangp
NTSC-J
hows it look ?
Good that you’ve chosen one of the newer presets to work with and I see that your system is coping fine! Is this the old PC or the nes laptop? Right now I’m working on some tweaks to these newer presets. Mostly trying to fix mask alignment issues and reconfigure some of the higher TVL Shadow Mask offerings which show some strange colour artifacts.
So don’t be surprised if you see changes and/or improvements to presets which have looked a certain way before
By the way, it’s a good idea after adjusting a preset to suit your display, to save a Core, Game or Directory Preset with Simple Presets On. That way if there are any updates to the preset, they should continue to load seamlessly and your changes to things like the Peak and Paper White luminance will be preserved.
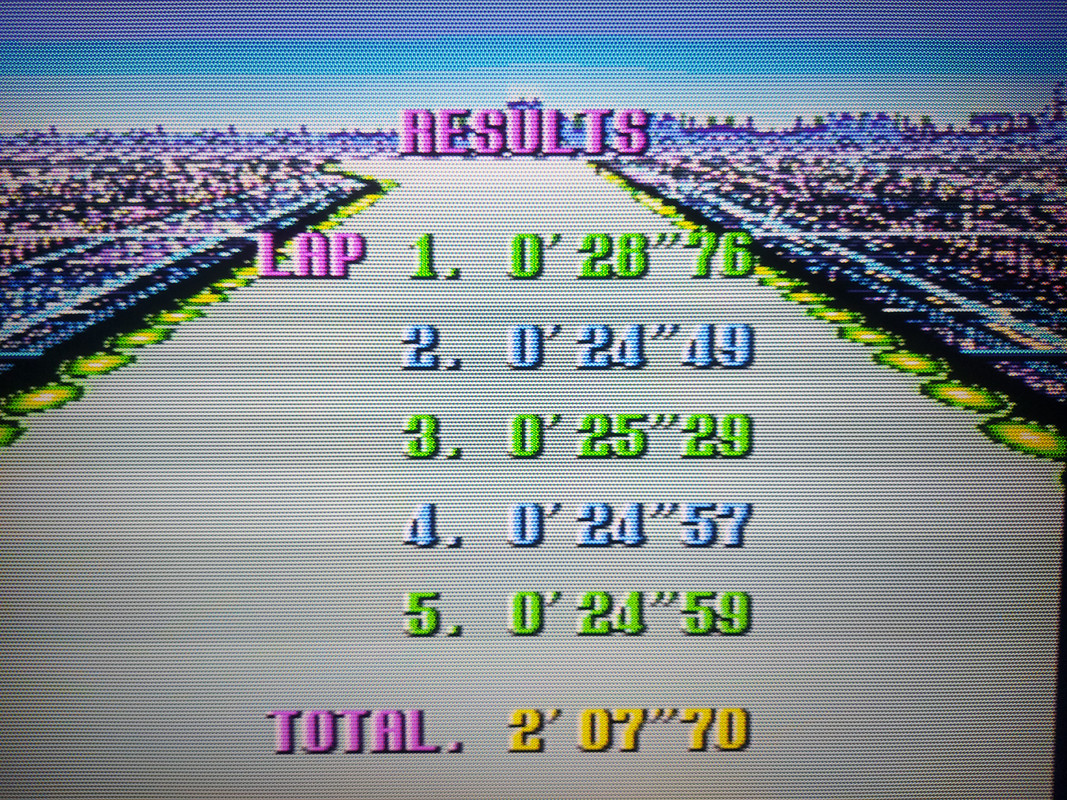
Well it seems proper, however, it looks like this is a GPU screenshot and not a photo of the screen. Unfortunately GPU screen!shots would look mostly identical on my (or any other) display so it’s not possible to make valid comparisons or get a good idea of what you’re experiencing unless you take some high quality photos then annotate somewhat the differences if any between the photos and what you’re actually experiencing on-screen in person.
I should be asking you what do you think so far?
An old 1050ti laptop I had on hand.
Funny enough, after we talked previously, this cheap 4K chinese monitor landed on my lap and I hooked it up to the laptop and gave it a run. It doesn’t reach the recommended HDR brightness suggested in the Sony Megatron thread, but at around 490 nits and some parameter adjustments it looks good enough for being free.
It’s a shame not being able to adjust certain parameters that won’t change on my end like peak brightness and display layout on a whole suite of the shaders all at once. But your starting points are fine, so all good.
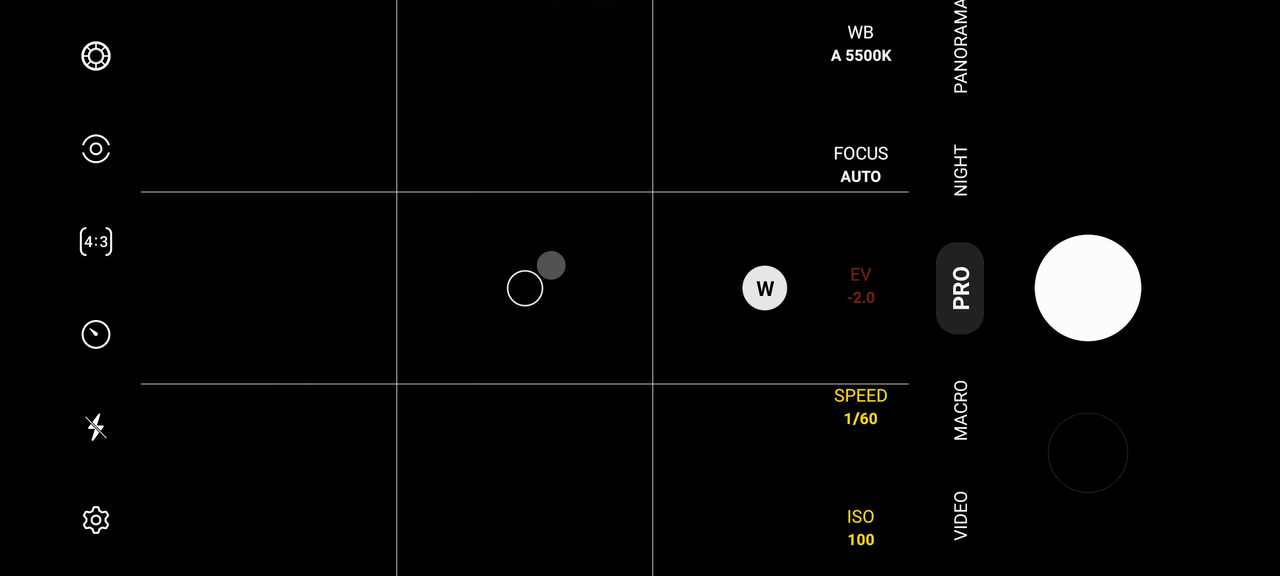
Is there a better way to do it? Or are you talking about setting up a pro camera at the screen and taking a pic that way?
You were my gateway to shaders a while back so this aspect of the hobby is very much out of my wheelhouse. I think after a couple tweaks to peak brightness, display layout, 4K instead of 8K, region etc. they look great.
Well that’s not too bad. My Mega Bezel HDR Ready preset pack would probably work nicely with that but I don’t think the 1050Ti would be able to keep up.
You can try the CRT-Royale Preset Pack and also the SDR to HDR conversion recommendations.
Notepad++ Find (and Replace) in Files can do this.
It depends on what you’re doing now? Was I correct in thinking that the image you posted was a generated/captured screenshot and not a photo of the screen?
I just described how I would go about taking photos of the screen in another thread so here goes:
Now why would you want to interfere with this if you have a 4K display? On a 1440p or 1080p (or 8K) display that might be necessary but do you really want to alter the TVL of my presets which are already optimized for 4K displays?
So leave the parameter @ 8K even if the monitor is only 4K? I thought this was a parameter dependent on one’s personal display. If I’m wrong I’ll leave it alone moving forward.
yup
Precisely. These presets are already optimized for 4K displays so there’s no need to customize the Display’s Resolution or CRT-Resolution (TVL).
That’s only necessary for folks using other resolution who wish to find appropriate TVL’s/consistency for those resolutions.
8K doesn’t really mean it’s for 8K displays only. It just means divide the TVL by 2 but sometimes other characteristics are more desirable when choosing 8K over 4K, like the slot mask height used or in some cases scanline/mask alignment.
https://www.reddit.com/r/crtgaming/s/cCtMYLGzYz
https://www.reddit.com/r/crtgaming/s/yZp5OEItE2
https://www.reddit.com/r/crtgaming/s/OFr1x26rBn
https://www.reddit.com/r/crtgaming/s/ykdy52JsXV
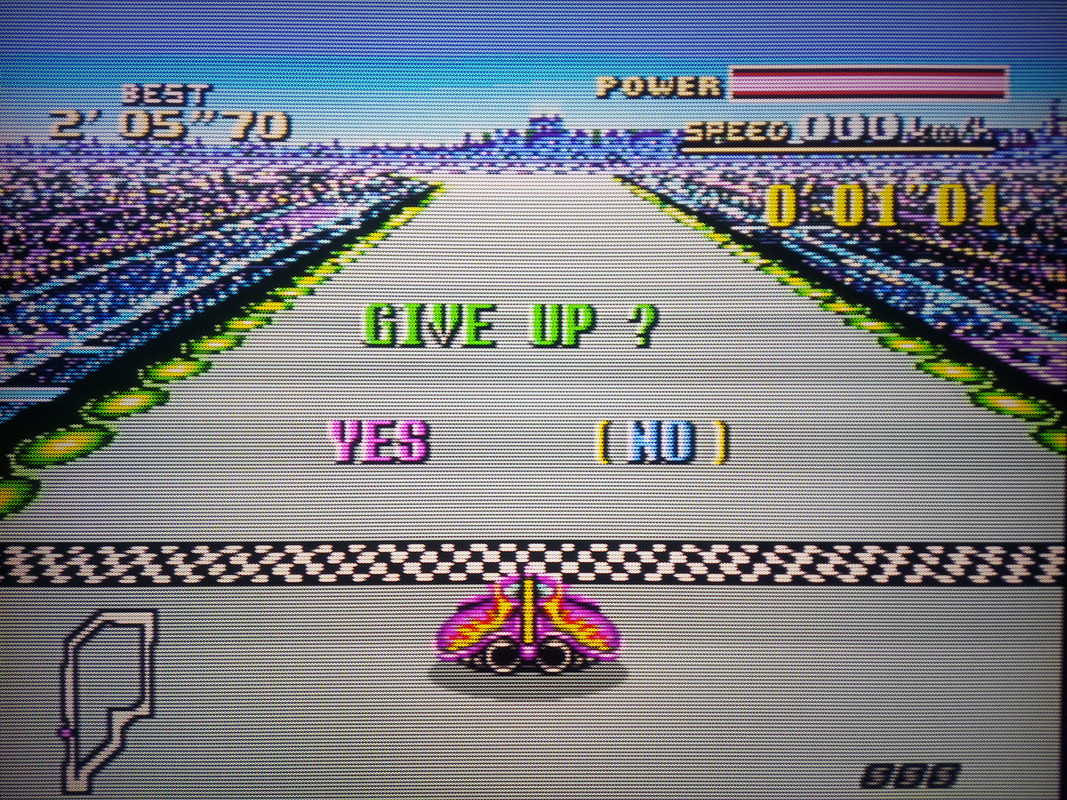
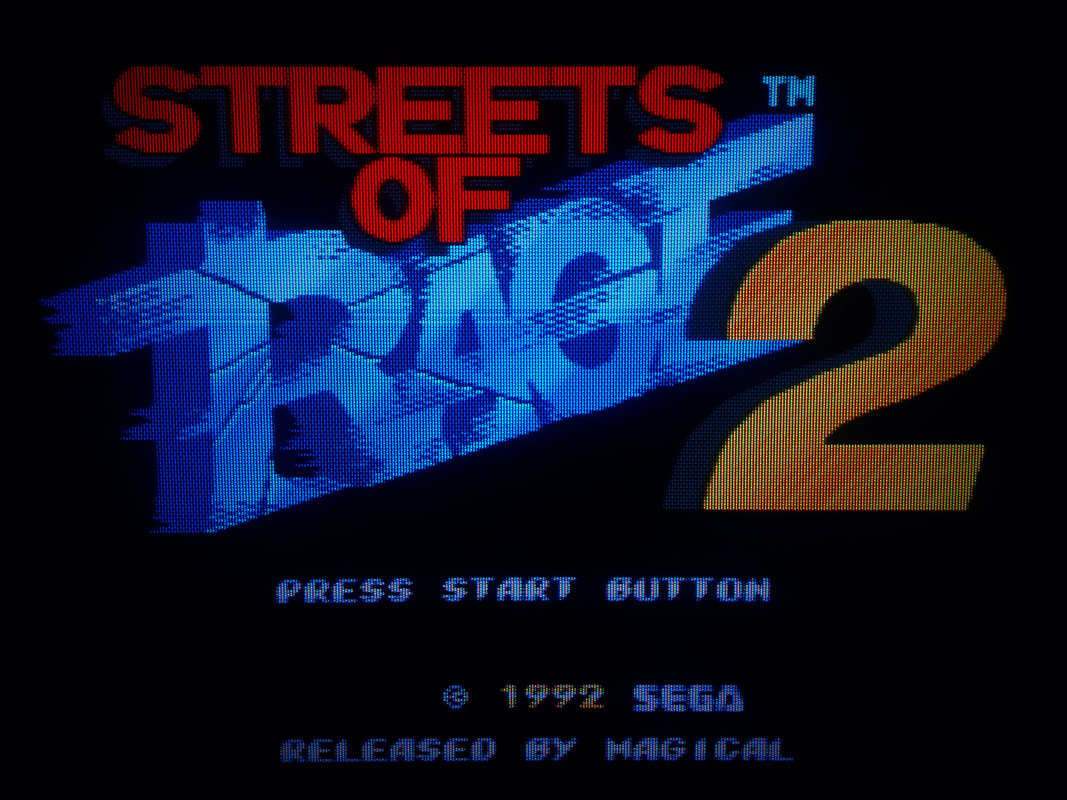
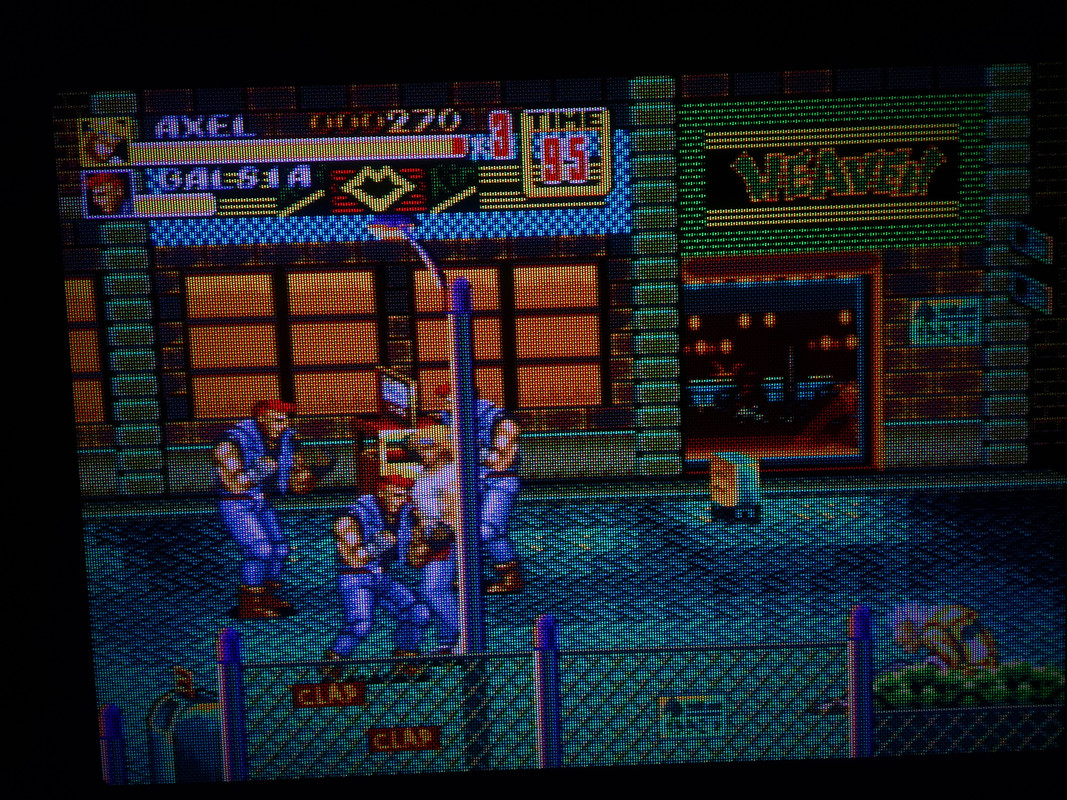
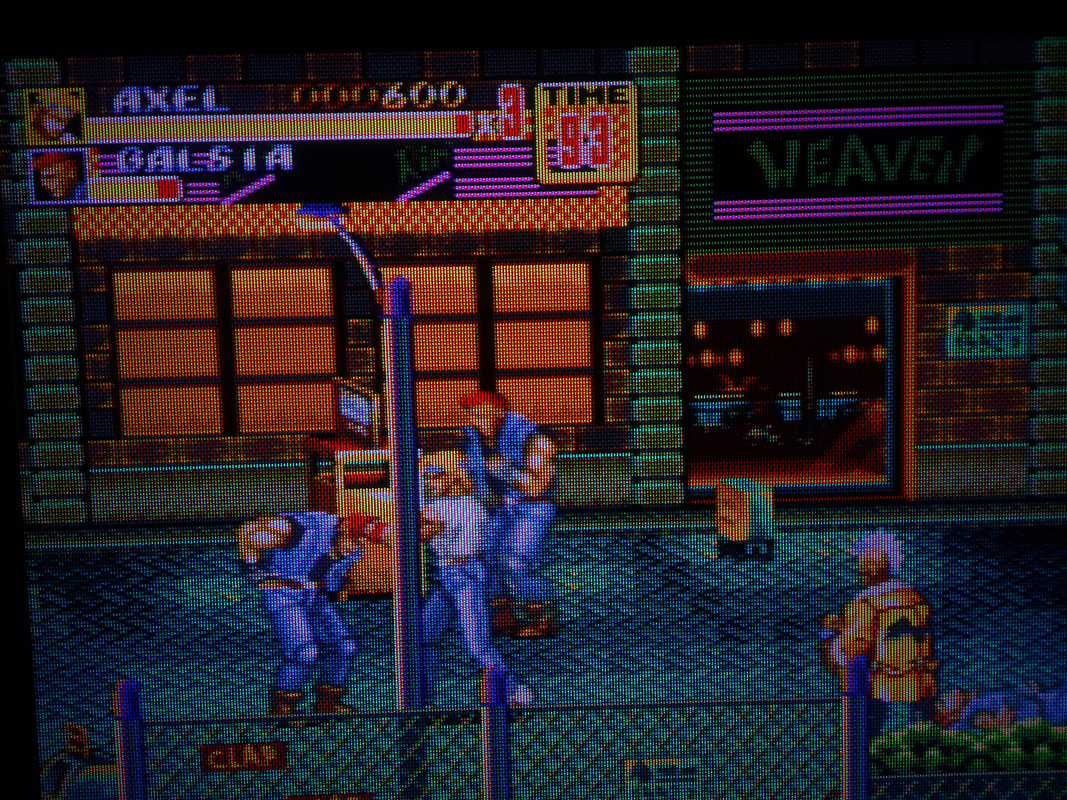
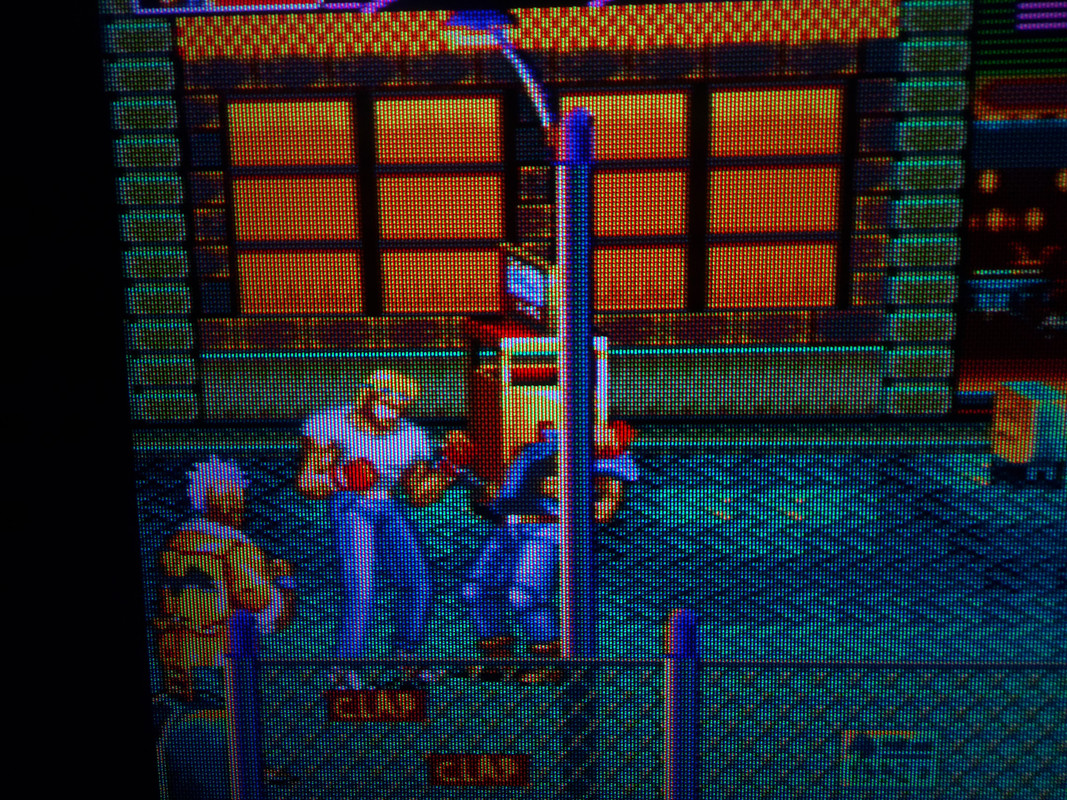
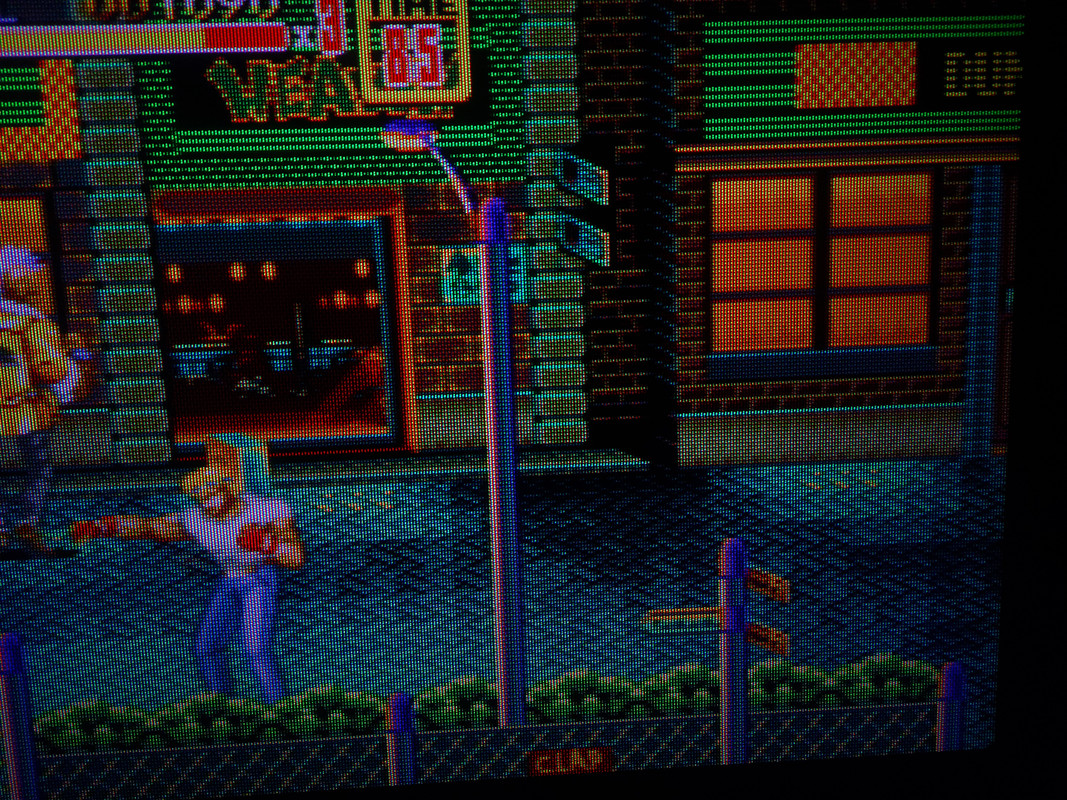
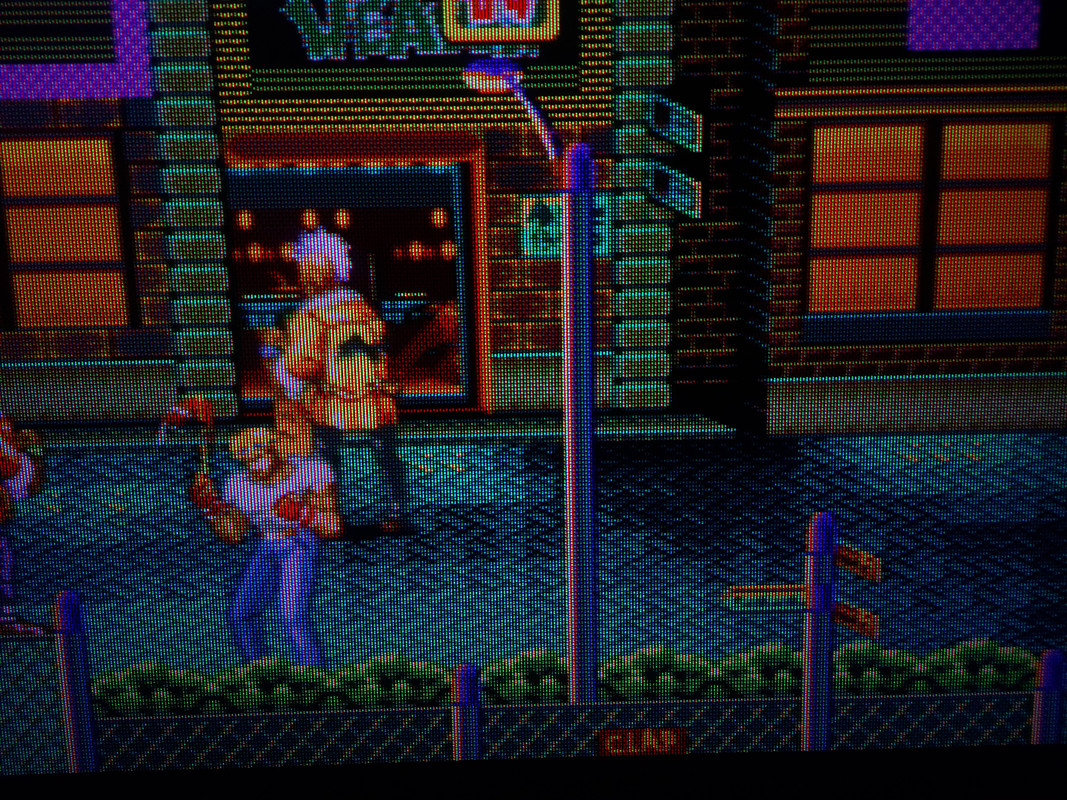
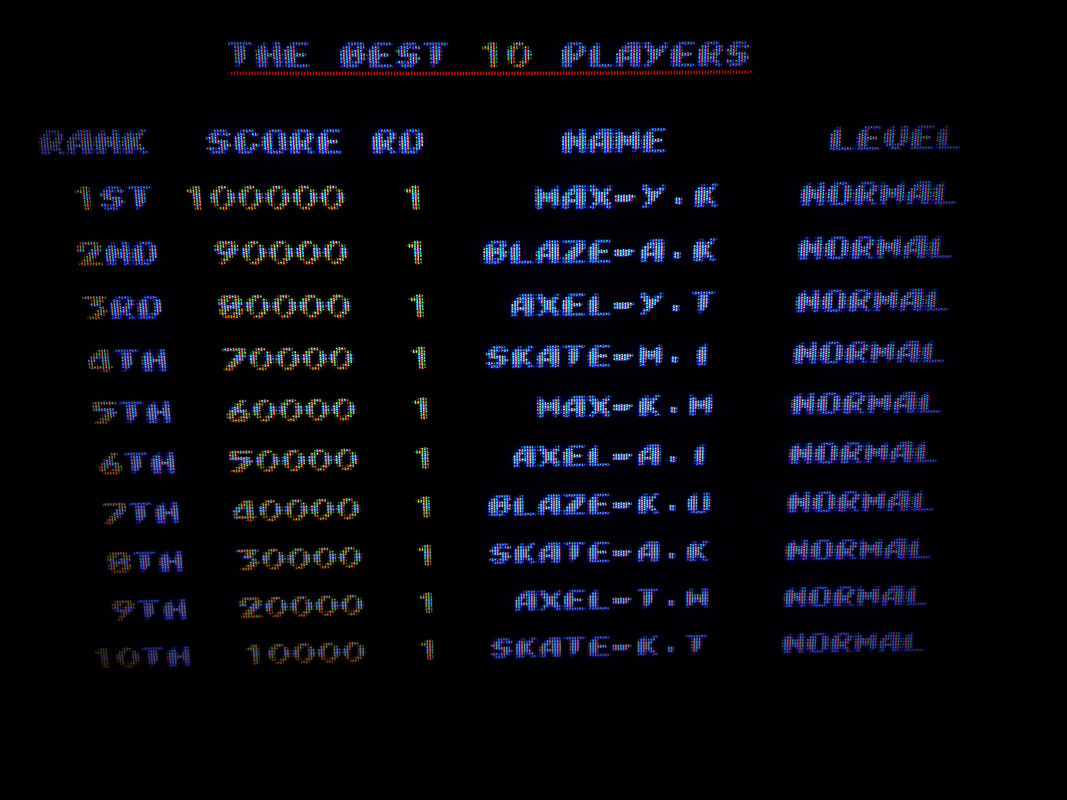
These are from my brand new CyberLab Megatron miniLED Epic Death To Pixels HDR Shader Preset Pack
Be sure to click/tap on Download Original Image to view them in the most optimal fidelity.
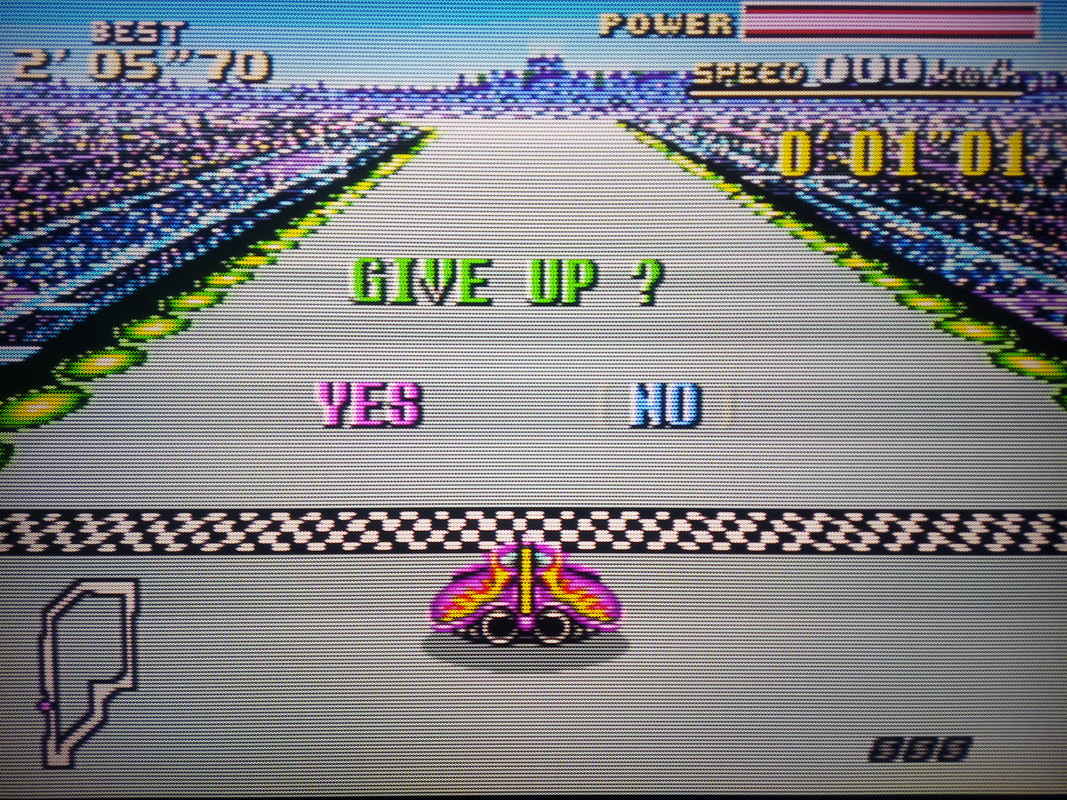
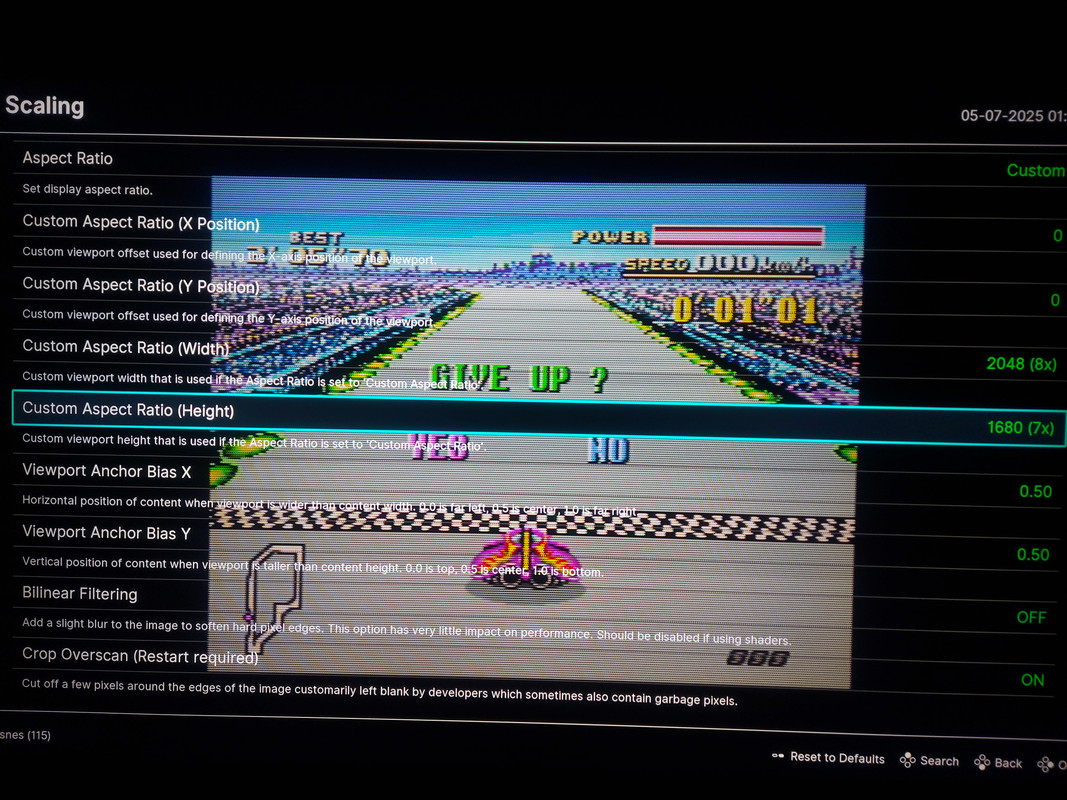
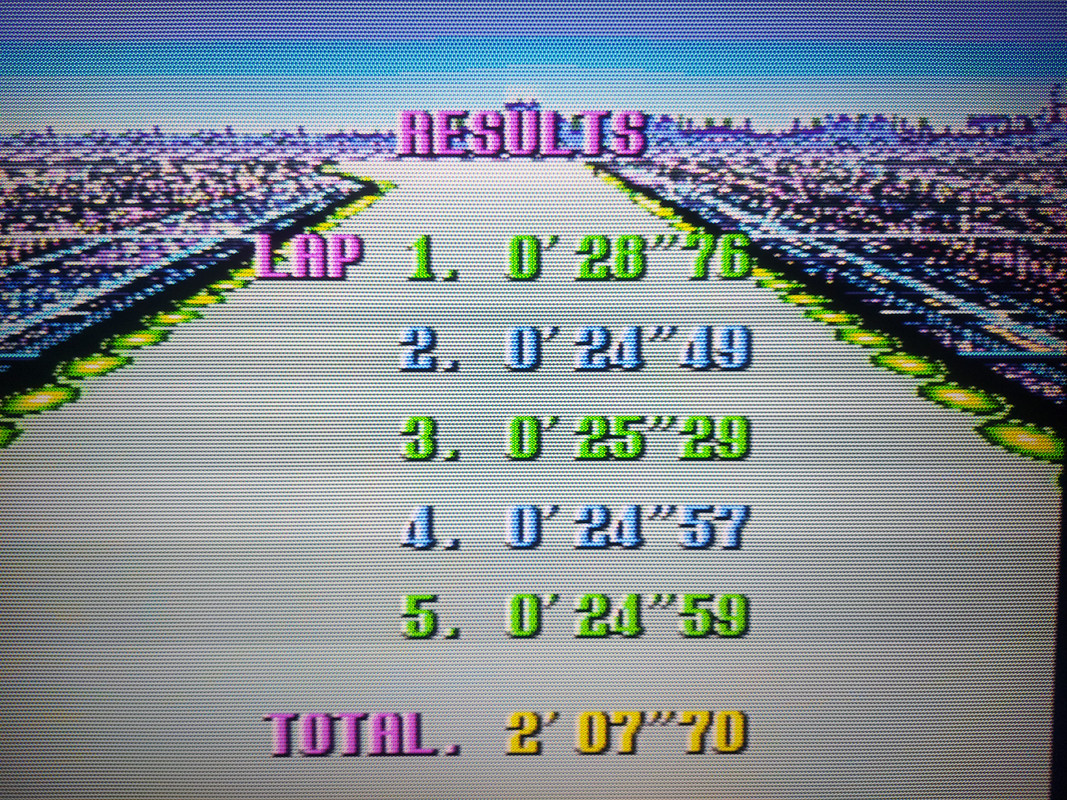
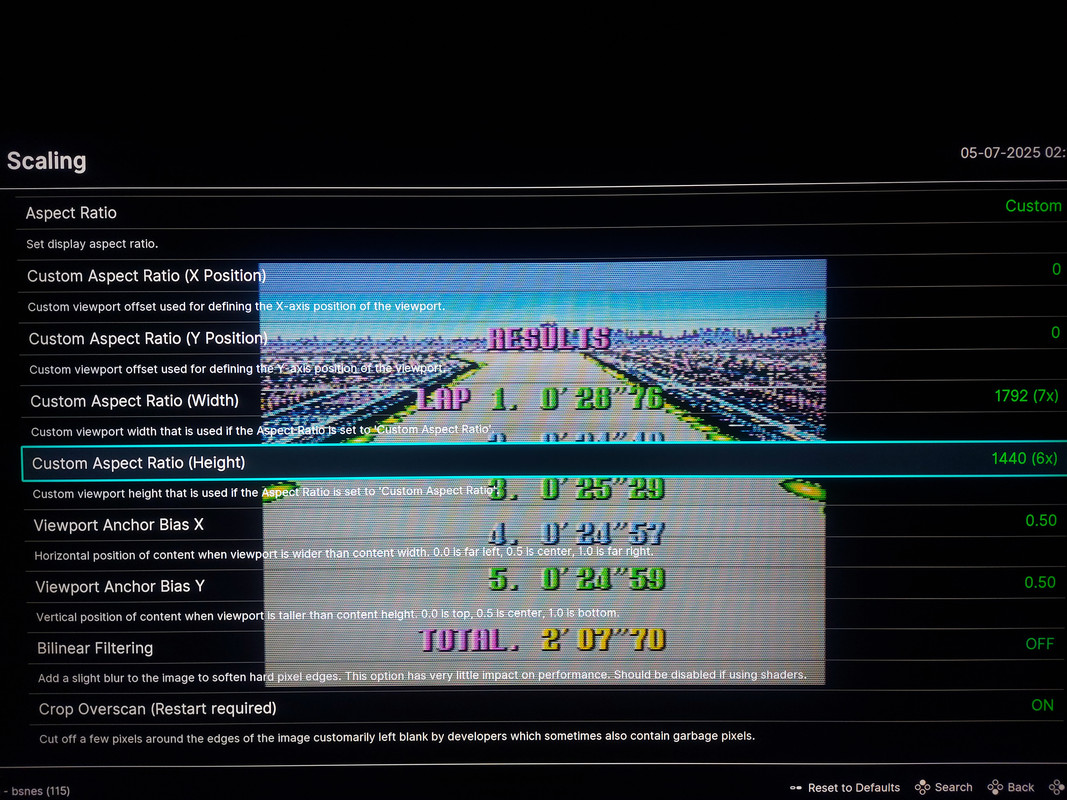
For a long time now, I’ve noticed while experimenting with lower scale factors that sometimes when the viewport is smaller the image looks more authentic and has a special vibrancy and sharpness to it which looks and feels better and more CRT like to me.
I’ve noticed every time I’ve switched back and forth between larger and smaller scale factors that there seems to be a sweet spot somewhere that may not necessarily be the largest possible image that the screen can display.
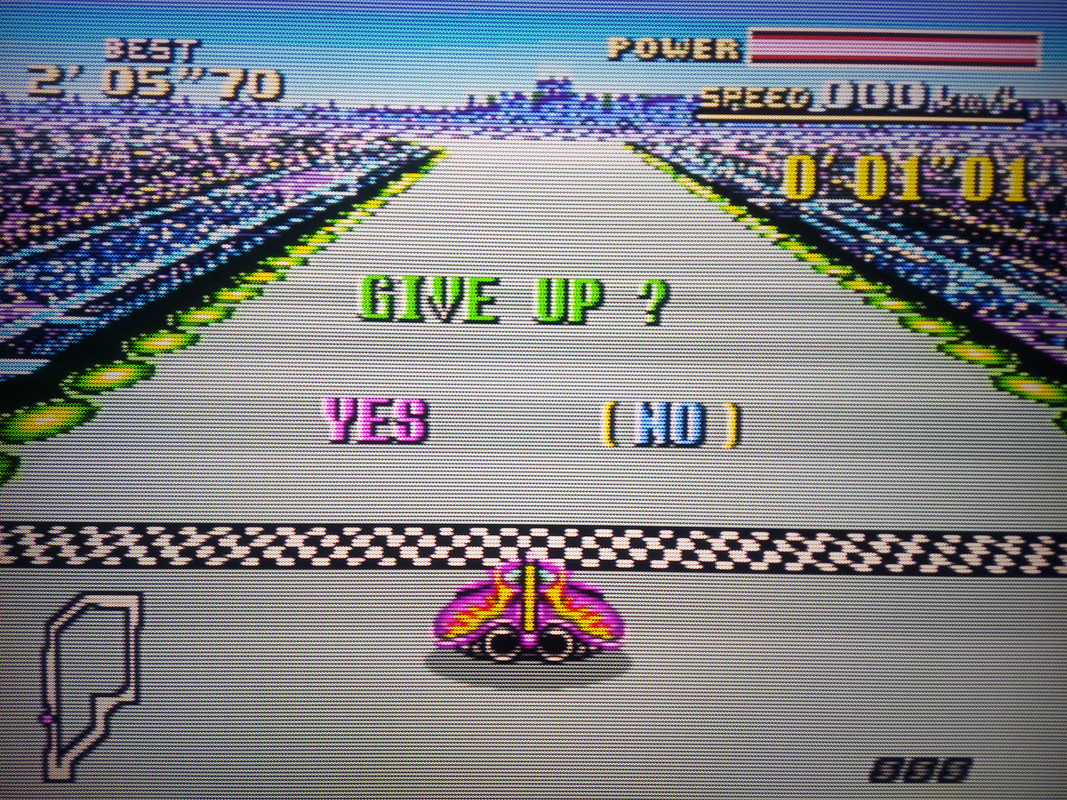
Then the possible reasoning behind this suddenly occurred to me. A lot of the improvement has to do with additional brightness output by the display when the viewport (window size) is smaller.
This leads me to believe that the higher tier miniLED TV on the market today for example the TCL QM851G, QM8K and the Sony Bravia 9 might be some of the best equipped displays for CRT emulation.
I have a TCL QM751G which is bright in its own right but I can imagine and get a taste of how useful the additional brightness headroom provided by the higher tier models might be. Not to mention the benefits of their increased dimming zones.
The brightest WOLED TVs might also fare well for example the LG G4 and G3. While the LG G5 and Panasonic Z95B might need some testing, validation and verification to see if current CRT shaders might need updating in order to support their novel subpixel layouts.
Note: One possible downside to using different scale factors is that it might interfere with the scanline and mask alignment.
CyberLab Megatron minLED 4K HDR Game BFI SNES 3D Comb Filter Shadow Mask Epic.slangp
https://postimg.cc/gallery/8CCLJfz

https://postimg.cc/gallery/yzz9B7x
CyberLab Megatron minLED 4K HDR Game BFI Genesis 3D Composite Slot Mask Epic.slangp
https://postimg.cc/gallery/K1hQFCX

Hello Cyber. First of all thank you for your amazing work in trying to make retro gaming feel as authentic as possible.
I’ve been trying around and playing with shaders for a while now and decided to stick with yours.
To further enhance my experience and gather some knowledge in the process I have a set of questions which you’re hopefully able to answer. I hope they’re not too many.
Info: I play docked on the Steamdeck with 4K HDR output through Retroarch to my Sony A8 OLED. I mostly stick to your Mini LED packs.
It says BFI in the shader names and I know it stands for Black Frame insertion. Is BFI actually necessary for these to look as intended? Retroarch through Emudeck doesn’t support BFI yet AFAIK and my TV isn’t capable of 120Hz anyway. I thought they mostly look good without.
I sometimes have a hard time to decide between these very distinct names. Fine, Sharp, Ultimate, Ultimate Fine Advanced. You get the gist. When I get up close I CAN tell the difference but I’m not always sure WHAT it is. Sometimes the mask density is higher. Is it emulating different quality TVs?
Often the shader names already have the name of the mask in them. When I then go into parameters I can change the mask though. When I go into the shader parameters of a shader with “slot mask” in the title, is it advised to also change the setting to slot mask or can I change it to Aperture grill if I prefer?
I realized most of these have 4K in the title but out of box without adjusting parameters they always seem to be at 8K by default in the screen resolution parameters, so the masks look way too large and I can see the individual RGB pixels from afar, as each color is made of 16 pixels instead of 4 then. I manually have to set them to 4K.
I’m not quite sure what to set my peak paperwhite luminance as. I found out peak luminance for my TV (Sony A8) is 650nits, but there’s no info on the internet about peak paperwhite luminance. I saw a retrocrisis video where he set his to 50, but that image is just way too dark then.
Why are they actually divided by consoles? I get why they’re divided by cable signals for example, but some of the SNES titled shaders give me the see through Sonic waterfall just as the Genesis titled shaders. What’s the reason behind that?
Thanks in advance, I’m happy to learn.


