
Sent you a pm so that we can discuss there.
1 Like
Sent you another PM.
I was looking to an old post here and noticed that somehow the look of my preset has deviated from the one I intended at first.
This was from a post of mine from months ago:
At the time, I really liked the sharpness and it gave me the impression of a real CRT when watching my LCD monitor.
By the way it seems, i kinda lost the sight, it may be highly subjective ofc, that is why i’d like to ask you all.
This is how the monitor presets look more or less now:
This is how i eventually will turn them into, please see at 100% zoom, since the colors when scaled are really messed up:

What do you prefer, i really can’t decide 
RAW parameters
DO_CCORRECTION = "1.000000"
LUMINANCE = "0.200000"
GAMMA_OUT = "0.500000"
DO_SHIFT_RGB = "1.000000"
OFFSET_STRENGTH = "0.400000"
SHIFT_R = "-20.000000"
SHIFT_G = "1.000000"
SHIFT_B = "20.000000"
DO_IN_GLOW = "1.000000"
IN_GLOW_POWER = "2.300000"
IN_GLOW_GAMMA = "1.400000"
IN_GLOW_W = "7.000000"
IN_GLOW_H = "7.000000"
IN_GLOW_BIAS = "0.000000"
DO_VMASK_AND_DARKLINES = "1.000000"
RGB_MASK_STRENGTH = "1.000000"
VMASK_USE_GM = "1.000000"
VMASK_GAP = "1.000000"
DARKLINES_STRENGTH = "0.000000"
DO_HALO = "1.000000"
HALO_POWER = "0.150000"
HALO_W = "7.000000"
HALO_H = "7.000000"
HALO_GAMMA = "3.099999"
HALO_VS_SCAN = "0.400000"
DO_SCANLINES = "1.000000"
SCANLINE_MIN = "0.300000"
SCANLINE_MAX = "0.450000"
SCANLINE_SM_TYPE = "1.000000"
SCANLINE_SM_VOFFSET = "40.000000"
DO_BLOOM = "1.000000"
BLOOM_MIX = "0.400000"
DO_CURVATURE = "1.000000"
GEOM_WARP_X = "0.250000"
GEOM_WARP_Y = "0.200000"
GEOM_CORNER_SIZE = "0.010000"
GEOM_CORNER_SMOOTH = "400.000000"
BEZEL_INNER_ZOOM = "-0.215000"
BEZEL_R = "-0.190000"
BEZEL_G = "-0.190000"
BEZEL_B = "-0.190000"
BEZEL_CON = "2.180000"
AMBI_FALLOFF = "0.400000"
AMBI_POWER = "1.000000"
AMBI_OVER_BEZEL = "0.200000"
V_SIZE = "2.700000"
V_POWER = "1.050000"
S_POSITION = "194.000000"
6 Likes
They both look sexy to be honest lol. Hard to choose but just off shots alone I would probably go with the first one, looks more “bloomy” and I love my bloom. I’d have to try the second one out first hand to get a better feel for it.
I’m kind of in a similar state as you right now, I wanna switch things up a bit with my presets, only difference is I don’t have a set goal to what I even want. Maybe I should start looking at some high quality crt pics for inspiration.
3 Likes
Definitely the second one.
Looks clearer, there’s more contrast and definition. Also, when presets start off with a relatively softer foundation, things can easily get blurry when viewed from a distance, especially on larger screens.
Unless a CRT had an issue, they generally delivered the gaming goods without being blurry. Blur was never a thing not even the slightest amount, at least to me.
Then there’s the destruction of the mask that takes place the more we add artificial brightness, glow and blending/softening tricks.
1 Like
Sorry to continue with final fight screenshots, but it is my reference.
I’ve just uploaded come new code to (hopefully) properly emulate dot matrix display.
I think this is the name for handheld consoles like gameboy, gamegear and so on, right?


This time ti grid alings to content pixels properly and rgb triads are drawn in every cell.
Of course the feature is not compatible with scanlines, or other, already in place, methods to draw rgb or mask triads, so if you want to try it, i suggest you to start from an all-off preset.
Oh, forget to use any kind of curvature, this is a not problem, since those screens were not curved, right?
Say yes please
Planned for the future is motion blur, but meanwhile i’d like to hear from you what do you think about it.
One complain is that unfortunately integer scaling with aspect correction plays verybad with it, so i’ve added another option to integer scaling to ignore aspect, but several games look really distorted.
8 Likes
Hello @kokoko3k. What is the preset for the handheld consoles you mention? I don’t see any new names in the shader pack.
On the other hand, version 4.0 of your shaders works great for me, with only the application of the general zoom I almost align the bezel with reflections with the thebezelproject (there is an edge left but I don’t care). Ideally, the bezel with reflections would be drawn on top of thebezelproject (regardless of size), but I don’t know if that can be done (and if it can, I don’t know how).
No preset yet, i’m still experimenting right now.
Still, if you download the development code, there is a new DOT matrix group you can play with, with a rudimentary motion blur too, but i repeat, it is in development.
@fenix76 (i always forget to press the reply to user button, damn)
As for images, you can choose if they are drawn on top or behind, depending on the alpha channel, but to draw the image on top, it has to be transparent via its alpha channel, as you can see in 1084s presets in koko-aio.
I don’t know if that’s the case btw.
As always, I strongly encourage to read docs.md (link in first post)
1 Like
Gameboy emulation is shaping good imho:

Colors are from gambatte itself, no coloring done in shader.
The cell grid can be drawn in black or white (white in the screenshot ofc).
Motion blur/ghosting effect is in place, and one can choose if the ghost happens only on dark or bright pixels; i made this without really knowing how those dot matrix screens work.
Read: was the gameboy slow to draw black on white or slow to refresh the black to white?
Play with it.
In the screenshot you can see that there is that typical oblique shadow, i was implementing it, but then realized there is no need, since one can use the already in place deconvergenge y setting r,g and b to the same position (21,21,21 in the screenshot).
Rest of the wow effect is from vignette and spot, integer scaling used.
Edit-
There is now a gameboy preset on the development repo.
12 Likes
That looks beautiful 
Amazing work!
2 Likes
Little update. Now it is possible to emulate a monochrome display and selecting the hues for bright colors and dark colors; that way you can colorize the gameboy monochrome display by specifying the background color and the foreground one.
Also there is a new parameter to fadeout the dot matrix grid on the background (i remember that highering the contrast on the GB you were able to hide the grid)
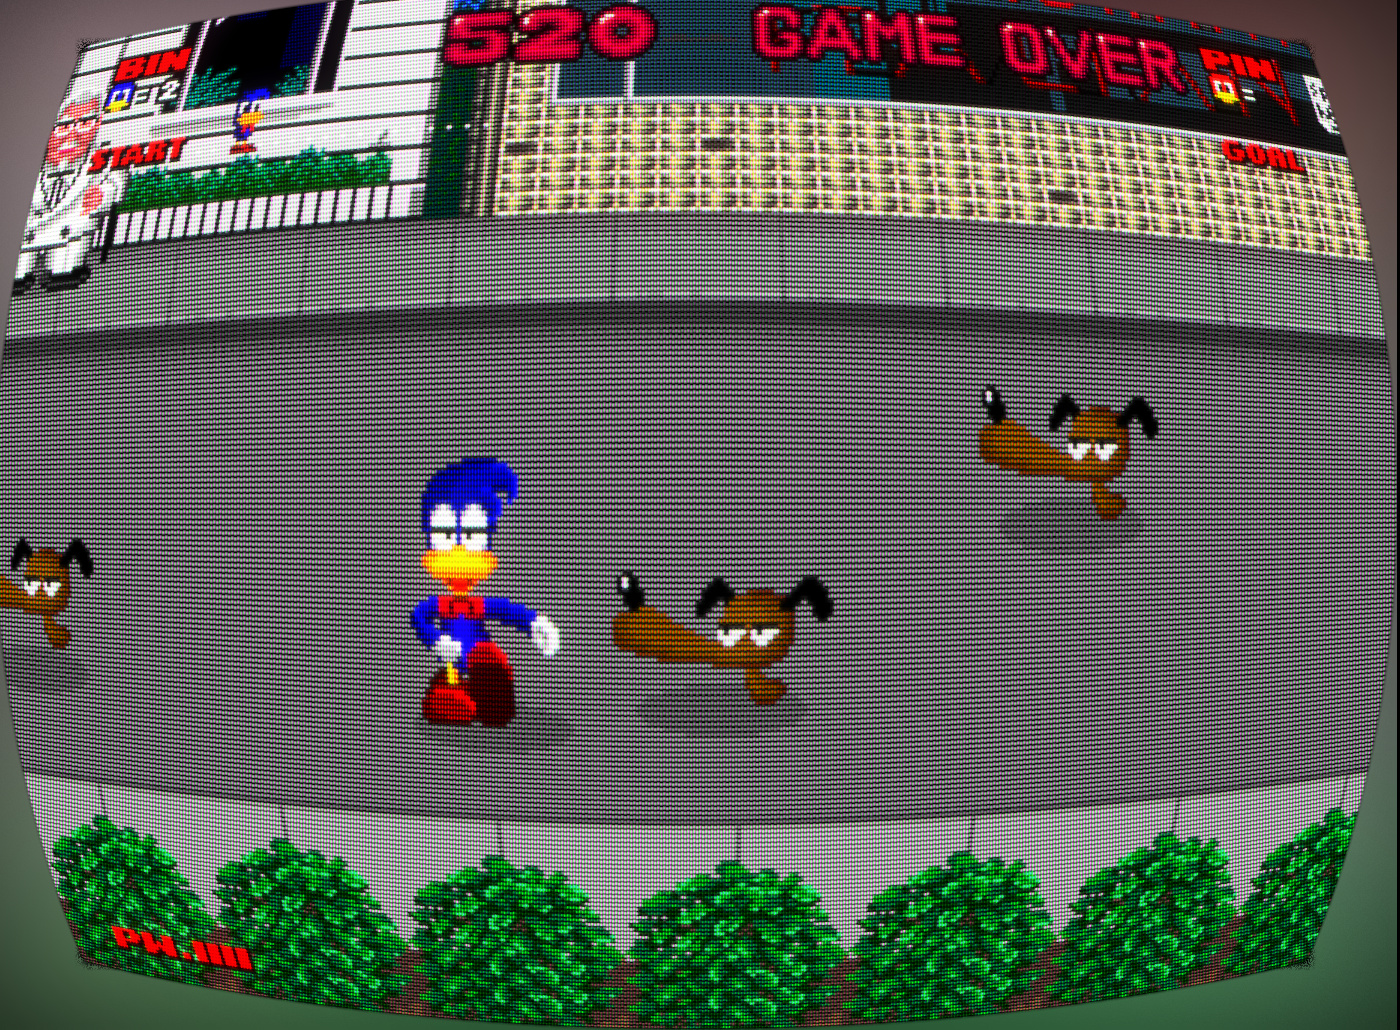
As a side bonus, you can play super puzzle fighter 2 with gameboy colors and risk your eyes:

…or continue to risk your eyesight by using funky gameboy colors:

…still not sure if the color shift from one hue to the other has to happen in rgb or hsv space; mixing h from hsv could lead to weird results has you can see in the second shot, where actually there are three primary colors generated from just two of them; that could never happen in rgb.
6 Likes
Looks Fantastic…

1 Like
Well then, i think the gameboy shader emulation is ready.
Following shader images are from gameboy_mono_colorized.slangp
Relevant changes/addition versus the first implementations are:
- Proper shadow emulation: now the shadow code is not recycled from the deconvergence one, so that pixels stay sharp on edges not touched by the shadow.
- Ghosting/pixel intertia effect switched to “white”, so that white->black is immediate, while black->white takes time to blank again; that way when something moves/pan, you will see sharp edge on a side, blurred edge on the other; i remember gameboy to act that way, but i’m not sure!
- Hue shifting is done in rgb space
- When highering the contrast, the grid disappears and let you see the yellowish background, exaclty like the real thing.
- Color should match 100% the real very first gameboy model, i used this picture as reference:


To emulate different monochrome models, the process is quite easy:
. Use a color picker tool with hue expressed in 1…360 range and identify the hue of the original naked background hue1 (yellow in the reference picture i posted up there)
. Do the same for the darkest pixel on the screen, hue2
. then report them in the shader with the formula hue1/360 and hue2/360.
…and now, some porn incest, remember when Sega licensed alexx kidd to Nintendo?

Please, Have great fun!
10 Likes
This look really impressive!!! But one stupid thing I want to mention, I don’t know if it’s a bug, but in the Alex Kidd game, horizontal “scanlines” looks brighter than the vertical ones. On the Mario one above doesn’t look like that.
I prefer the first one. The second one, for me, is almost too sharp and you seem to loose in contrast or at least black levels when look at the big door.
Regarding the new Gameboy stuff you added - God damn you, every time I think I’m finally satisfied with my shader presets you add more awesome stuff 
It looks reeeeally good. Thank’s a lot for your work!
2 Likes
mmh, you’re right, it is a limitation of the implementation, since the grid code is not aware of the background of the emulated screen. I could add a setting to specify it, but i don’t know if it would be worth, it would mean other 3 params to configure (one per channel), i’ve to think about it.
2 Likes
Ops, wait i misread your message, yes, indeed, it has to be a rounding ‘error’ due to pixels being not 1:1 as in gameboy.
Not a big deal, since the intended ‘audience’ are handheld 1:1 games, that was just a nintendo vs sega joke.
Meantime i found a solution for the problem i originally thought you were referring to, that the grid itself is not colored has the background, and i was just answering to that.
For that, it would be enough to colorize the grid as the rest of the content, quite cheap.
[EDIT]: Fixed in the latest dev code
3 Likes
No problem. I was refering the horizontal lines of the grid.
1 Like
Exactly the Gameboy shader I have been waiting for, as it is also very performant. Tons of thanks again!!!
3 Likes
While i was trying to do something that could look similar to the screen to handheld devices, i ended up with something other.
With this new “Low level Phosphor grid”, one can shape single r,g,b phosphors, by deciding how they grow in width and height.
This function superseeds and is NOT compatible with any other mask option already in place like rgb masks, aperture grille, slot mask or scanlines, but, being able to draw phosphors on core coordinates (to emulate handheld devices screens) or screen coordinates, you can effectively emulate scanlines and aperture grille screens with good, if not better, results.
This is an handleld screen that looks like a dot matrix screen because you can choose how “tight” the phosphors are, and in the following screen there is maximum tightness, which results in them to blend each other and gice a rounded look.
pgrid1.slangp

In the following image, i lowered the “tightness” of the phosphors and removed any luminosity boost feature; you should be able to see how phosphors morph, and probably it would even look good if you burn your oled screen:
pgrid2.slangp

When drawing phosphors on core coordinates, they have the size of the source pixel, not the size of the screen one.
I thought it would come handy a function to multiply and divide the phosphor size by an integer value, and in the next screen you can see how it looks when dividing the X size by 2.
I suspect that it would look on 4k display, but i couldn’t tried that.
pgrid2.slangp
(with size divider)

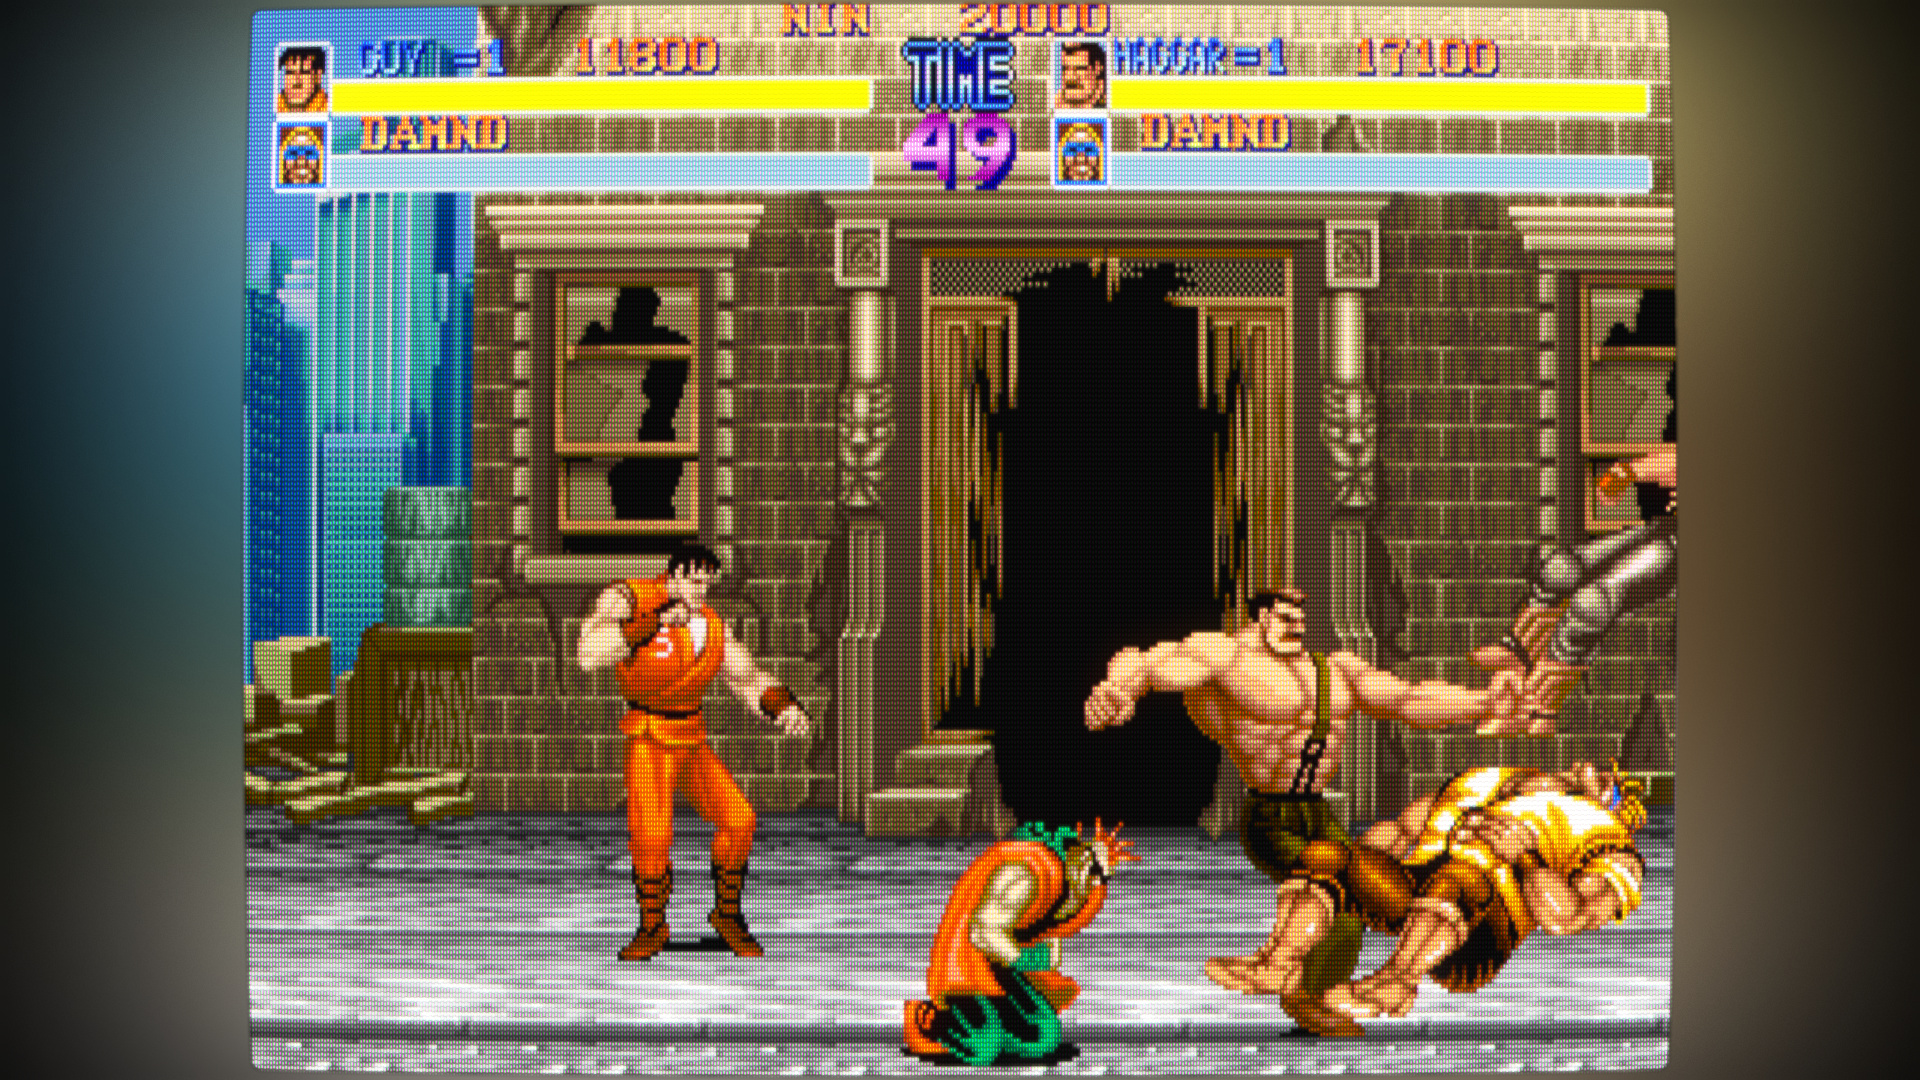
In this picture, the phosphors are still at core resolution, and to my surprise they look good even when emulating arcade games.
Note that no scanline function has been used, just the new pixelgrid function. the scanline gaps are not drawn at all. you see them because the phosphors shape changes depending on the pixel luminosity.
pgrid3.slangp

This is what happens when leaving the y resolution at core size (you see scanlines), but you set the x resolution to screen size (you see something like aperture grille):
pgrid4.slangp

…finally the final result i was working for, handhelds screen emulation; in the following shot the integer scaling has been set to 5x:
pgrid7.slangp

…there are other presets i added to the development repo, all named pgrid*.slangp for you to try and for which i forgot to take a screenshot.
What do you think?
12 Likes