
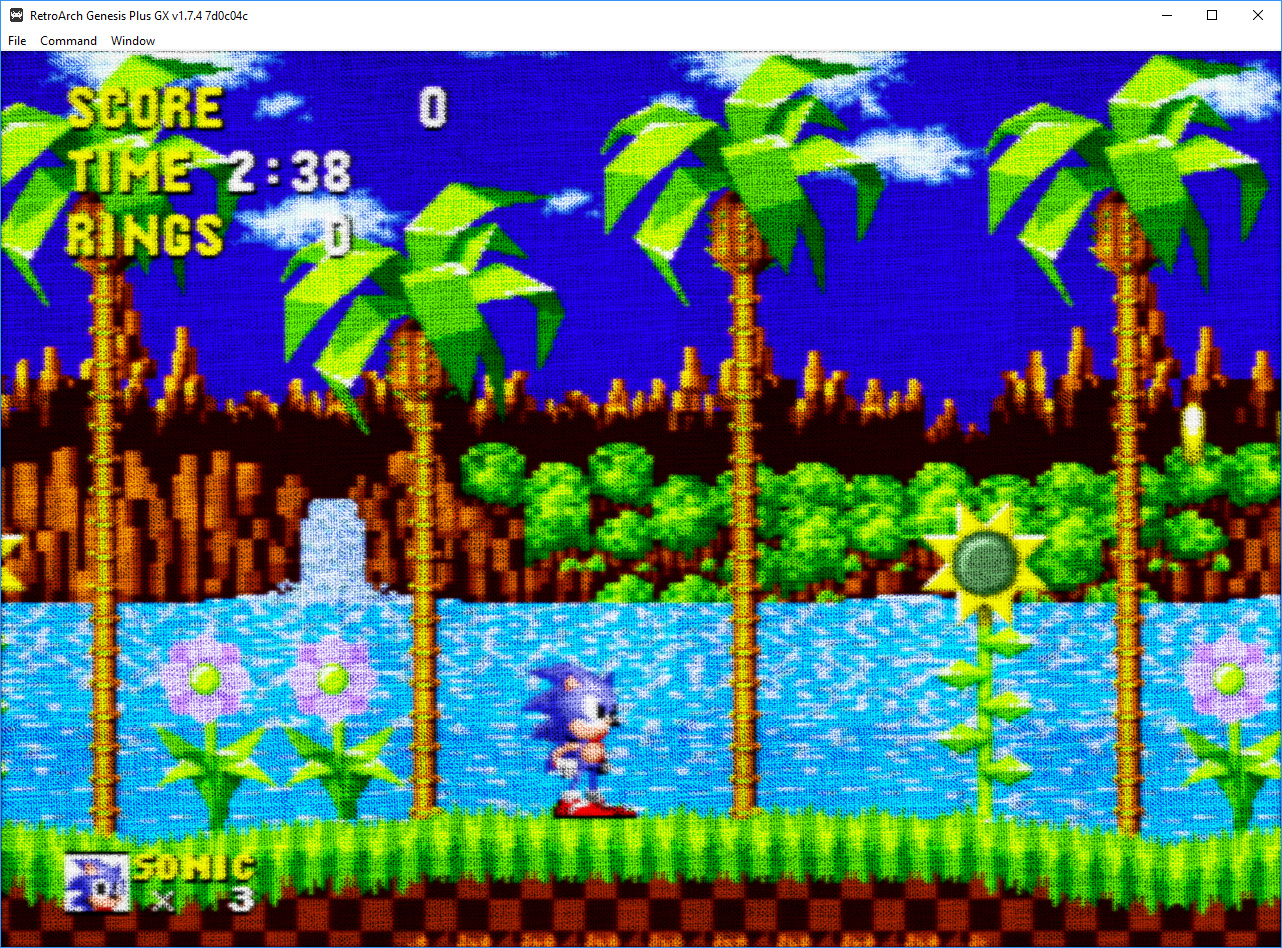
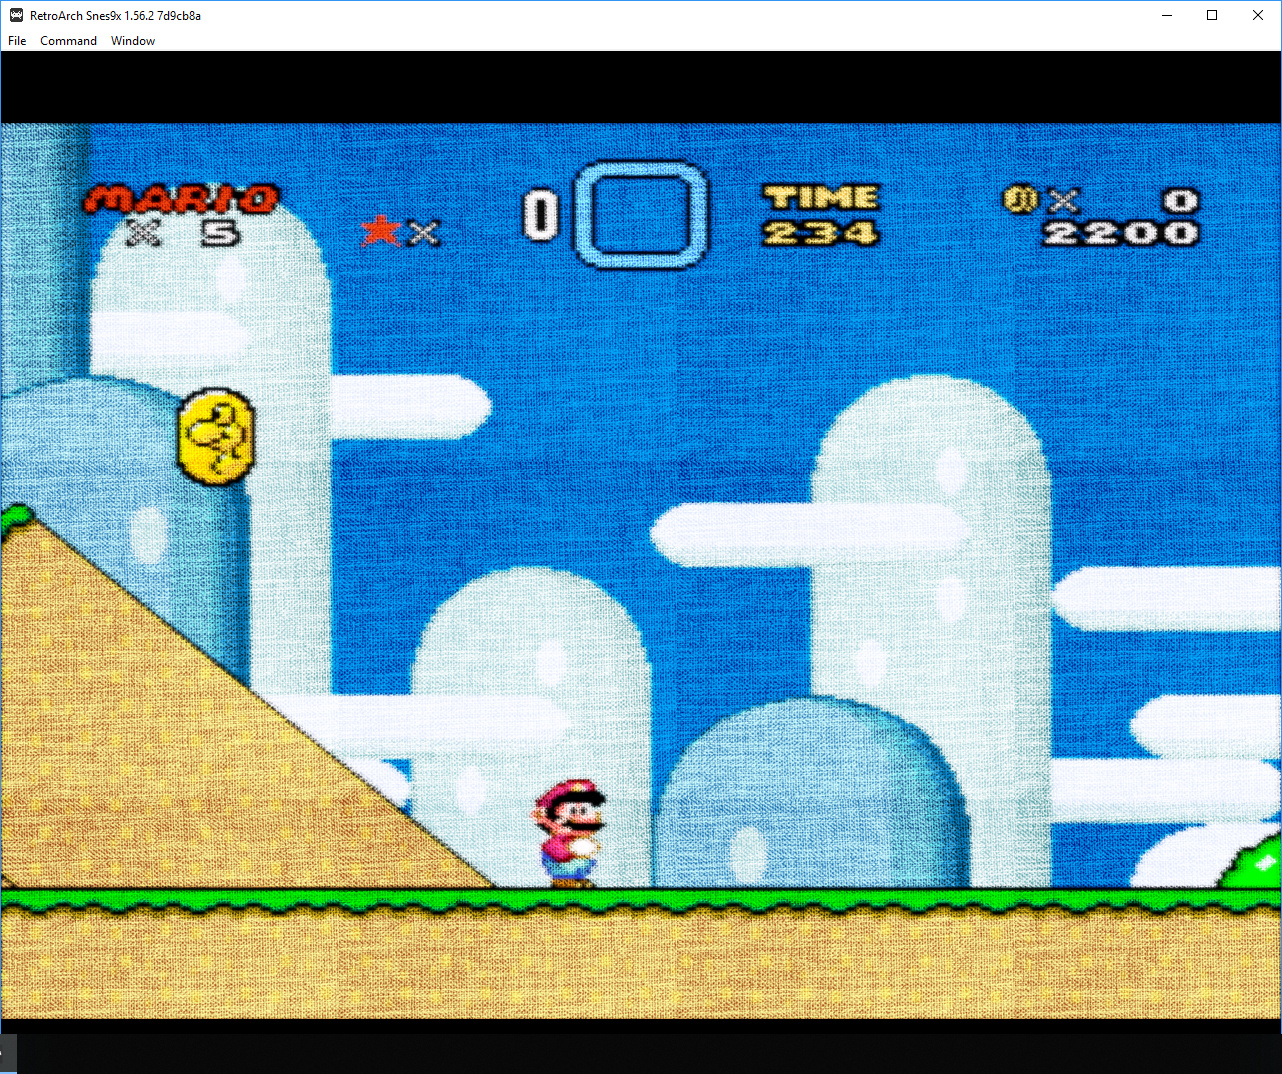
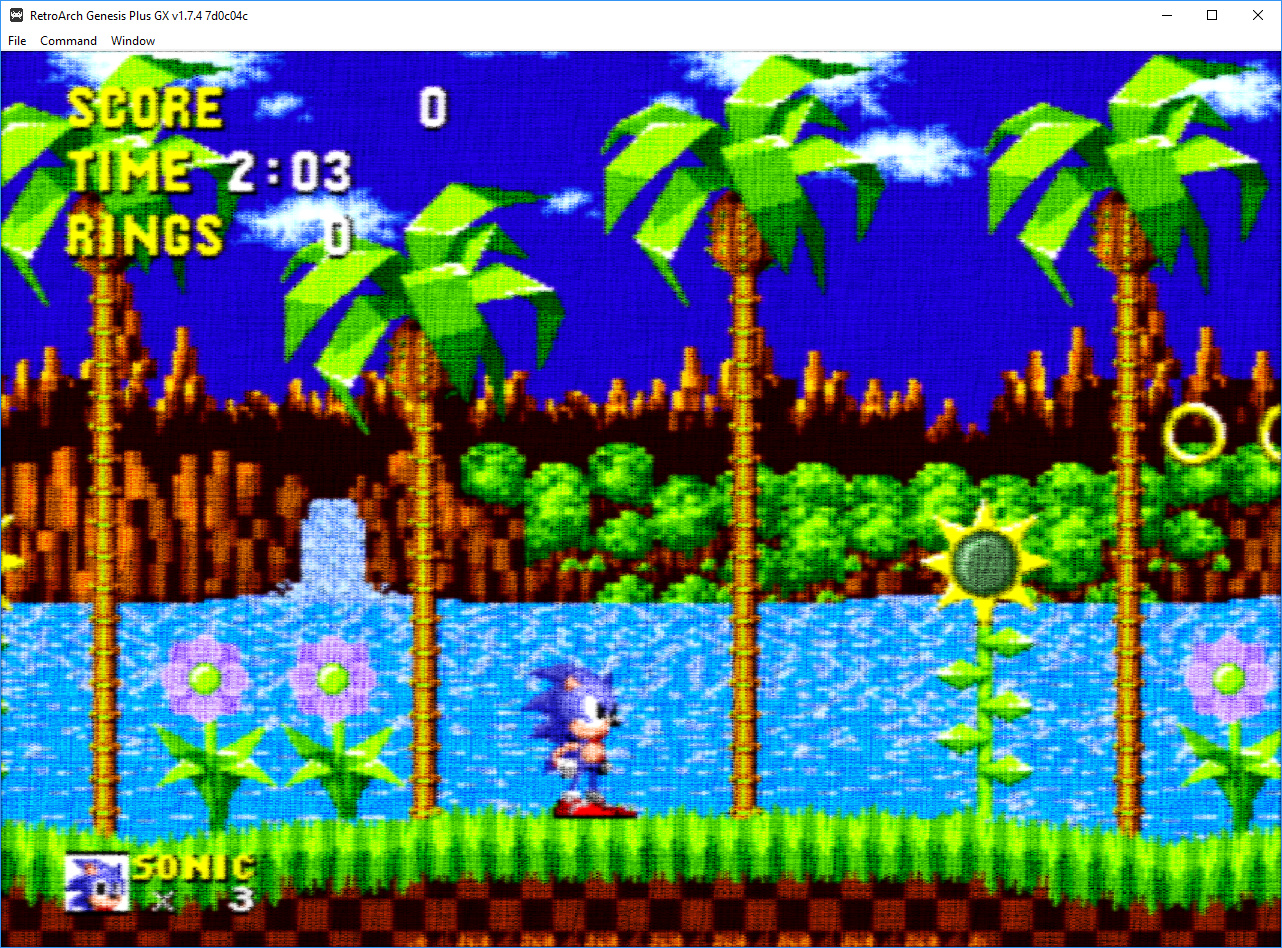
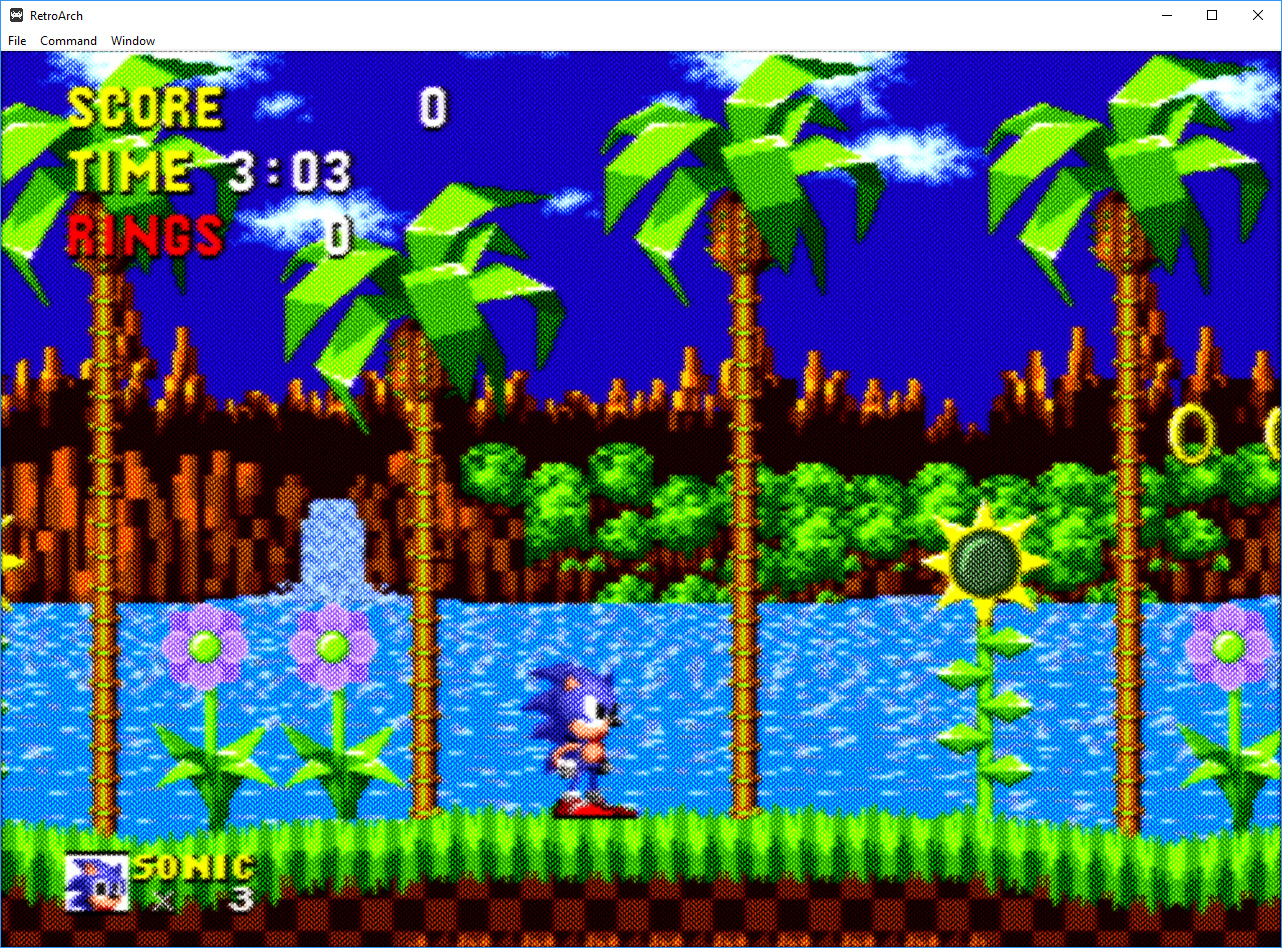
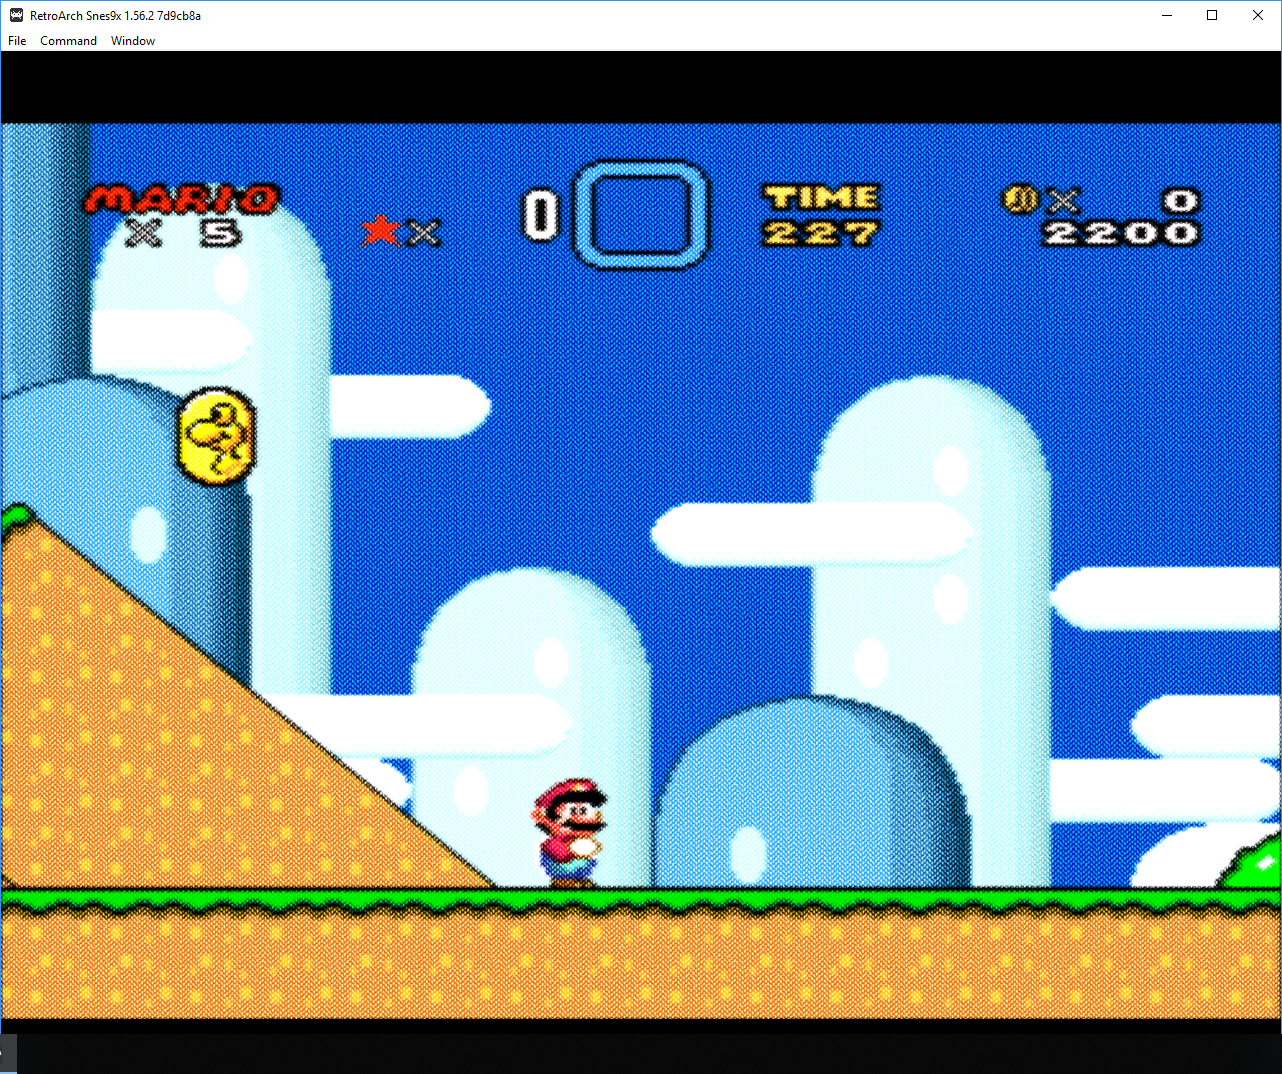
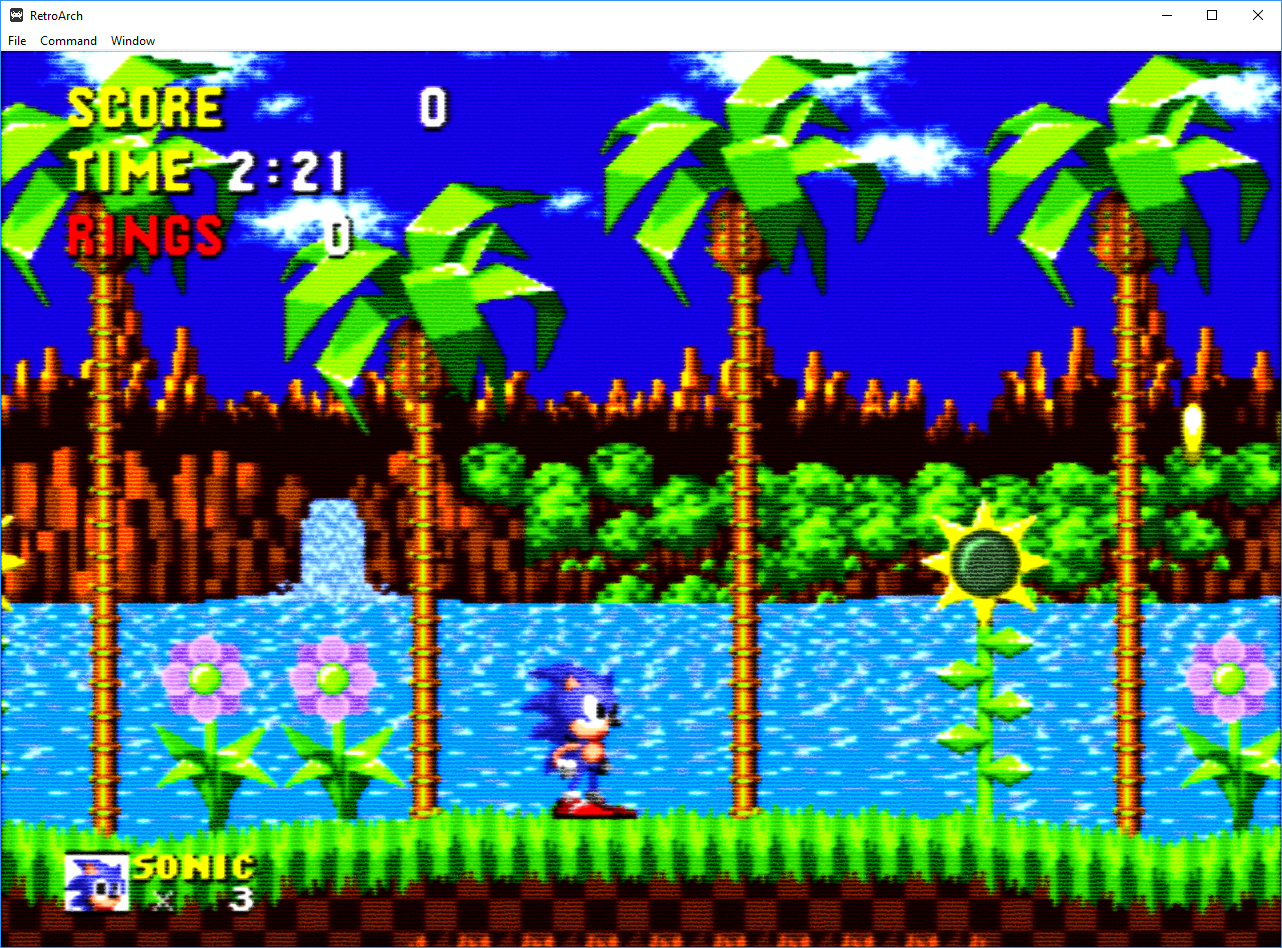
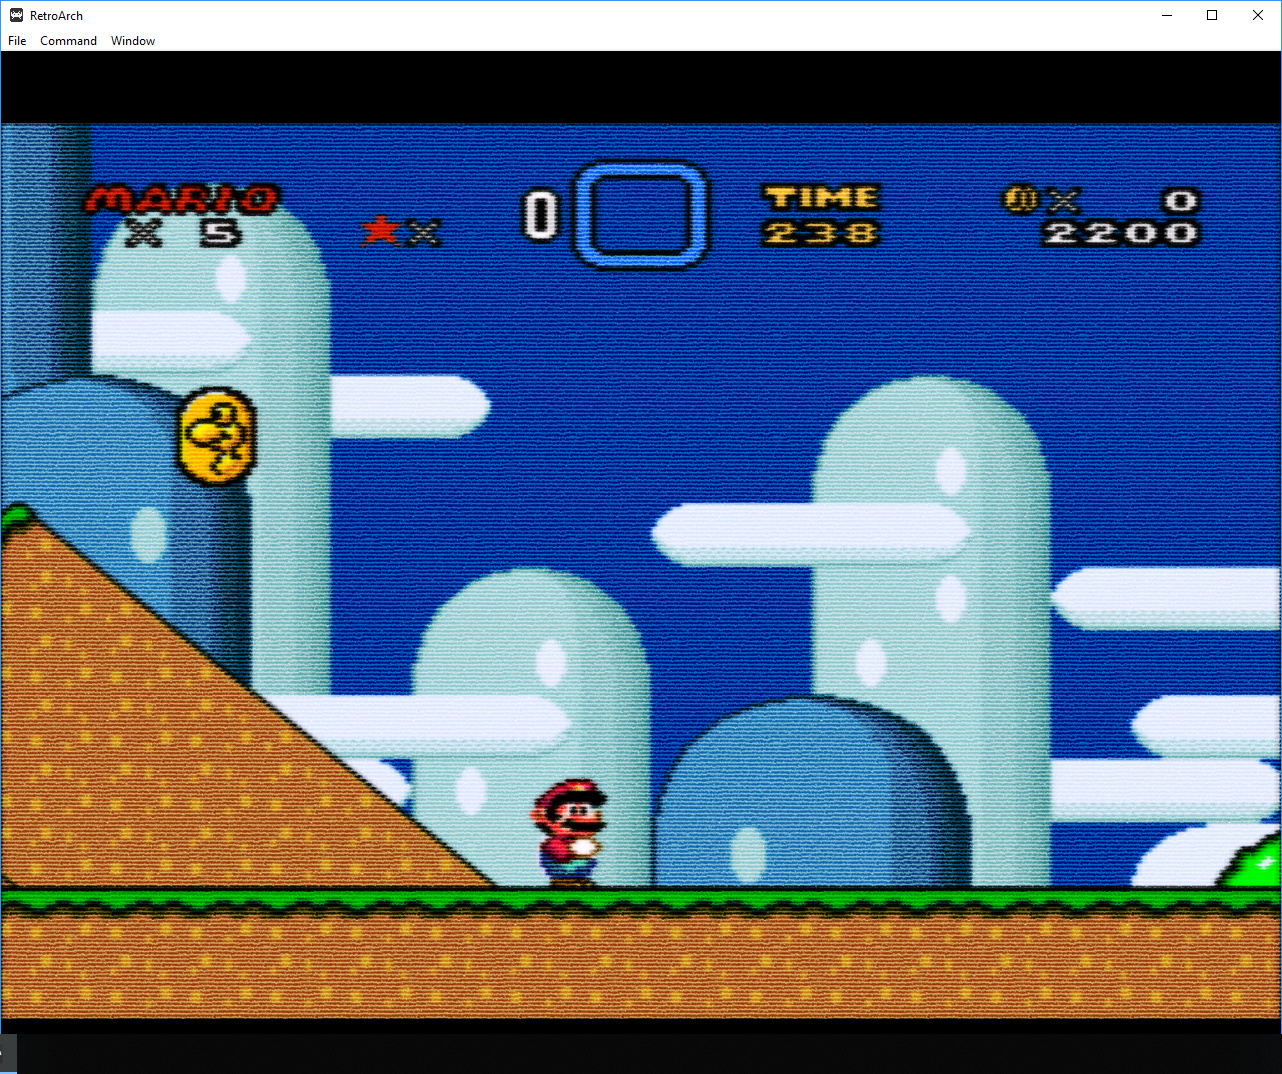
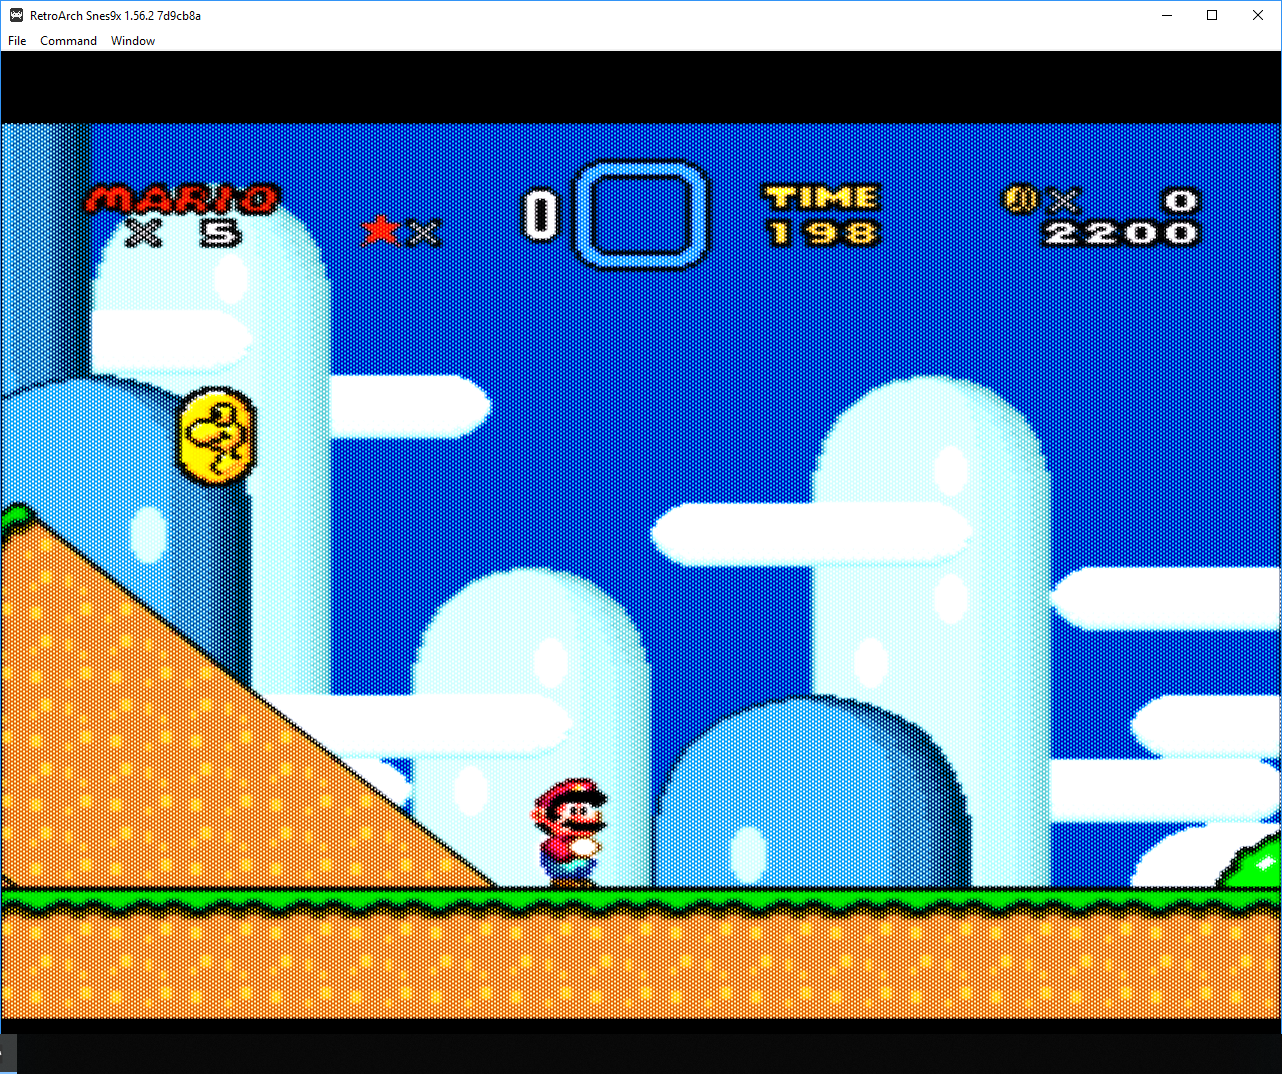
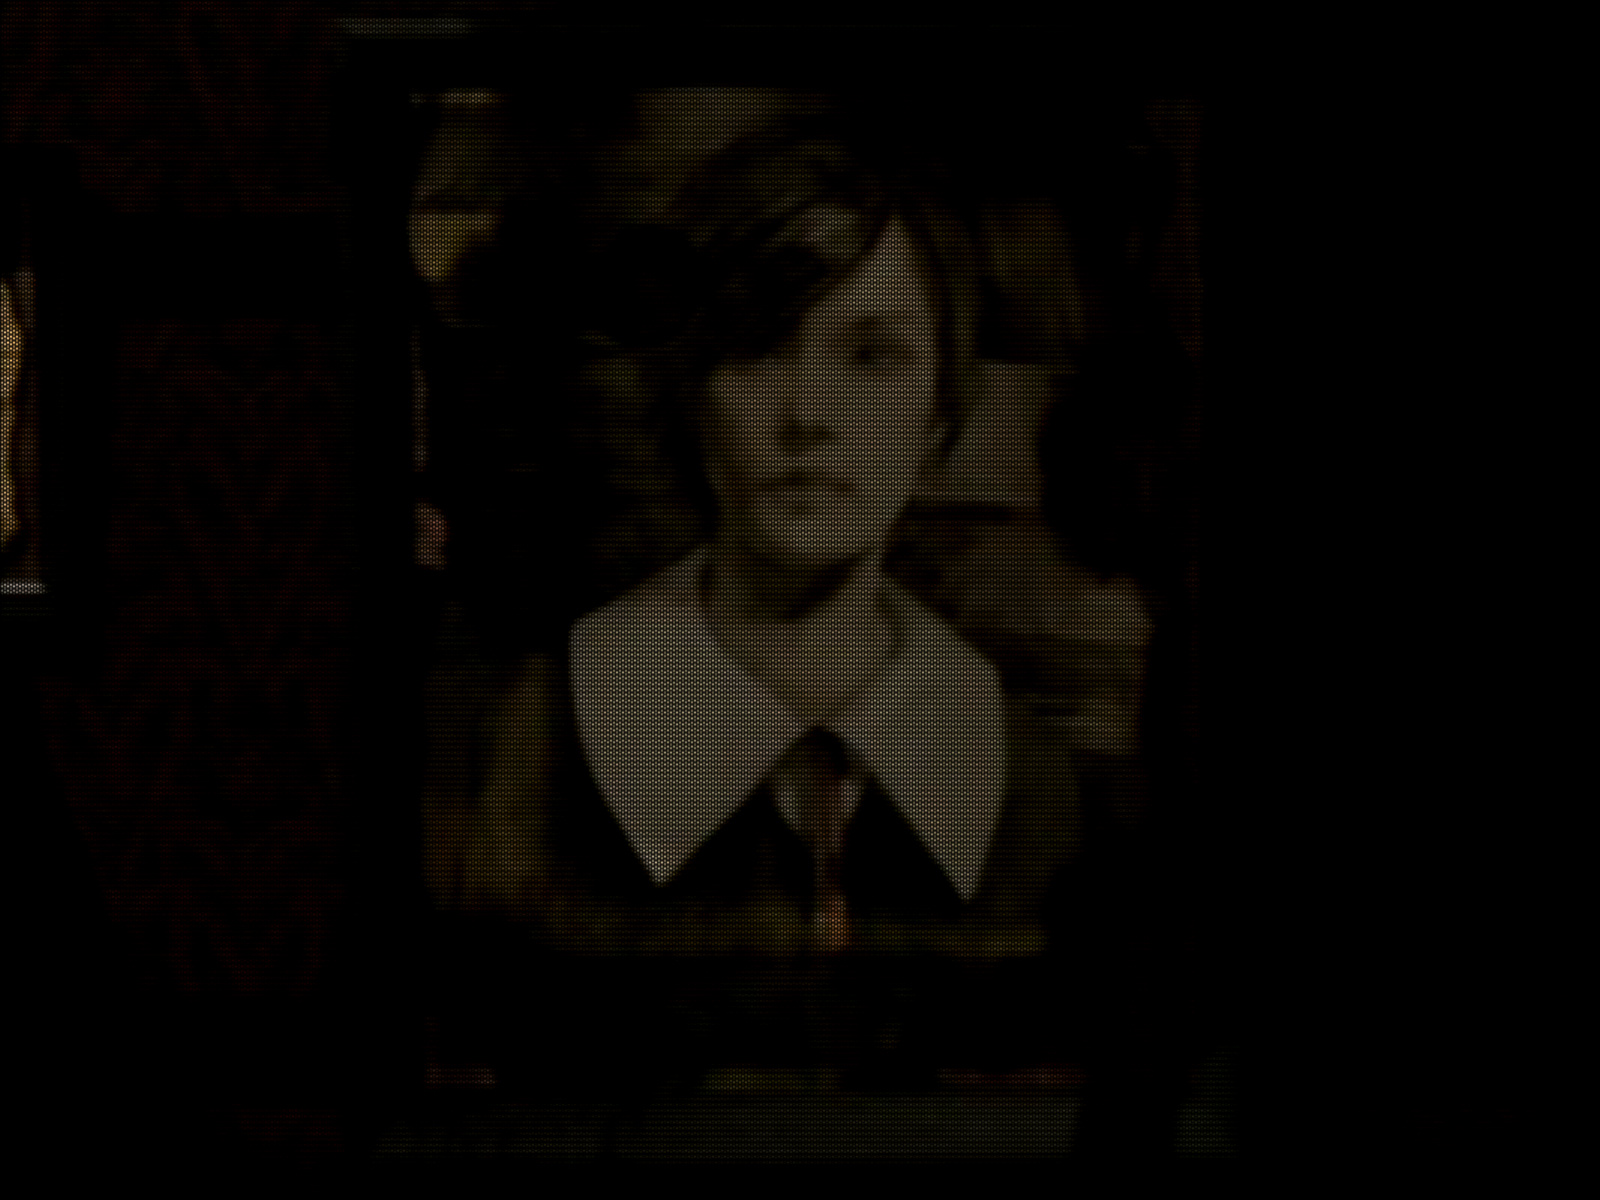
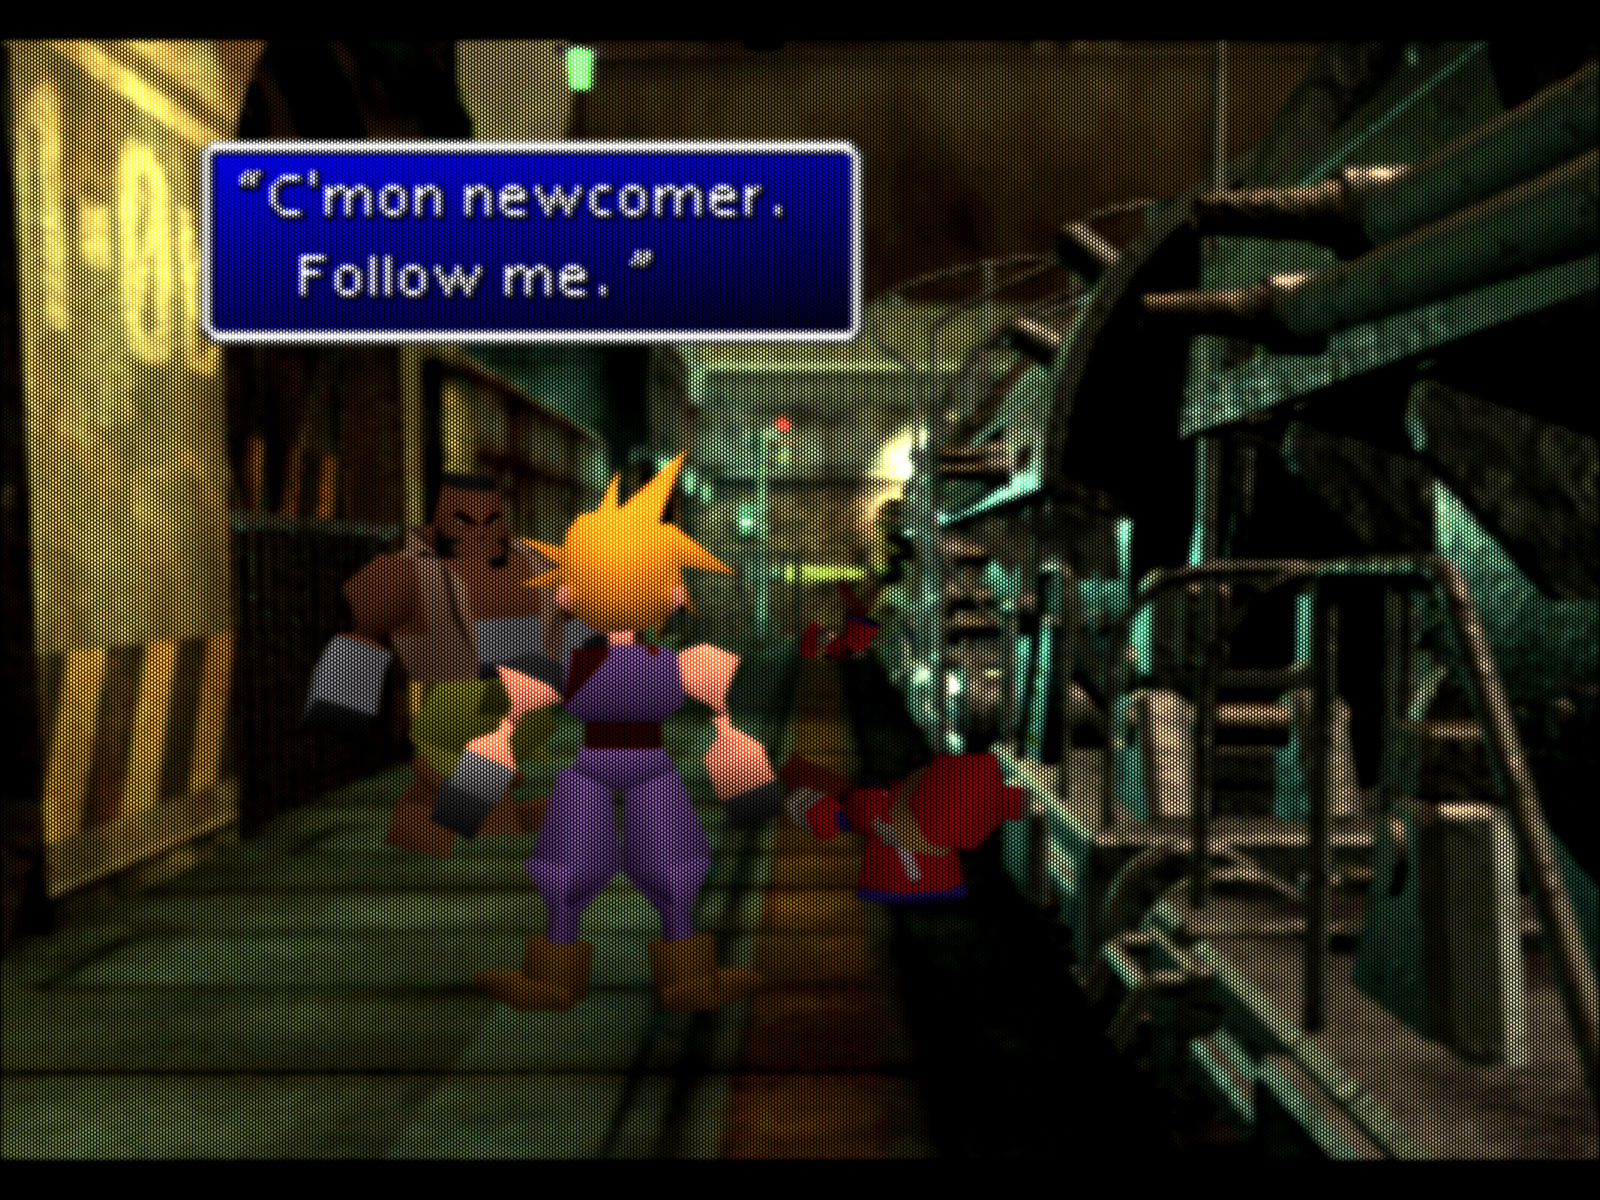
Okay, had a quick play with the blendoverlay shader within RetroArch using some unorthodox textures and so far it works a treat.
In the examples below I’m combining the blendoverlay.slang as the 4th pass after loading gtu-v050 (but it can be used on it’s own). I always use the passes from gtu-v050 in some form or another as I find they blend and smooth the pixels the best for my taste. One thing to note when you manually create the shader chain the .png file is not included in the preset, after saving the shader chain I had to open the .slangp file add the following lines:
textures = "overlay"
overlay = ":\location\of\image.png"
I also update changed the LUTHeight and LUTWidth within the preset to match the image file size (you can enter bigger widths and heights by editing the preset file, the GUI has a max limit!).
Again, these are just showing off the artistic effects that can be achieved with this type of shader, games are not meant to be played with these visuals, although nothing stopping one from doing so, or if you want to just show off to others (if they are in to this kind of stuff)! You also could just add simple masks or scanlines to get crt effects too (integer scaling might be better on for this though).
Screenshots are best viewed at 100% by clicking in to them and then right clicking on the pop up image and selecting “View Image” in your browser right click menu.
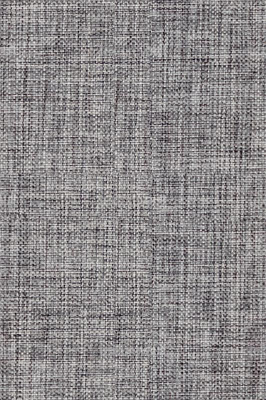
Fabric 1 texture
Fabric 2 texture

Fabric 3 texture
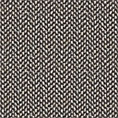
Yarn texture
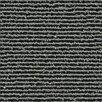
Dot pitch texture
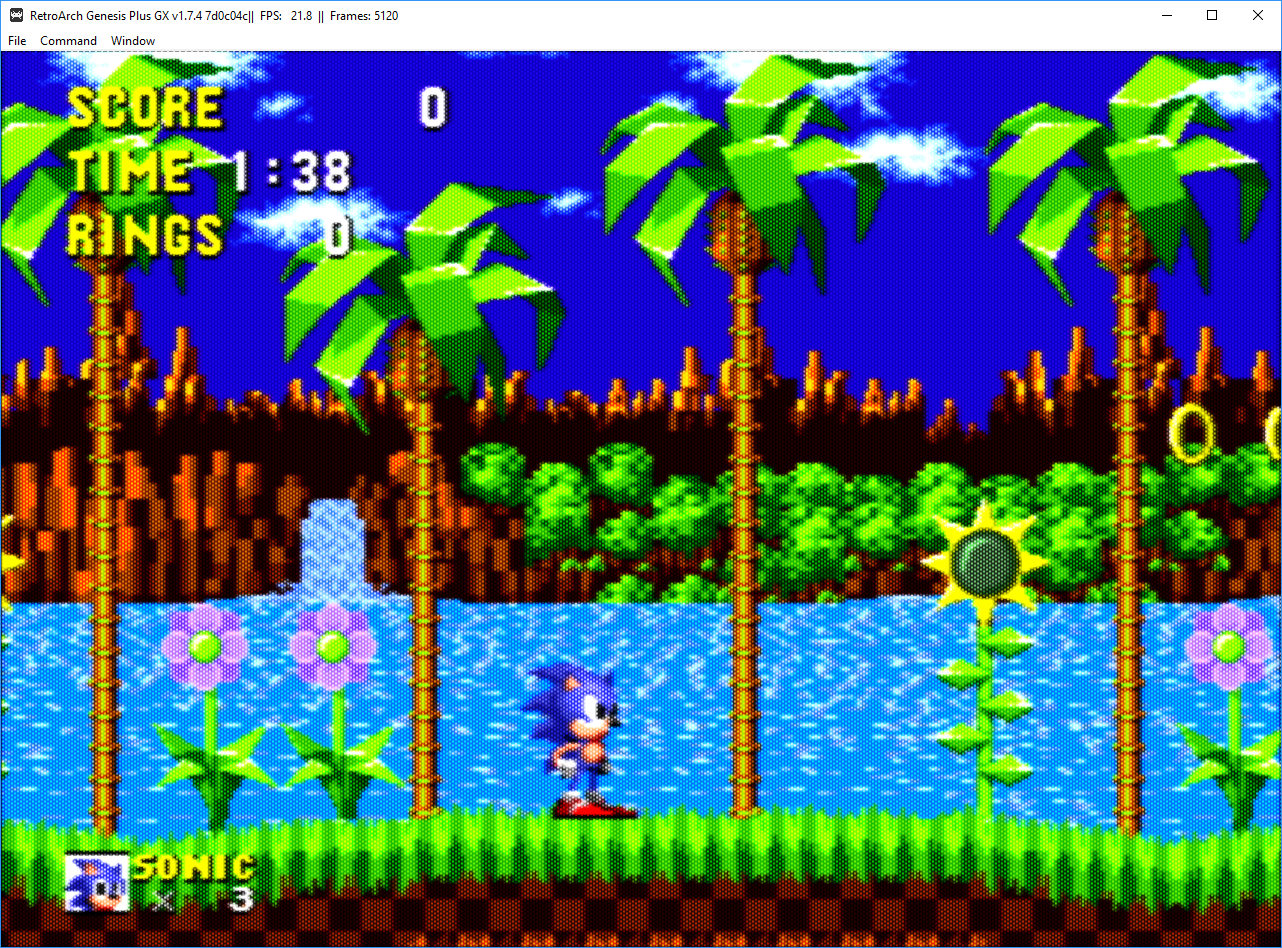
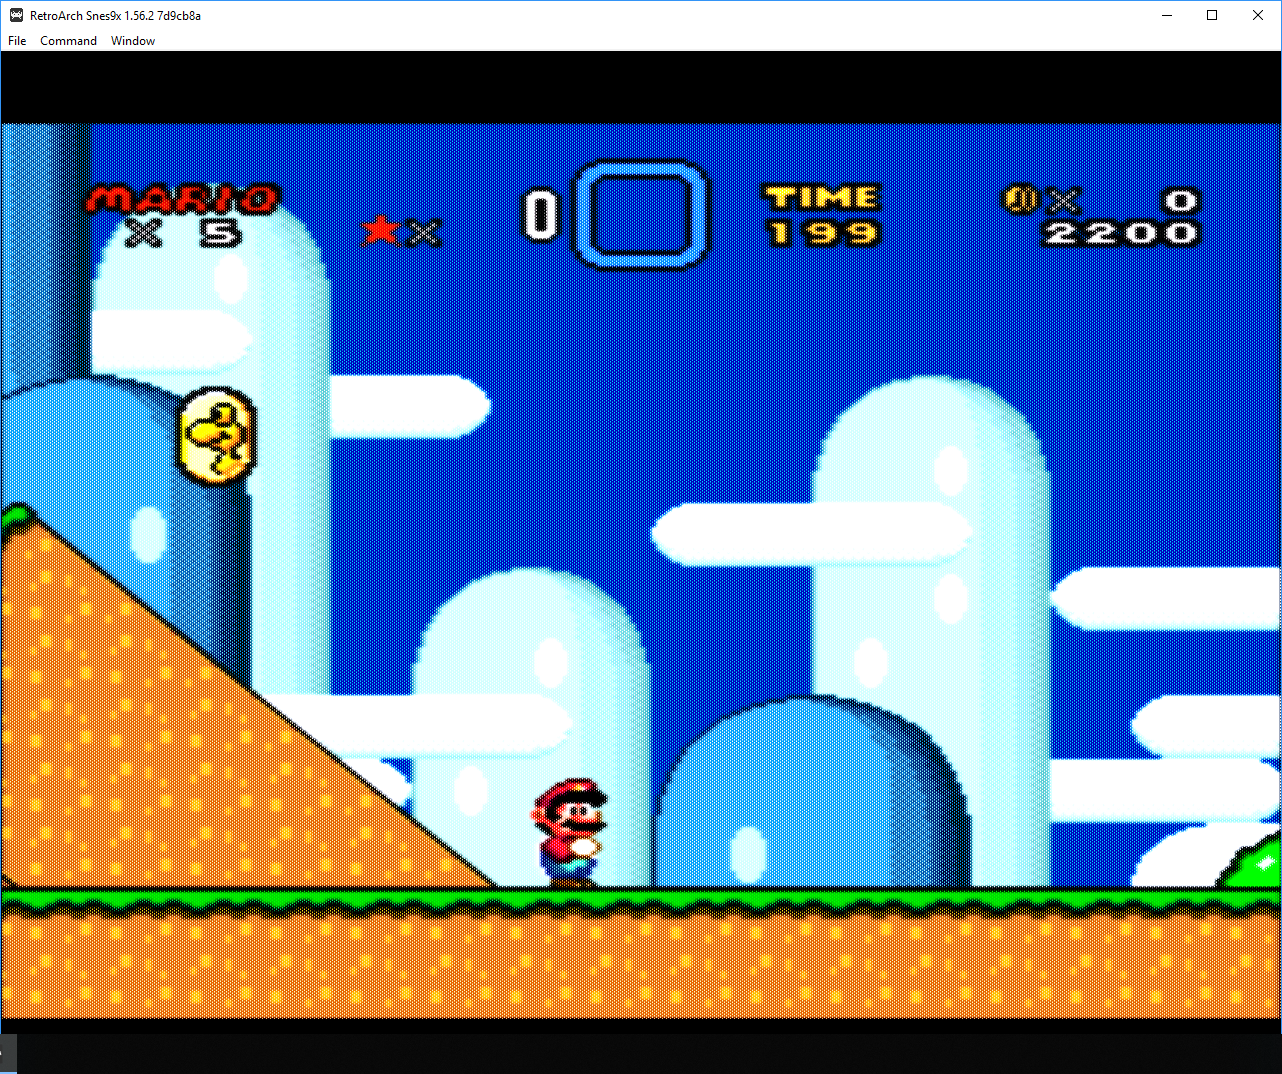
Effects look better in a running game than static shots

 To avoid video driver change if anyone are using OpenGL.