Mega Bezel Reflection Shader! - Feedback and Updates

In my examples above if I leave Bezel Independent Scale Off and leave Integer Scale Mode Offset on 0, I still get the anomalies. It’s only when I increase it to 1 (or alternatively step up to the next Max Integer Scale Height % stop) that everything seems to render cleanly in all SNES games I’ve tested so far.

If I try to do this while leaving Bezel Independent Scale Off, too much of the Bezel/Frame ends up off screen and it doesn’t look nice in my opinion. In the case of my presets which include graphics, I at least wanted the top of Bezel/Frame to be aligned with the top of the graphics and for the Bezel/Frame not to overlap with the graphics which are already at the extreme horizontal edges of the screen so there’s not much room for the Bezel/Frame to grow without some overlap there.

As mentioned, this power bar rendering anomaly doesn’t seem to occur when using all mask type and size combinations.

Some of them look completely fine without increasing the Integer Scale (and possibly even using Non-integer scale).

In my examples above the issue is present even with Curvature turned off.

In my further testing, I’ve observed a strip where there’s overlapping going on between different layers behind the bezel which is increasing the brightness. It’s not just reflection but also the non-mirrored edges of the viewport being filtered/blurred and “shining through”. This seems to be mixing with the reflections which are stemming from the reflection plane, which starts at the edge of the content, even if the edge is supposed to be obscured by the bezel, (which is possibly incorrect behaviour) but that plane is not lining up with the inner edge of the tube/bezel or otherwise scaling properly.

I’ve observed some further strange behaviour where when using Bezel Independent Scale and some of the image is cut off, if I reduce the Integer Scale Offset or even use Non-integer Scale the reduced image, part of the image that was off screen/beneath the Bezel is still missing.

When I tried the new Show Pass debugging tool, I think I was able to see the strip of overlap when showing either Pass 2 or 3.

Adjusting the Inner Black Edge Thickness seemed to have an effect on the strip of overlap.

If Bezel Independent Scale is not used, everything “seems” fine including where the reflections stem from.

I say “seems” because I haven’t really gone back and scrutinized the reflection with Bezel Independent Scale Turned Off to see if there might be other less obvious anomalies which I might have previously missed.

Ultra Smooth RGB Mode…

1 Like

Mega_Bezel_Logo

Mega Bezel is updated to V1.9.0_2023-01-22

Changes:

  • Added some more Sinden presets for SCREEN-ONLY and POTATO
  • Added Screen Region to Resolution Debug text
    • Good for getting the screen region pixel coordinates if you need them
  • Adjusted Ambient Lighting Scaling when using the Inherit Zoom scale mode
    • Now when you zoom out it is much less likely to generate a black frame covering the outer parts of the background image
    • The minimum size of the lighting texture will be close to the height of the current viewport
    • This reduces the likelihood that we will see the cutoff
  • ScaleFx: Exposed more of the settings so they can be tweaked
    • Default Settings changed:
      • ScaleFx Threshold: now 0.43 (was 0.5)
      • ScaleFx Filter Corners: now 0 (was 1)
      • These settings result in a slighly clearer picture and less rounding of square corners
  • SMOOTH-ADV ntsc presets: ntsc_scale adjusted so it visually matches the regular ADV ntsc presets

Go to the first post here for links to the package and install instructions. Please make sure to read the install & setup instructions

I’ll probably add some screenshots soon

11 Likes

Which mask and width for 4K is the correct number for a High TVL? I want to make a setting with High TVL to see how it looks. :sweat_smile:

1 Like

Mask 12 in the post below below corresponds to Mask 13 in the above post.

1 Like

Wow! Thanks for the info well explained… Thanks.:smiley:

What does WYSWYG mean?

1 Like

WYSWYG means, “What you see is what you get.” So basically to get the correct Slot Mask Width, you first go up to the screen and choose the Aperture Grill Mask that suits the TVL, layout and looks like what you’re looking for, then adjust the width until it looks right or matches the width of the number of RGB subpixels in the Mask pattern you chose.

So Mask 6, which is RGB should use a width of 3, Mask 10, which is RGBX should use a width of 4, while Mask 12, which is RRGGBBX should use a width of 12.

As you saw from the tables above as you go down in the width of the Mask patterns, TVL goes up. So using a Mask 12 slot mask at 4K would have a TVL around 300, but Mask 10 would be higher and Mask 6 would be even higher than that.

Believe it or not using higher TVL Mask patterns actually reduce the chance of seeing or at least the severity of moire patterns. Especially when viewport sizes are reduced.

It also causes the image to be naturally less sharp/less harsh.

1 Like

Thanks a lot. You are really helpful.:grin::+1:t3:

1 Like

You’re welcome. Just a word of warning though. This thing can really suck you in to the point where you’re no longer or hardly playing games anymore but mostly looking at and tweaking pixels, lines and images.

Then you can reach to a point where you just can’t play (pixel art/low res) games if they don’t have the right shaders, kinda similar to the folks who can’t play retro games unless they’re playing them on a CRT.

So be wary of the double edged sword that this wonderful world can be.

Never forget to be having fun.

3 Likes

emulation as a whole i would count as a rabbithole / double edged sword , and if you go deeper it also forks in many ways , depending how your taste is

purist want them to run as on og hardware , some guy want to get rid off the old hardware limitations , improving the games , rom hacks , rom sorting and naming ,bios files , etc. and if you go so far to create your own overlays or start with own shader settings is become quite a never ending story

you will allways find something , one game looks rigth this way , and the next with same shader looks to dark , so you start to boot up more games to get the right setting that fits the system best. or you have suddenly new ideas you could change at the overlay .

but i wouldn´t say this sucks …it just shows how much you care , and customization is in any case a blessing and a curse for that reason …

and i wonder , how “worse” this is for shader creators like HSM , look how many options and features this shader has , it must eat hours of time

4 Likes

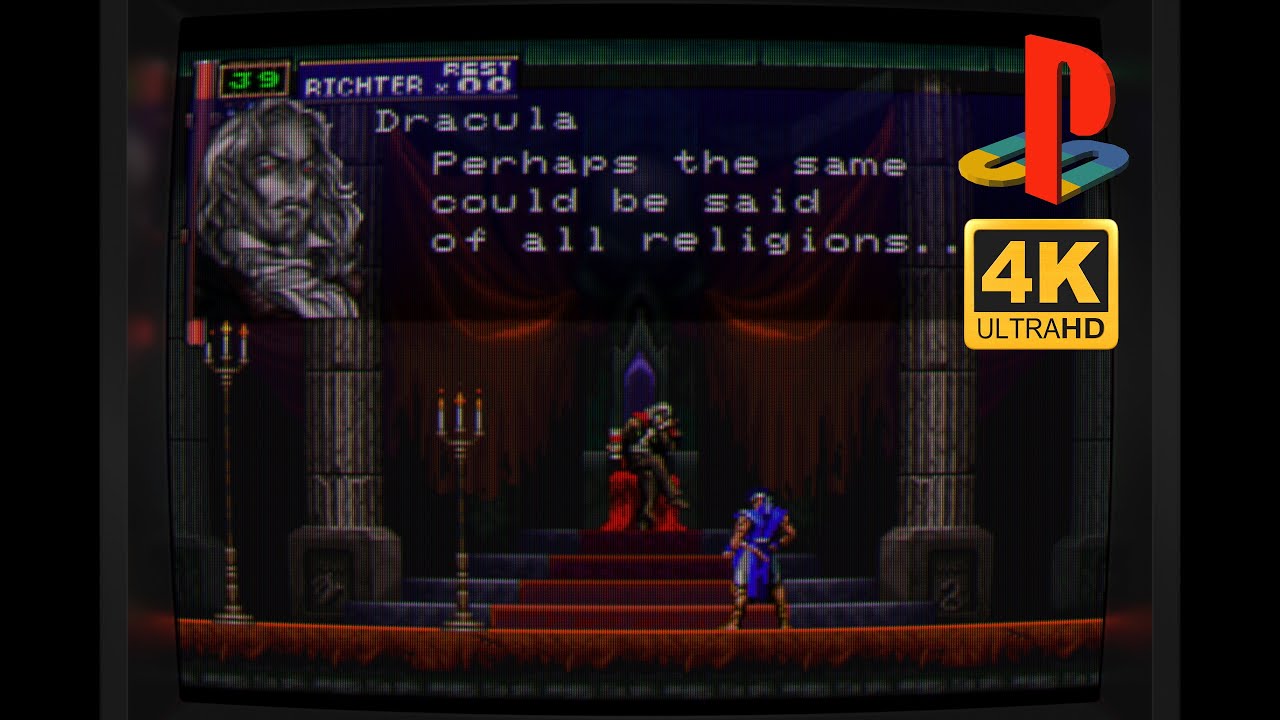
Realistic PS1…

I think I’ve finished My Sanyo CRT Settings. Could it be possible to put my custom Setting inside next Mega Bezel update so I can Share them with the community?

6 Likes

BTW, I just made a gameplay, so you can see how it looks :grinning:

4 Likes

Sorry guys, I just corrected the snapshot, the one before, vertical deconvergence was wrong, also fake scanlines resolution I set it to auto. Now looks ok.

5 Likes

any changes made to MBZ_0_Smooth_ADV-Glass_Easymode in the latest update? I’m getting a crash on RetroArch where I wasn’t before

No, I wouldn’t expect to see much change there, more parameters are exposed, but that should not affect the function of it. Could you try to get a log?

1 Like

if you can guide me, i got np doing tht

1 Like

As you know this is my real crt, but one thing is, I’m not able to make this pattern come out like this, with black bright bars poping out, I like these prominent scanlines with that pattern.

Any Ideas?

2 Likes

Cool, check out the first post, there is a link to how to get a log

1 Like

Interesting. I’m not sure if this is the best place to discuss this but you can probably post some side by side (not literally side by side) pics of the same scene on both your CRT and your CRT Shader and we can try to analyse them.

You might have to take some close up pics of your CRT and possibly also your LCD Screen so that we can compare actual output not just a GPU screenshot.

You can try to stabilize your camera and use Pro Mode with ISO 100 or 200, WB 5000 or around 4300, auto or manual focus, Shutter Speed 1/60.

I’m no expert on this but it appears as though your TV has a lower TVL than your CRT Shader Preset.

I don’t know if it’s possible to add anymore black subpixels to the mask pattern you’re using and still have it line up correctly with the subpixels of your 4K screen.

I could be wrong and there could be another lower TVL mask available for 4K screens that would still show correct RGB phosphor patterns.

That’s number 1. Number 2 is you can hardly notice the scanlines in your CRT Preset so you might need to use a darker Scanline Type, for example GSL Type 2 to match that aspect of things.

Then you have to check to see if the phosphor triads on your CRT are similar in size when compared to the sprites on your screen. So you can look and compare the number of triads that fit in an area of a sprite or graphic. If your CRT uses smaller triads then you might have to switch to a Mask Pattern that gives you smaller RGB triads instead.

This is how I came up with my Le’Sarsh_4K_Optimized presets. I actually matched the phosphor triad size of a photo of a JVC D-Series set. It was actually finer than the triad size offered by the Mask 12, Width 7, Height 3 Mask that I was using before.

So I stepped down to Mask 10, Width 4, Height 3 (or 2) to more closely match what I was seeing in the picture.

2 Likes

You’re using a Smooth-ADV preset. What version was the last that it worked properly for you?

Do the ADV or STD Glass Easymode presets crash for you as well?

What GPU are you using again and how much VRAM does it have? If I recall correctly it was a GTX 1050 or 1050Ti, please correct me if I’m wrong.

1 Like