
That’s very cool, the ‘phosphors’ look rounded and organic… would you please post shader chain/settings?
Professor! That looks amazing! Great work!
Interesting concept. Instead of recreating the individual RGB phosphors, you’ve made the phosphor triad the smallest level of detail. I made an overlay once that did something similar.
It definitely still darkens the image, at least from what I can tell. The vertical black lines between phosphor triads will inevitably cause a lot of brightness to be lost.
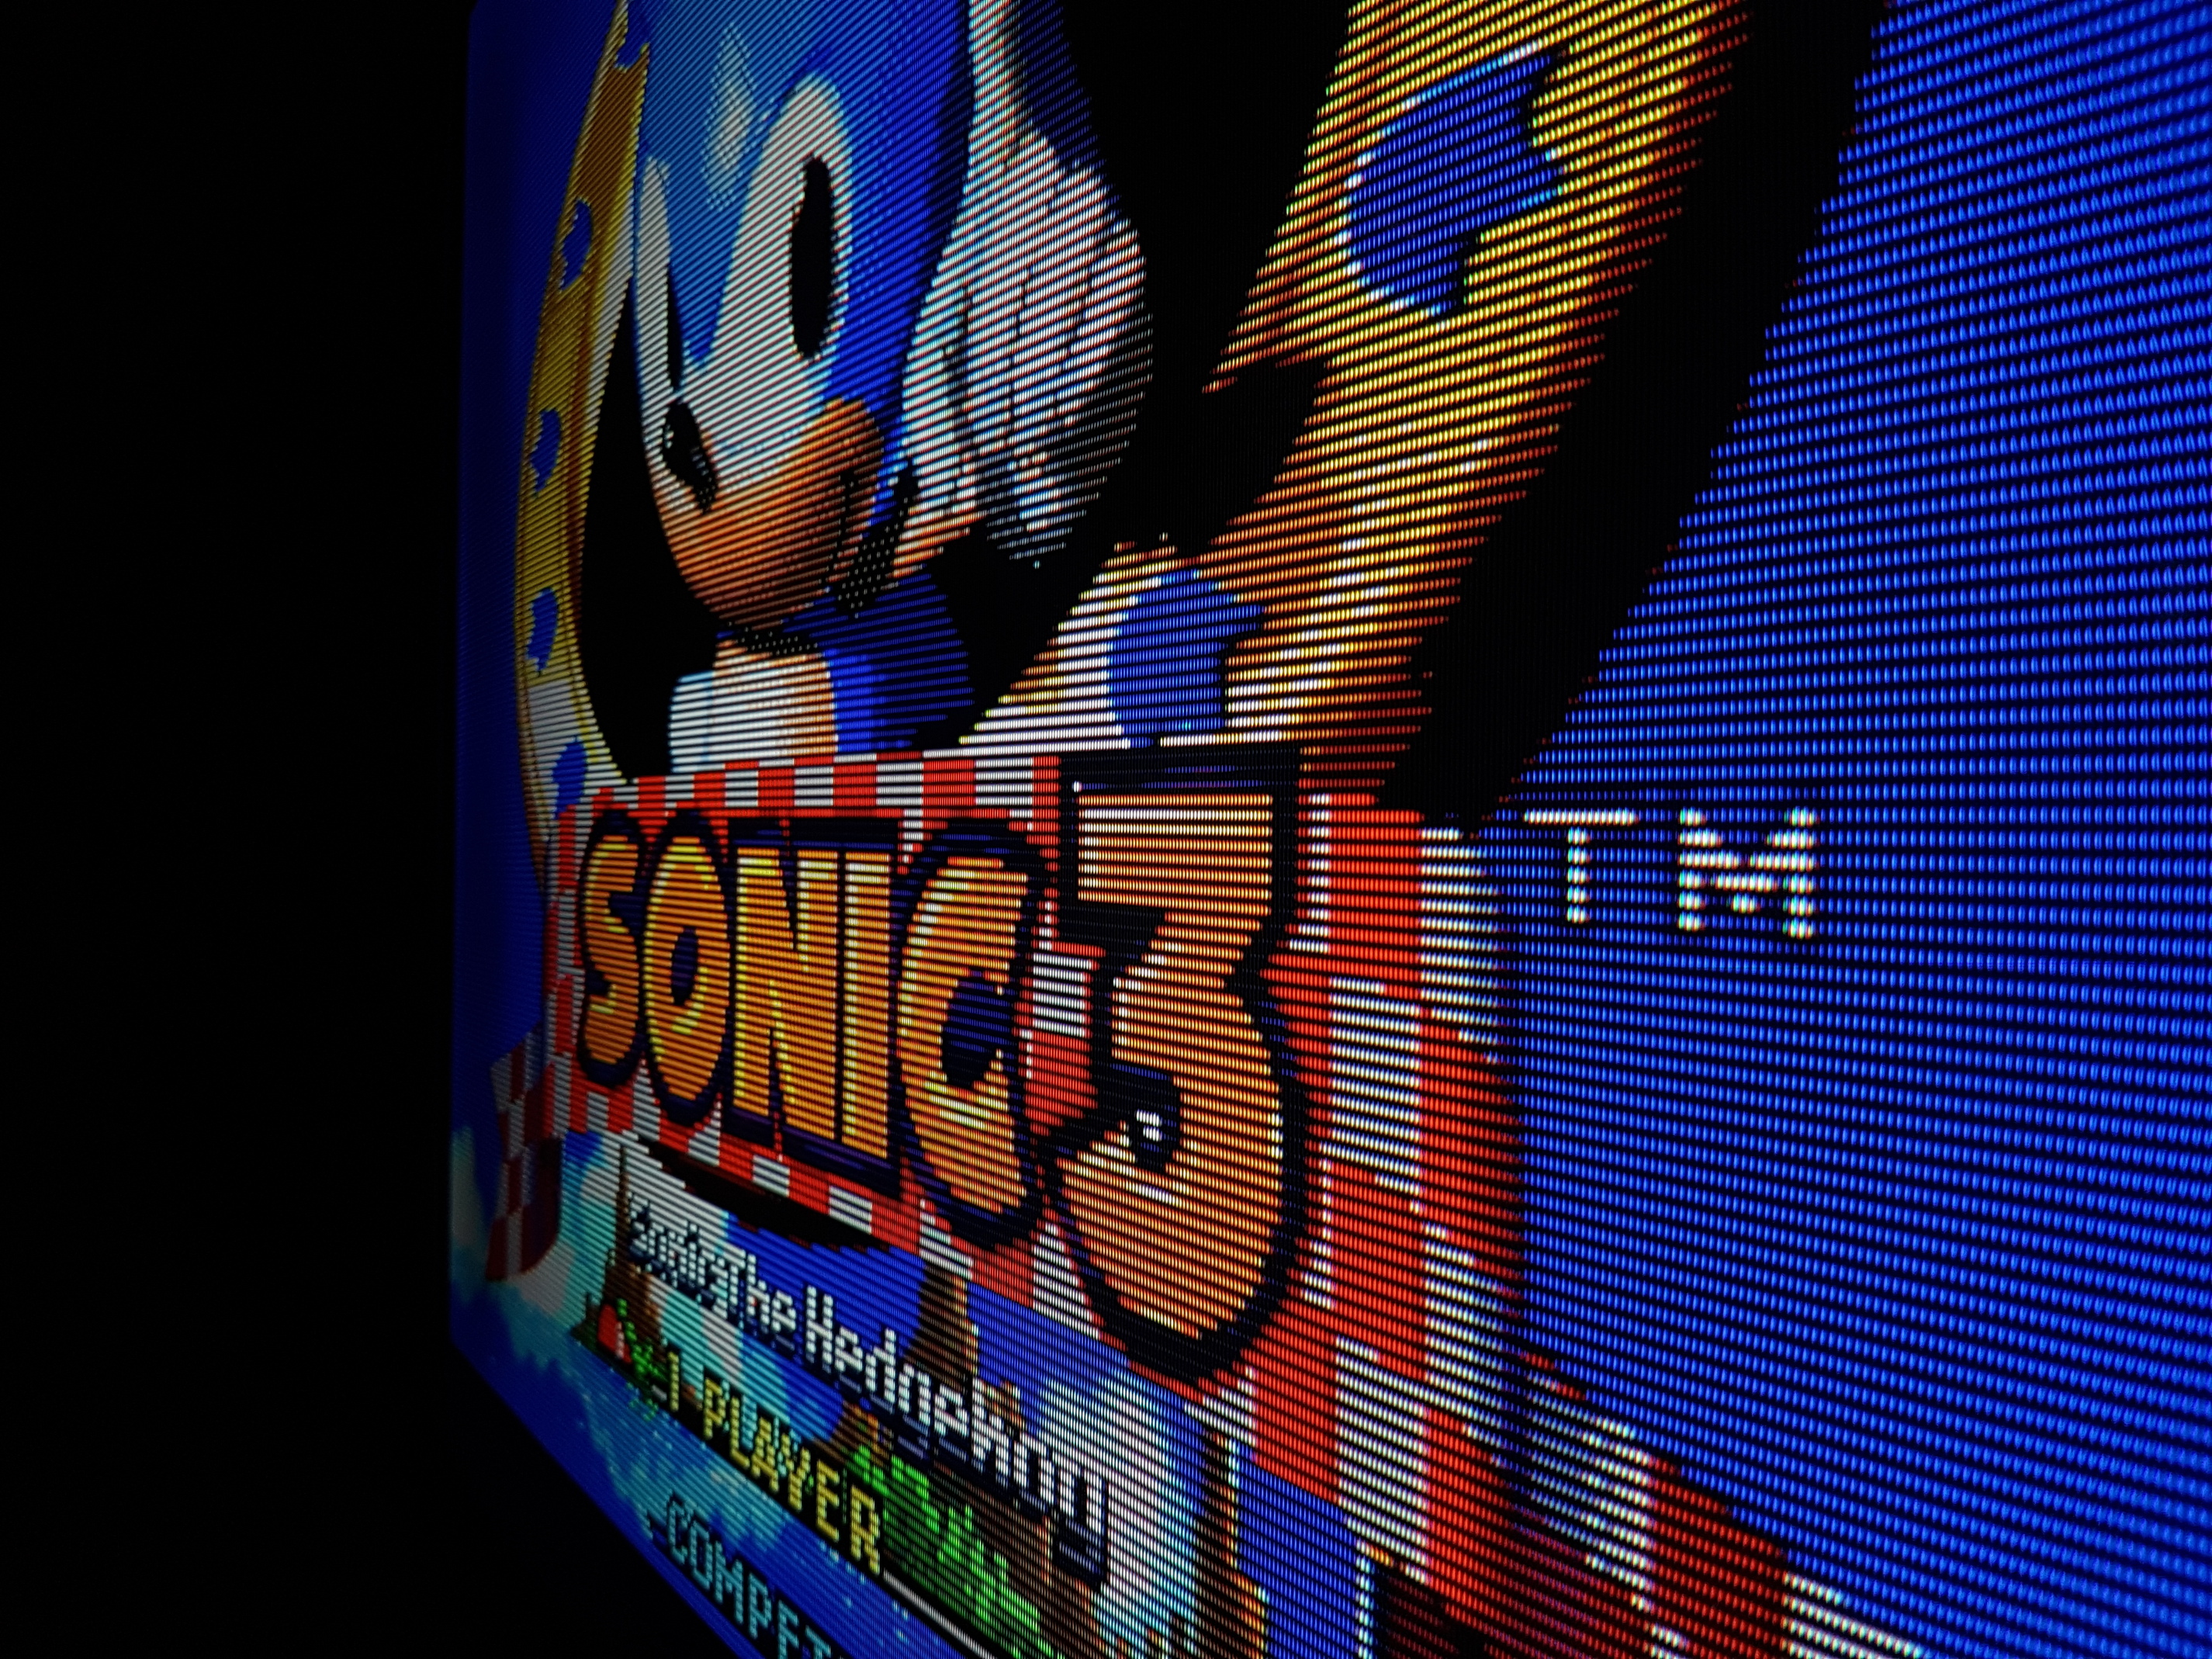
Back with part 2 of looking for a good shader for Mupen64. My last post I had the core’s 4:3 resolution setting on 640x480 and tried to mix 2 shaders and the scanlines came out looking vertical, this time I changed the resolution setting back to its original 320x240 and applied the same custom crt guest dr venom shader I used for the Yaba Sanshiro core I posted a few posts up and this is the result


I think this looks better now
4 Likes
Current settings for @guest.r’s scanline-mask shader. These must be viewed on a 1080p display @ native res with the display backlight maxed out. The goal is realistic mask emulation with the individual phosphors displaying accurate RGB intensity values while maintaining brightness, contrast and saturation.
Mask strength at 70%. Needs a minimum of ~350 nits max to look bright enough:

Mask strength at 100%. Needs a minimum of ~500 nits max to look bright enough:

Reference shot showing Sonic 3 on a Sony Wega FV310:
Mask strength @ 100%; needs 500+ nits:
shaders = "2"
shader0 = "shaders_glsl/crt/shaders/guest/d65-d50.glsl"
filter_linear0 = "false"
wrap_mode0 = "clamp_to_border"
mipmap_input0 = "false"
alias0 = ""
float_framebuffer0 = "false"
srgb_framebuffer0 = "false"
scale_type_x0 = "source"
scale_x0 = "1.000000"
scale_type_y0 = "source"
scale_y0 = "1.000000"
shader1 = "shaders_glsl/crt/shaders/guest/crt-guest-sm.glsl"
wrap_mode1 = "clamp_to_border"
mipmap_input1 = "false"
alias1 = ""
float_framebuffer1 = "false"
srgb_framebuffer1 = "false"
parameters = "WP;wp_saturation;smart;brightboost1;brightboost2;stype;scanline1;scanline2;beam_min;beam_max;cutoff;s_beam;cubic;h_sharp;mask;maskmode;maskdark;maskbright;masksize;gamma_out"
WP = "0.000000"
wp_saturation = "1.000000"
smart = "0.000000"
brightboost1 = "1.500000"
brightboost2 = "1.100000"
stype = "0.000000"
scanline1 = "14.000000"
scanline2 = "16.000000"
beam_min = "1.400000"
beam_max = "1.100000"
cutoff = "0.000000"
s_beam = "0.000000"
cubic = "0.000000"
h_sharp = "4.599999"
mask = "0.000000"
maskmode = "0.000000"
maskdark = "1.000000"
maskbright = "1.000000"
masksize = "1.000000"
gamma_out = "3.000000"
Mask strength @ 70%. Needs 350+ nits:
shaders = "2"
shader0 = "shaders_glsl/crt/shaders/guest/d65-d50.glsl"
filter_linear0 = "false"
wrap_mode0 = "clamp_to_border"
mipmap_input0 = "false"
alias0 = ""
float_framebuffer0 = "false"
srgb_framebuffer0 = "false"
scale_type_x0 = "source"
scale_x0 = "1.000000"
scale_type_y0 = "source"
scale_y0 = "1.000000"
shader1 = "shaders_glsl/crt/shaders/guest/crt-guest-sm.glsl"
wrap_mode1 = "clamp_to_border"
mipmap_input1 = "false"
alias1 = ""
float_framebuffer1 = "false"
srgb_framebuffer1 = "false"
parameters = "WP;wp_saturation;smart;brightboost1;brightboost2;stype;scanline1;scanline2;beam_min;beam_max;cutoff;s_beam;cubic;h_sharp;mask;maskmode;maskdark;maskbright;masksize;gamma_out"
WP = "0.000000"
wp_saturation = "1.000000"
smart = "0.000000"
brightboost1 = "1.500000"
brightboost2 = "1.100000"
stype = "0.000000"
scanline1 = "14.000000"
scanline2 = "16.000000"
beam_min = "1.400000"
beam_max = "1.100000"
cutoff = "0.000000"
s_beam = "0.000000"
cubic = "0.000000"
h_sharp = "4.599999"
mask = "0.000000"
maskmode = "0.000000"
maskdark = "1.000000"
maskbright = "0.700000"
masksize = "1.000000"
gamma_out = "3.000000"
1 Like
@Squalo @Kondorito @Nesguy Thank you, yes here is the download link. https://gofile.io/?c=bdhQmE
Copy all the files otherwise it won’t work (you can revert to the old version at any time using “update shaders” in retroarch). In the archive, there is a slang and cg version. I kept all the shader functions activated but if you want to gain fps, you can change
#define RUNTIME_ANTIALIAS_SUBPIXEL_OFFSETS to // # define RUNTIME_ANTIALIAS_SUBPIXEL_OFFSETS (in user-settings.h).
Also, do not hesitate to use mask_sample 1.0 instead of 0.0 for the same reasons mentioned above (shaders runtime while in game).
Screenshots with convergence (mask_sample 0.0 and 1.0). Now identical with mask_triad_size_desired 3.0 and 6.0.
Here are some explanations, the basic version uses this image from Wikipedia (512 x 512 px)

which is then resized (64 x 64). For me it creates very visible artifacts on my screen and the triads are not even centered (while using the wrap_mode = repeat function), without forgetting that 8 triads per tile are not useful, 2 are enough. So I changed all my masks to 48 x48 px, 2 triads per tile.![]()
It was better but I was still not happy with this, so I said to myself instead of replicating a real crt mask with all the constraints that that implies for the moment, it would be better to make an original mask adapted to our modern screens even if it is not similar to crt. So I did some tests and I came to this result. Instead of having 2 r.g.b triads, I have 2 white triads (r.g.b merged).![]()
So no more sharpness and artifact issues, I could increase the light intensity of the whites up to 240 but it might be worse for 1080p users.
5 Likes
@sonkun are you just running gtu-v50 (only the first two passes) before the crt-guest-dr-venom chain?
If you are try this:
shader1 = ../crt/shaders/gtu-v050/pass2.glsl
scale_type_x1 = source
scale_x1 = 2.0
scale_type_y1 = source
scale_y1 = 1.0
filter_linear1 = false
float_framebuffer1 = true
Don’t know if this (what I’m suggesting) will work properly with using all three GTU passes.
1 Like
Yeah I believe I tried that method and a few others, no matter what I just couldn’t get that shader to look the way I wanted so I just left it alone
1 Like
The only purpose of doing what I suggested is if you’re only running the first two passes of GTU and the reason to do this is to properly (align?) the blurring gtu does horizontally.
If you don’t do this, when going to adjust the blur with gtu it will cause some color banding like effect horizontally.
Glad you got the look you are going for!
What are your gtu settings, as it looks like composite is on?
Ah I see. In that post I just loaded up crt gtuv and left everything default, didn’t change anything and then I chained in the crt guest shader by passes afterwards. Only thing I changed after that was the sharpness and the color space in the parameters. I’m a little burned out on the gtuv shader at the moment, tried so many times to tweak it and the doubled core resolution wasn’t making it any better, even after switching it to it’s original resolution gtuv just wasn’t cutting it, it looks good on it’s own though. With Guest I think this is the first time I actually got n64 and saturn emulation to look decent besides using the royale shader
1 Like
If I use this mask without thinking of 1080p users, I get this result. Using paint or gimp, click a white portion of the screen. It will display shade 160 bright 240 R 255 G 255 B 255 for the 2 screenshots. Using static const float mask_grille15_avg_color = 127.5 / 255.0; instead of 178.5 as in my presets. So for me it does not darken the image. (Maybe my image seen at a non-native resolution and the aspect ratio changed false everything)
Comparison
No shader gamma 2.20 https://pasteboard.co/IPWFRfq.png
My mask crt gamma 2.50 https://pasteboard.co/IPWG2VW.png
2 Likes
I guess I’m not really understanding, because from what I can see, it still darkens the image…
If you’re adding black/dark lines to the image, it’s going to cause brightness to be lost. It’s unavoidable. The mask adds black/dark lines between the phosphor triads, so you’re losing brightness.
Let’s say you start with the regular image and just add simple 1:1 scanlines, blacking out every other line. This will reduce the brightness by 50%, even if the visible lines remain unaltered. You’d have to double the brightness of the visible lines to avoid any reduction in brightness. The only way to compensate for the loss of brightness without significantly altering the original colors is to crank up the backlight and adjust the gamma accordingly.
This mask is a cool idea, though, and one I’ve played around with in the past. You can actually achieve very similar results using a simple .png overlay. It’s not really as “accurate” as it could be, but like you said, accuracy is hard to achieve with the limitations of current LCDs. You always have to compromise on something, unless you’ve got 500+ nits to work with. 
1 Like
Oh now i understand what were you saying by darken, there is a misunderstanding, I am obviously talking about the visible lines and the intensity of the whites, I am not very good at expressing my ideas in English, but you did it better than me with this haha
That’s what I wanted to express. Yes i agree,good TV’s are comming soon (well i hope).
1 Like
No worries! English can be very ambiguous even for native speakers.
As of right now, only the Samsung QLED TVs have the brightness needed for “accurate” CRT emulation, and they only have enough resolution for the aperture grille. For slotmask, you really want 8K or higher resolution. If you also want CRT-like motion clarity, you need double the nits for black frame insertion.
To accurately emulate a slotmask CRT, you need a TV with ~1000+ nits that can do 8K @ 120 Hz with less than 1 frame of input lag.  We’ll get there eventually…
2 Likes
Just got the Daphne core up and working and what better way to celebrate than to throw a sexy shader over it. Here’s the crt xm29plus royale shader slightly tweaked (settings are posted above for anyone that wants to use it).


3 Likes
Could you post you images on a different site then imgur? Please it’s compressing the crap out of them. I’d love to see your screenshots but can’t.
I use pasteboard to upload images, personally.
Pasteboard is usually what I’d like to use but my images always go past the 10mb upload limit that site enforces so I’m forced to go elsewhere. Best way to see them if you’re mobile is to put your phone browser into desktop mode. For some reason that site doesn’t show the image the way it should in mobile mode, only desktop mode or viewing from a pc gives the hd image
1 Like
Yeah, I was on mobile switching to desktop mode fixed it, lol.
Nice screenshots, 
1 Like
Is that how you were viewing all of my other posts? If so you gotta view them all again lol. And thank you, glad you like them
1 Like