Hi @schM0ggi , I did “port” your version of CRT-guest into Reshade. I put port in quotes because all I did was replicate your configuration 1:1 and thankfully the syntax for the config file is pretty much the same as Retroarch, so it wasn’t too difficult.
However, the Reshade effect doesn’t automatically scale resolutions in the same way that slang shaders in Retroarch do, so you’d have to make one for every internal resolution you want to use. The one I did is specifically for 240p games, like the PC port of Resident Evil 1-3 and ports for games like LTTP/Ocarina of Time. It’d be trivial to modify it for other obscure resolutions or port the hires version.
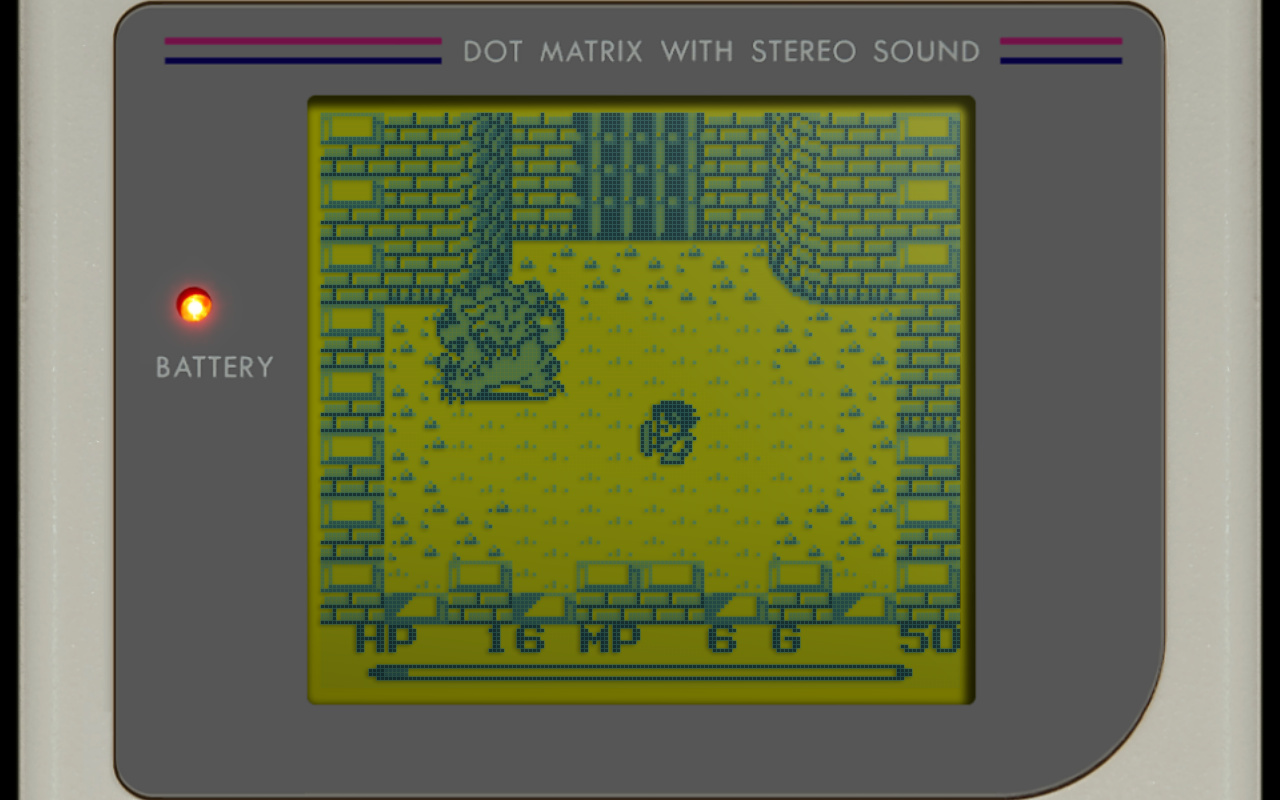
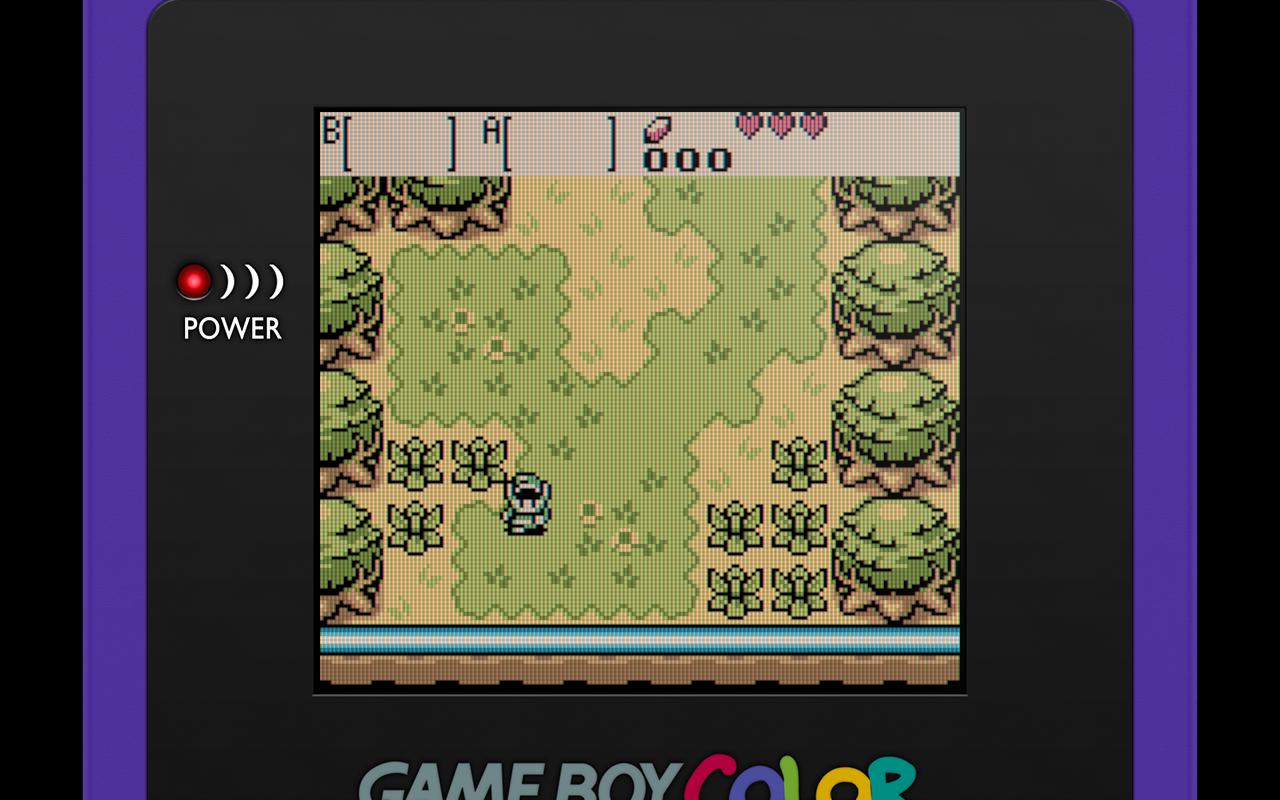
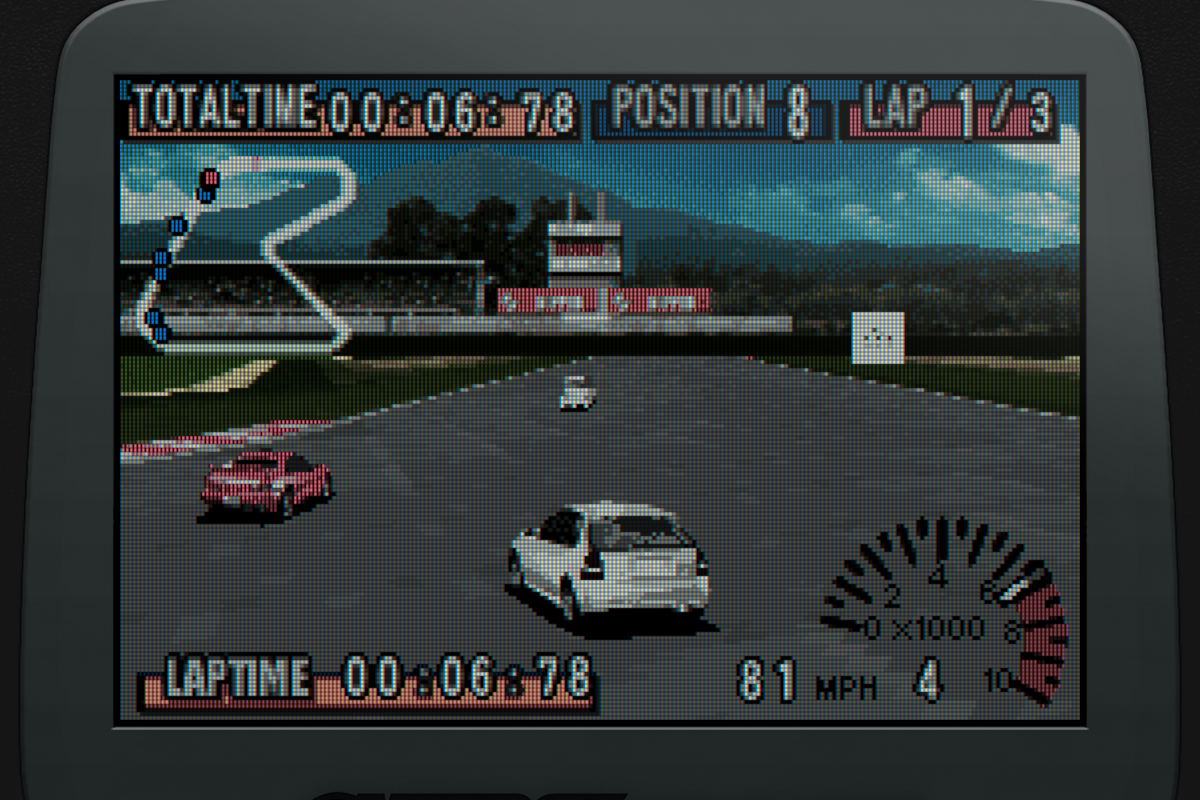
I’ve completed Resident Evil 1&2 on GOG using the shader and compared it side by side with Super Metroid in Retroarch and find no difference. I haven’t been able to figure out how to take screenshots within Game Mode because it does not take the shader into account, but Duckstation supports Reshade inside of it, so here is Symphony of the Night:
You can try it out HERE . All you have to do is put the two folders in ~/.local/share/gamescope/reshade and use ReshadeDeck. Unfortunately the latest SteamOS and Decky Loader have broken the version of ReshadeDeck in the Decky store, so you have to install this fork of ReshadeDeck and install to Decky by entering Dev mode and using the developer setting to install a plugin via .zip file. Hopefully the fork gets introduced into the Decky store in the future.
Some things to keep in mind: This preset has no curvature. There is a parameter you can change that I’ll add here later. Additionally, it is currently set to “NTSC Phase=3” because I like how it looks better. This can be easily changed by editing the preset with a text editor and modifying this section:
uniform float ntsc_phase
To change the internal resolution, you will want to modify this section, however I can’t really vouch for how good it’ll look at other resolutions personally:
#ifndef Resolution_X
#define Resolution_X 384
#endif
#ifndef Resolution_Y
#define Resolution_Y 240
#endif
For this shader to function properly, the game needs be run in a 16:10 window. if you aren’t modifying the “Game Resolution” option in the Properties of a Steam game, it will just work. If you are, this parameter should be changed to correlate to whatever that aspect ratio is. The bright side is that even higher res games will look correct with it, but I try to set the rendering resolution to 240p while keeping a full size window where possible. The Perfect Dark PC port for example does not have this option, but it still looks good.
Let me know if there are any suggestions, questions, or if there’s interest in doing the hires preset as well. Also sorry if the formatting is completely broken, this is the first time I’ve ever posted on this forum 


 I’d love if some skilled people would take my preset or create something new (I don’t care) and improve it as much as possible for Steam Deck and similar devices with a low res.
 I can imagine on higher res like WQHD or even 4K it will look bad but that’s okay because It’s not made for that.

