Just sharing my latest presets with the community. I’m quite satisfied with these settings for now. Pictures won’t tell the whole story as there’s a bit of subtle movement going on in there so feel free to try them out.
I recommend using Arcade - Sharp for arcade games, Composite - Pure for NES and similar systems and Composite - Sharp for the 16-bit era systems and everything else except games that rely on dithering to generate additional colours and transparency effects that aren’t being handled well enough by the Composite - Sharp preset. For those cases, I recommend using my Blending and Transparency Edition preset.
With that said, for the best viewing experience of these screenshots I suggest you right click on the image then click, “Open link in new tab”, “Open link in new window” or “Open image in new tab”.
Then click on the new window or tab and press the F11 key for a fullscreen view.
This also works when viewing the albums on imgur.
[Updated 10/11/21]
Presets are updated. Screenshots and video clips are not.
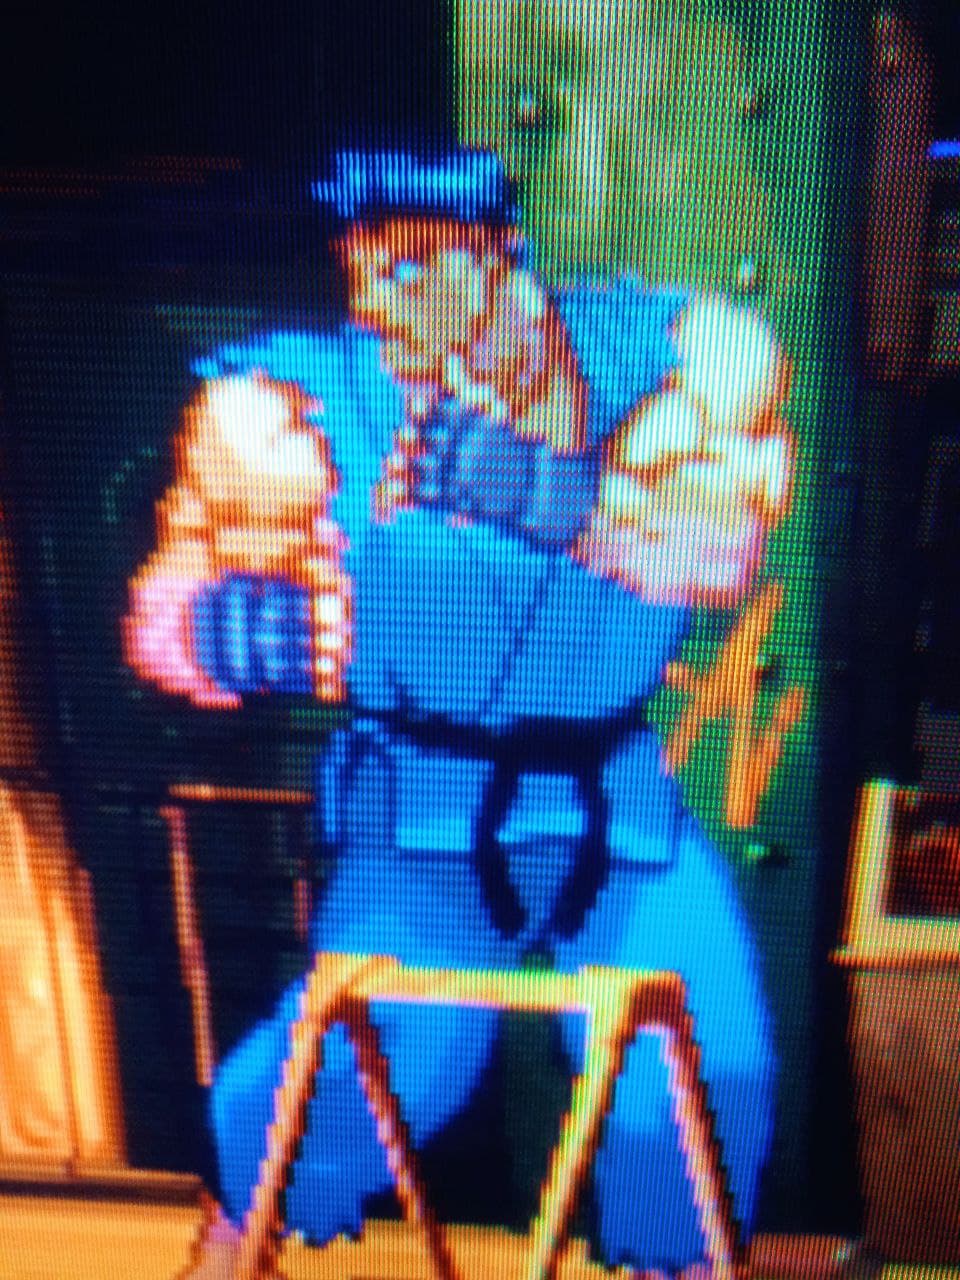
CyberLab Mega Bezel Death To Pixels (Composite - Sharp)
Note: Please download and loop video clips when playing for optimal viewing quality and experience.
CyberLab Mega Bezel Death To Pixels Composite Sharp.slangp
#reference ":/shaders/shaders_slang/bezel/Mega_Bezel/Presets/Base_CRT_Presets/MBZ__2__STD__GDV.slangp"


g_cntrst = "0.500000"
GDV_AFTERGLOW_THRESHOLD = "7.5"
// BP = "16"
glow = "0.050000"
SIZEH = "7.000000"
SIGMA_H = "2.300000"
halation = "0.250000"
h_sharp = "1.000003"
shadowMask = "6.000000"
maskstr = "0.4"
maskDark = "1.000000"
GDV_DECONVERGENCE_ON = "1.000000"
deconrr = "1.000000"
deconrb = "-1.000000"
deconrry = "1.000000"
deconrby = "-1.000000"
beam_min = "1.000000"
beam_size = "0.000000"
vertmask = "1.000000"
HSM_INTERLACE_TRIGGER_RES = "600.000000"
HSM_FAKE_SCANLINE_RES = "240.000000"
MDAPT_MODE = "2.00000"
HSM_CURVATURE_MODE = "-1.000000"
HSM_FAKE_SCANLINE_OPACITY = "0.000000"
HSM_FAKE_SCANLINE_ROLL = "0.000000"
HSM_CORE_RES_SAMPLING_MULT_SCANLINE_DIR = "1600.000000"
HSM_DOWNSAMPLE_BLUR_SCANLINE_DIR = "70.000000"
HSM_DOWNSAMPLE_BLUR_OPPOSITE_DIR = "60.000000"
g_crtgamut = "1.000000"
g_hue_degrees = "0.000000"
HSM_SCALEFX_ON = "1.000000"
SHARPEN_ON = "1.000000"
SHARPEN = "0.250000"
CONTR = "0.090000"
g_sat = "0.000000"
GTU_ON = "1.000000"
compositeConnection = "1.000000"
signalResolutionI = "304.000000"
signalResolutionQ = "261.000000"
spike = "2.000000"
gamma_c = "1.640000"
deconsmooth = "1.000000"
addnoised = "0.140000"
Note: If you’re using Higan or BSNES, the resolution setting in the core options can influence how your final image looks in terms of sharpness and softness. In games that you might prefer a crisper, sharper look for example Super Mario World and Super Mario Kart, you can try switching it to 512 x 224. Conversely in games that use dithering to create extra colours for example U.N. Squadron and TMNT: Turtles In Time and Final Fight, 256 x 224 might be the better choice. You can save your choice in Quick Menu…Options…Manage Core Options and save per game.
The following 2 video clips show my CyberLab Mega Bezel Death To Pixels (Composite - Sharp) preset combined with the built-in Blargg NTSC Composite filter in the Genesis Plus GX core.
https://mega.nz/file/kYxySCKI#szeKGsQbg5YWFIJMooKw7WG5t-85uBhWxnQQUjNnoCo
https://mega.nz/file/ZUwUhAqL#G7JGAiWbhItVWvsU41peplF6ND-HIkMgswHo3n-BozA
This next one’s for the CRT purists like @Nesguy, @Brainbin74, @Duimon and even myself sometimes when I’m feeling for that extra bit of nostalgia.
Note: This preset needs the “CyberLab Mega Bezel Death To Pixels Composite Sharp.slangp” preset to be in the same “…\Retroarch\Shaders” folder for it to work.
CyberLab Mega Bezel Death To Pixels (Composite - Pure)
Note: Please download and loop video clip for optimal viewing quality and experience.
CyberLab Mega Bezel Death To Pixels Composite Pure.slangp
#reference "CyberLab Mega Bezel Death To Pixels Composite Sharp.slangp"
halation = "0.150000"
h_sharp = "5.000000"
HSM_SCALEFX_ON = "0.000000"
HSM_DOWNSAMPLE_BLUR_SCANLINE_DIR = "0.000000"
HSM_DOWNSAMPLE_BLUR_OPPOSITE_DIR = "0.000000"
g_hue_degrees = "4.000000"
signalResolutionI = "83.000000"
signalResolutionQ = "145.000000"
g_sat = "0.050000"
addnoised = "0.200000"
If you’re also looking for the infamous " Rainbow effect" you can use my presets above and also enable Blargg’s NTSC Composite filter in the Genesis Plus GX Core Options. It might even work with my Composite - Pure preset as well but I haven’t tested it yet.
What I’ve noticed is that once the Blargg NTSC Composite Filter is enabled and used in conjunction with my Composite - Sharp preset, dithering based transparencies also work fine, whereas without the Blargg filter set to composite that particular preset didn’t do the transparency effects properly. So I went back to the drawing board and came up with this next preset. It’s not a one size fits all solution as it can cause some artifacts due to false positives in certain games but when it works, it works beautifully!
CyberLab Mega Bezel Death To Pixels (Blending and Transparency Edition)
CyberLab Mega Bezel Death To Pixels Blending and Transparency Edition.slangp
#reference "CyberLab Mega Bezel Death To Pixels Composite Sharp.slangp"
MDAPT_MODE = "3.000000"
Note: This preset needs the “CyberLab Mega Bezel Death To Pixels Composite Sharp.slangp” preset to be in the same “…\Retroarch\Shaders” folder for it to work.
So now you can get the best of both worlds. Extra colours, transparency effects and the rainbow effect without blurry graphics as if Vaseline was smeared all over the screen.
My next mission is to test this combination out with my Composite - Pure preset and also to test it with the global Blargg NTSC Filter in the main RetroArch settings to see if it works the same way!
CyberLab Mega Bezel Death To Pixels (Arcade - Sharp)
CyberLab Mega Bezel Death To Pixels Arcade Sharp.slangp
#reference ":/shaders/shaders_slang/bezel/Mega_Bezel/Presets/Base_CRT_Presets/MBZ__2__STD__GDV.slangp"


g_cntrst = "0.500000"
GDV_AFTERGLOW_THRESHOLD = "7.5"
// BP = "16"
glow = "0.050000"
SIZEH = "7.000000"
SIGMA_H = "2.300000"
halation = "0.200000"
h_sharp = "3.000001"
shadowMask = "6.000000"
maskstr = "0.4"
maskDark = "1.000000"
GDV_DECONVERGENCE_ON = "1.000000"
deconrr = "1.000000"
deconrb = "-1.000000"
deconrry = "1.000000"
deconrby = "-1.000000"
beam_min = "1.000000"
beam_size = "0.000000"
vertmask = "1.000000"
HSM_INTERLACE_TRIGGER_RES = "600.000000"
HSM_FAKE_SCANLINE_RES = "240.000000"
MDAPT_MODE = "2.00000"
HSM_SCALEFX_ON = "1.000000"
HSM_CURVATURE_MODE = "-1.000000"
HSM_FAKE_SCANLINE_OPACITY = "0.000000"
HSM_FAKE_SCANLINE_ROLL = "0.000000"
HSM_CORE_RES_SAMPLING_MULT_SCANLINE_DIR = "1600.000000"
HSM_DOWNSAMPLE_BLUR_SCANLINE_DIR = "100.000000"
HSM_DOWNSAMPLE_BLUR_OPPOSITE_DIR = "100.000000"
g_hue_degrees = "4.000000"
spike = "2.000000"
gamma_c = "1.460000"
deconsmooth = "1.000000"
addnoised = "0.120000"
For lower end systems, you can replace the Base CRT Preset reference shader line with this:
#reference ":/shaders/shaders_slang/bezel/Mega_Bezel/Presets/Base_CRT_Presets/MBZ__3__BASIC-EXTRA-PASSES__GDV.slangp"
1080p and 1440p users can now enjoy presets that are optimized for those resolutions providing almost the same look and feel of my existing presets which were all designed, tested and targeted towards 4K display users!
Thanks again to all who made this possible!
Click the link below to download
CyberLab Mega Bezel Death To Pixels Shader Preset Pack 10-11-21.zip


