
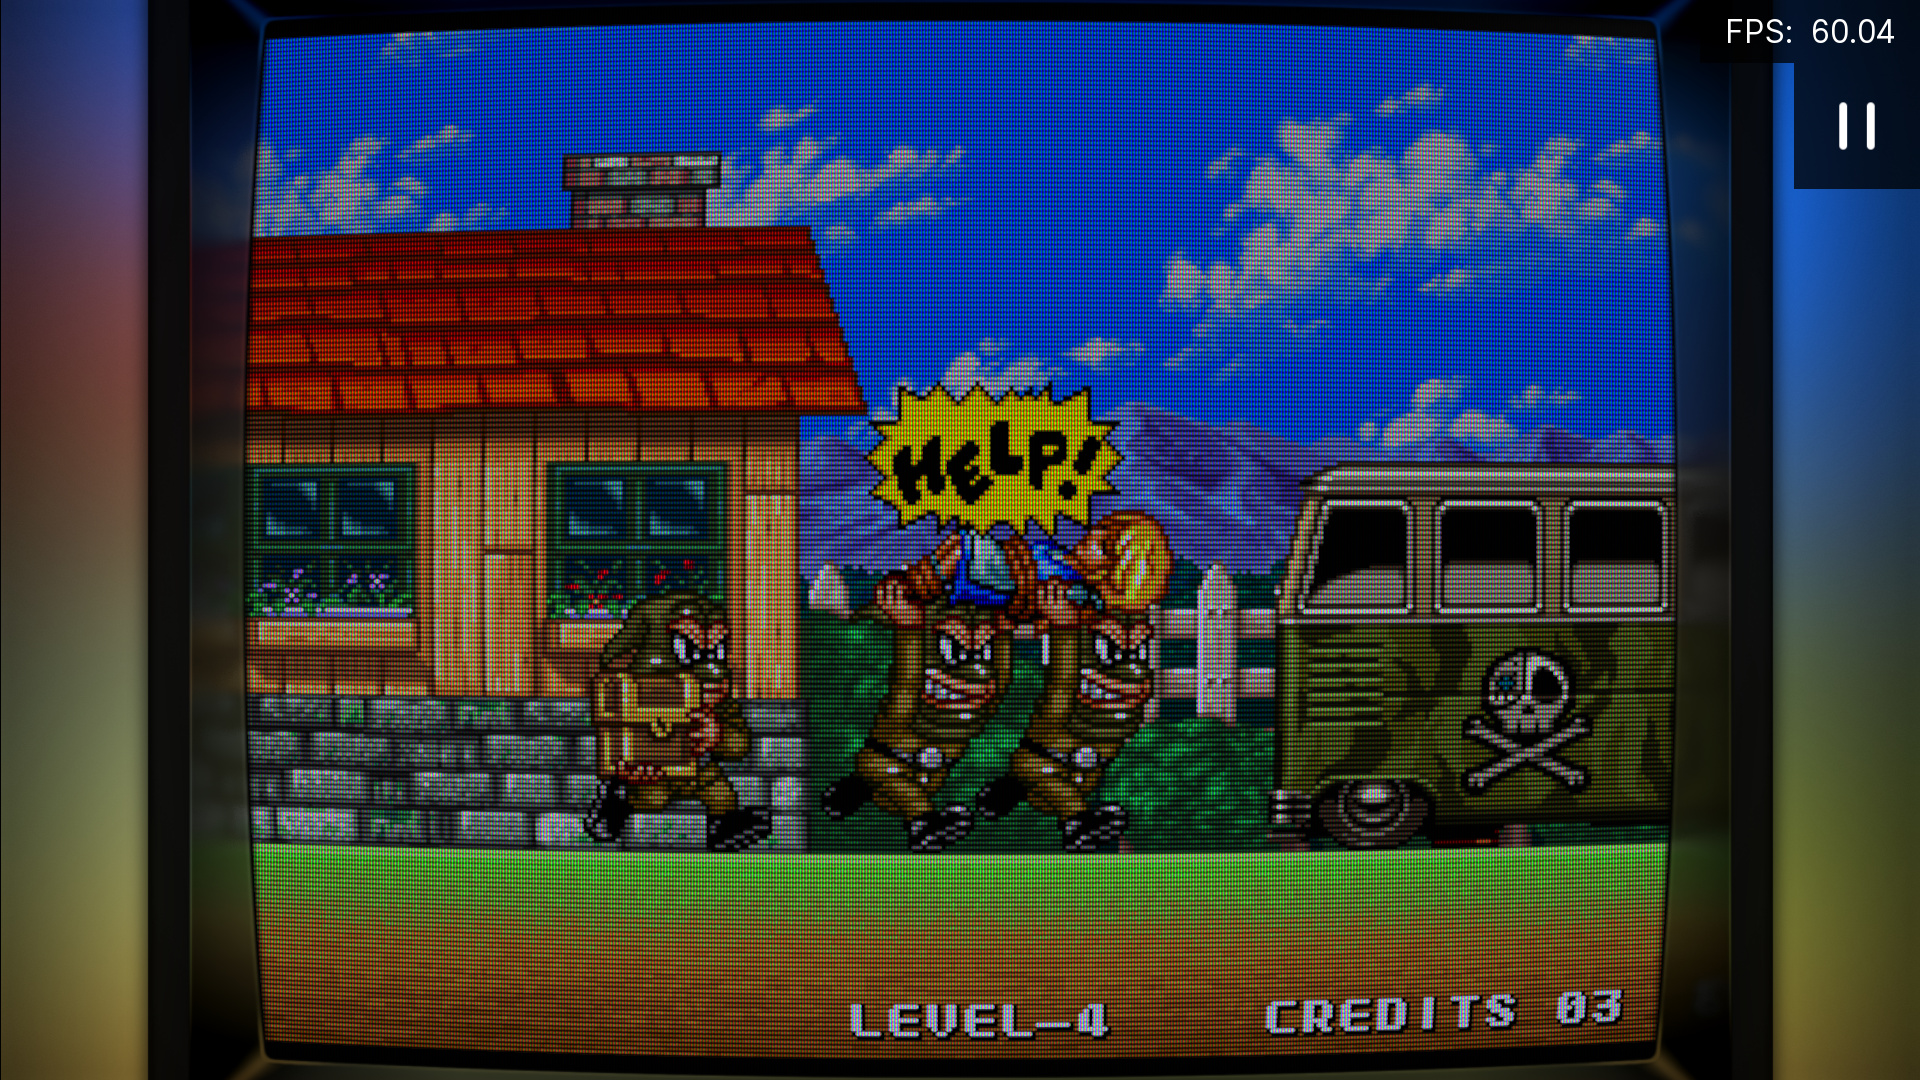
Ok, found my sweetspot with the new settings:  On my Sony OLED @ 2160p, (game mode, BFI 2 on OLED) RBG mask - stunning.


7 Likes
Hello, there is no Vulkan on the handhelds only glcore, gl(default), sdl2. Also I can only see this in RA, which means next restart it’ll be on default.
But many other shaders work even ones I cobbled together in retroarch and then transferred the preset to ES presets so I can select it globally. Does Koko specifically need Vulkan to function?
Maybe the content downloader in Knulli doesn’t put it in the right place, do you think manual install might work? Just d/l your shaders from github and put them in /userdata/shaders?
GLCore is good as well.
What “does not work” means?
Also, please, provide Retroarch logs from a failed run.
Hi, sorry for late reply, knulli updated and I had to do full reflash. I think I can’t get koko to work due to needing the shaders in .glsl and googling says koko and megabezel (which also doesn’t work on the handheld) use slang which doesn’t work on the arm handhelds for reasons beyond my layman understanding. I’ll stick with fake-crt-geom and zfast. Sorry for wasting your time.
glcore is good as well, so just switch to glcore and restart retroarch, then update slang shaders and you should be able to try slang shaders.
New preset with TVL set to 500 and (almost) no visible moire at 1080p obtained by highering the minimum phosphor width.
- Monitor-slotmask-TVL500-for_1080p

13 Likes
Some new fresh updates in terms of motion clarity.

-
LCD Antighosting:
This already available feature still needs to be enabled in config-user-optional.txt with#define DO_LCD_ANTIGHOSTING, but has gained the following runtime parameters configurations:
    Strength:
        The effect strength; it has to be tuned depending on your LCD response time.
    Ceil:
        The effect is proportional to the color difference over time,
        however you can set an hard maximum here.
    Flip Mask:
        Enabling this will cause the horizontal mask to be flipped at every frame.
        It is an experimental measure to mitigate ghosting that could work or not,
        depending on your display.
To recap, it is useful for low refresh desktop use intended monitors; its purpose is to force LCD cells to change state faster; it won’t help with motion induced blur, but will still make the image less blurry in motion.
-
SubFrames Support:
Shader can now be instructed to take some optimized paths when using subframes.
The most obvious one is to reuse previous rendered frames and gain performance.
So if you want to append shaders that make use of subframes like crt-beam-simulator, the performance hit will be much much lower than before. You can enable those optimizations in config-user-optional.txt by using:#define SUBFRAMES_OPTIMIZATIONS -
Adaptive strobing: my take on the motion induced blur reduction issue:
Across frames and subframes, the image will be alternately darkened and brightened on a per-pixel basis. This modulation will be maximized without clipping whites or crushing blacks, aiming for a final temporal average that is perceived as the original image.
Doing so will greatly improve motion clarity without sacrificing brightness, as opposed to the common solutions to the very same issue.
The drawback is that the motion clarity will be maximum for mid-tones and lower for brighter and darker ones (for which, in my experience, just the former is really an issue).
This option is, again, statically disabled by default, but you can enable it in config-user-optional.txt by using
#define DO_ADPT_STROBE
…as per LCD Antighosting, enabling this option will make in turn the following runtime parameters actually functional:
    Strength:
        This modulates the clarity and the perceived flickering.
    Gain adjustment:
        Since the perceived image depends on the display pixel refresh speed,
        it may be needed to adjust this.
    Gamma adjustment:
        Since the perceived image depends on the display pixel refresh speed,
        it may be needed to adjust this.
I tried Adaptive strobe on my OLED@120hz and the results were really encouraging; on my poor 60hz MVA display, it is somehow acceptable with the strength set to 0.15 or so.
7 Likes
There is a new setting:

It affects the brightness across the screen with soft “stains”, this is with uniformity set to 0.8 :

Unlike what happens on real screens, I’ve set those stains to be dynamic: slowly moving and morphing across the screen, they won’t always affect the same zone, so do not draw excessive attention, while still adding some personality to the image.
Vignette effect needs to be enabled for this to work; If you don’t like vignette itself, you can set its size to 5.0 to make it disappear and keep the uniformity effect.
Good values are in >0.85…0.95 range.

10 Likes
Running into an issue with posterization and as I was looking at my screenshots I realized that the issue only appears when the image is at 100% scale on my computer. Photo above is a picture taken with my phone and here is a link to the fullsized screenshot. https://drive.google.com/file/d/12Ouvyoz8n6q2LkfBbLRv0ThsXSvugpUM/view?usp=sharing

Any idea what’s going on? Scaling options in retroarch do not seem to fix it. Turning off the low level phosphor grid fixes it but then no masks or scanlines. Display is a 4k oled. Preset is the base preset in the ng folder with scanlines turned off so it’s easier to see but I notice it with scanlines on too.
Thanks!
1 Like
I can clearly see the posterization effect on the photo made with the phone, but NOT on the screenshot.
That would point to an issue with the display and the mask.
Can you confirm by opening the screenshot with another display?
Speculating on that, deep masks can often stress monitors, producing weird effects, but this is the first time I hear something like that affecting oleds.
You could try to change the horizontal mask preset parameter from rbg to something else like gmx, rgb, rgbx and/or lower the main horizontal mask parameter from 1.0 to something around 0.8 and see if it would mitigate the issue.
Also, thank you for the detailed report!
1 Like
Unfortunately this is the only display i have access too but I’m fairly certain it is some weird interaction between the display and the mask. I should have been more specific that my tv is a WOLED with an RWBG layout. I don’t think this matches any of the preset layouts? I have to admit I don’t really understand any of this very well. The wwx settings cleans it up a bit but the others just create different patterns of posterization.
The other thing I have found is that changing horizontal mask resolution from screen (default) to core fixes it almost entirely.
1 Like
…correct, but that does not seem to be the issue anyway.
Yup, this is coherent with the theory that steep masks put the display controller under excessive stress.
Try the development version with the presets which contain the TVL keyword, I think they will be fine, then you can tweak the TVL parameter itself to make the mask wider or narrower.
2 Likes
OOh yes the tvl presets seem to be the ticket. Look fantastic but I’ll have to play around a bit to find what looks best. Thanks for the pointers! Also unrelated but I really love the ambilight effect you have.
1 Like
Tweaked this preset:
Preset
#reference "../koko-aio-ng.slangp"

GAMMA_OUT = "0.400000"
DO_CCORRECTION = "1.000000"
IN_GLOW_POWER = "1.300000"
BRIGHTNESS = "0.050000"
CONTRAST = "0.050000"
TEMPERATURE = "7200.000000"
SATURATION = "1.200000"
VIBRANCE = "0.500000"
NTSC_MIX = "0.700000"
NTSC_FILTER_WIDTH = "9.000000"
NTSC_FILTER_SCF = "1.000000"
NTSC_FILTER_FC = "3.300000"
NTSC_PHASE_SHIFT = "1.000000"
NTSC_ARTF_TRSH = "0.360000"
NTSC_SHOW_ARTF_MASK = "1.000000"
DO_SAT_BLEED = "1.000000"
SAT_BLEED_PAL = "1.000000"
SAT_BLEED_STRENGTH = "3.049999"
SAT_BLEED_SIZE = "3.000000"
DOT_C = "0.360000"
DOT_C_YUV = "1.000000"
DOT_C_SPEED = "-8.000000"
DO_SHIFT_RGB = "1.000000"
OFFSET_STRENGTH = "0.250000"
DO_RF_NOISE = "1.000000"
RF_NOISE_STRENGTH = "0.090000"
RF_NOISE_SPARK = "0.140000"
DO_IN_GLOW = "1.000000"
IN_GLOW_SPREAD = "2.000000"
IN_GLOW_W = "0.800000"
IN_GLOW_H = "0.800000"
DO_PIXELGRID = "1.000000"
DO_PIXELGRID_H = "0.600000"
PIXELGRID_MIN_H = "0.500000"
PIXELGRID_MAX_H = "1.000000"
PIXELGRID_H_PRST = "4.000000"
PIXELGRID_MAX_W = "0.300000"
PIXELGRID_BASAL_GRID = "0.600000"
PIXELGRID_Y_MASK = "1.000000"
PIXELGRID_Y_MASK_OFFSET_DEHIVE = "2.300000"
PIXELGRID_Y_SPARK = "8.000000"
DO_HALO = "1.000000"
HALO_POWER = "0.500000"
HALO_SHARPNESS = "6.000000"
HALO_GAMMA = "1.400000"
HALO_VS_SCAN = "0.250000"
DO_BLOOM = "1.000000"
BLOOM_MIX = "0.340000"
BLOOM_SIZE = "2.500000"
BLOOM_GAMMA = "10.000000"
BLOOM_GAMMA_OUT = "2.200000"
BLOOM_POWER = "2.200000"
BLOOM_EYE_ADPT_SRT = "0.300000"
DO_CURVATURE = "1.000000"
DO_BEZEL = "1.000000"
BEZEL_R = "-0.190000"
BEZEL_G = "-0.190000"
BEZEL_B = "-0.190000"
BEZEL_CON = "2.180000"
BEZEL_REFL_STRENGTH = "0.370000"
BEZEL_DIFFUSION_STR = "0.150000"
DO_GLOBAL_SHZO = "1.000000"
GLOBAL_ZOOM = "0.991500"
AMBI_SMP_INT_OFFSET = "0.130000"
DO_VIGNETTE = "1.000000"
V_SIZE = "0.500001"
UNIFORMITY = "0.800000"
DO_SPOT = "1.000000"
S_SIZE = "0.780000"
S_POWER = "0.100000"
4 Likes
Vignette effect has got some love.
There is now a “pillow” parameter:

- The default 1.0 will act as the legacy behaviour.
- Setting it to a negative value will switch the vignette to reflect a tube shaped curvature, useful when combined with curvature/WARP_X set to 0.0.
- Setting it to a value near 0.0 will morph the shape from a bell to a pillow.
I think pillow shape is more accurate and better reflect the curvature itself. - The pillow shape is better used with very low sized vignette.
Examples:
Vignette with tube shape, no pillow:
- Pillow = -1.0 (pillow < 0.0 gives tube shape)
- Size = 0.8
- Curvature -> WARP_X = 0.0 (to match the tube shape)

Vignette with tube shape, pillow:
- Pillow = -0.18 (pillow < 0.0 gives tube shape and near zero -> more pillow)
- Size = 0.32 (pillow is better with low size)
- Curvature -> WARP_X = 0.0 (to match the tube shape)

Vignette without tube shape, with pillow:
- Pillow = 0.18 (near zero -> more pillow)
- Size = 0.32 (pillow is better with low size)
- Curvature WARP_X and WARP_Y both greater than 0.0

For comparison with old and still default values, the default/legacy bell shaped vignette:
- Pillow = 1.0 (1.0 -> no pillow)
- Size = 1.0
- Curvature WARP_X and WARP_Y both greater than 0.0

Real content, pillow = 0.13, size = 0.32:


-edit: pillow effect can now be applied despite the size of the vignette itself.
12 Likes
Hi, I’m looking for a shader that resembles my old Hantarex monitor, but I haven’t had any luck. The scanlines don’t seem to be as pronounced. Are there any settings I can tweak to achieve this effect?

2 Likes
What about:
Presets-ng/Monitor-Screen_Hmask-Screen_SlotMask_Taller_Brighter?/
For a more accurate result, check the not “brighter” variant.
Going lower in brightness (higher accuracy): Presets-ng/Monitor-for_HigherNits.slangp
As a general rule, If you want less pronunced scanlines, you can make: Phosphors height Min, Max higher (under scanlines section).
Also, you may want to lower the warpedglow strength under glow section (this modulates the scanline inflation, mostly absent in the screen you posted)
Btw, I would not say the scanlines on your Hantarex to be not so pronunced. Quite the opposite to me, as I see big gaps between them. However the parameters I pointed can be used either way.
Let me know!
1 Like
Hi there,
Any plans to add a glass screen type overlay? I understand the issue about what to reflect, but it could be just a spot type reflection, if that makes sense. Might be it’s already there, if so, could you point me in the right direction? Cheers.
1 Like
Check this wrong commit
It works nicely for 40% strength, but I’ve no license over it, that’s why I’ve had to remove it.
I could take a pic of my room.
1 Like
Cool and shame - or perhaps the glass overlay with a type of spot? Just thinking out loud, so to speak.