Zomb's Mega Bezel Pack

Hi guys! I’ve been working rather obsessively on a pack of presets for use with HSM’s Mega Bezel shader for about three weeks now and am fairly happy with the results currently. Hope you guys like them! I want to thank @HyperspaceMadness for answering a number of questions that I had and for all his work on this awesome shader along with @guest.r for his great and highly versatile CRT shader which was a lot of fun to work with.

Download version 6-11-2023

There’s a generic overlay version which can be used with anything:

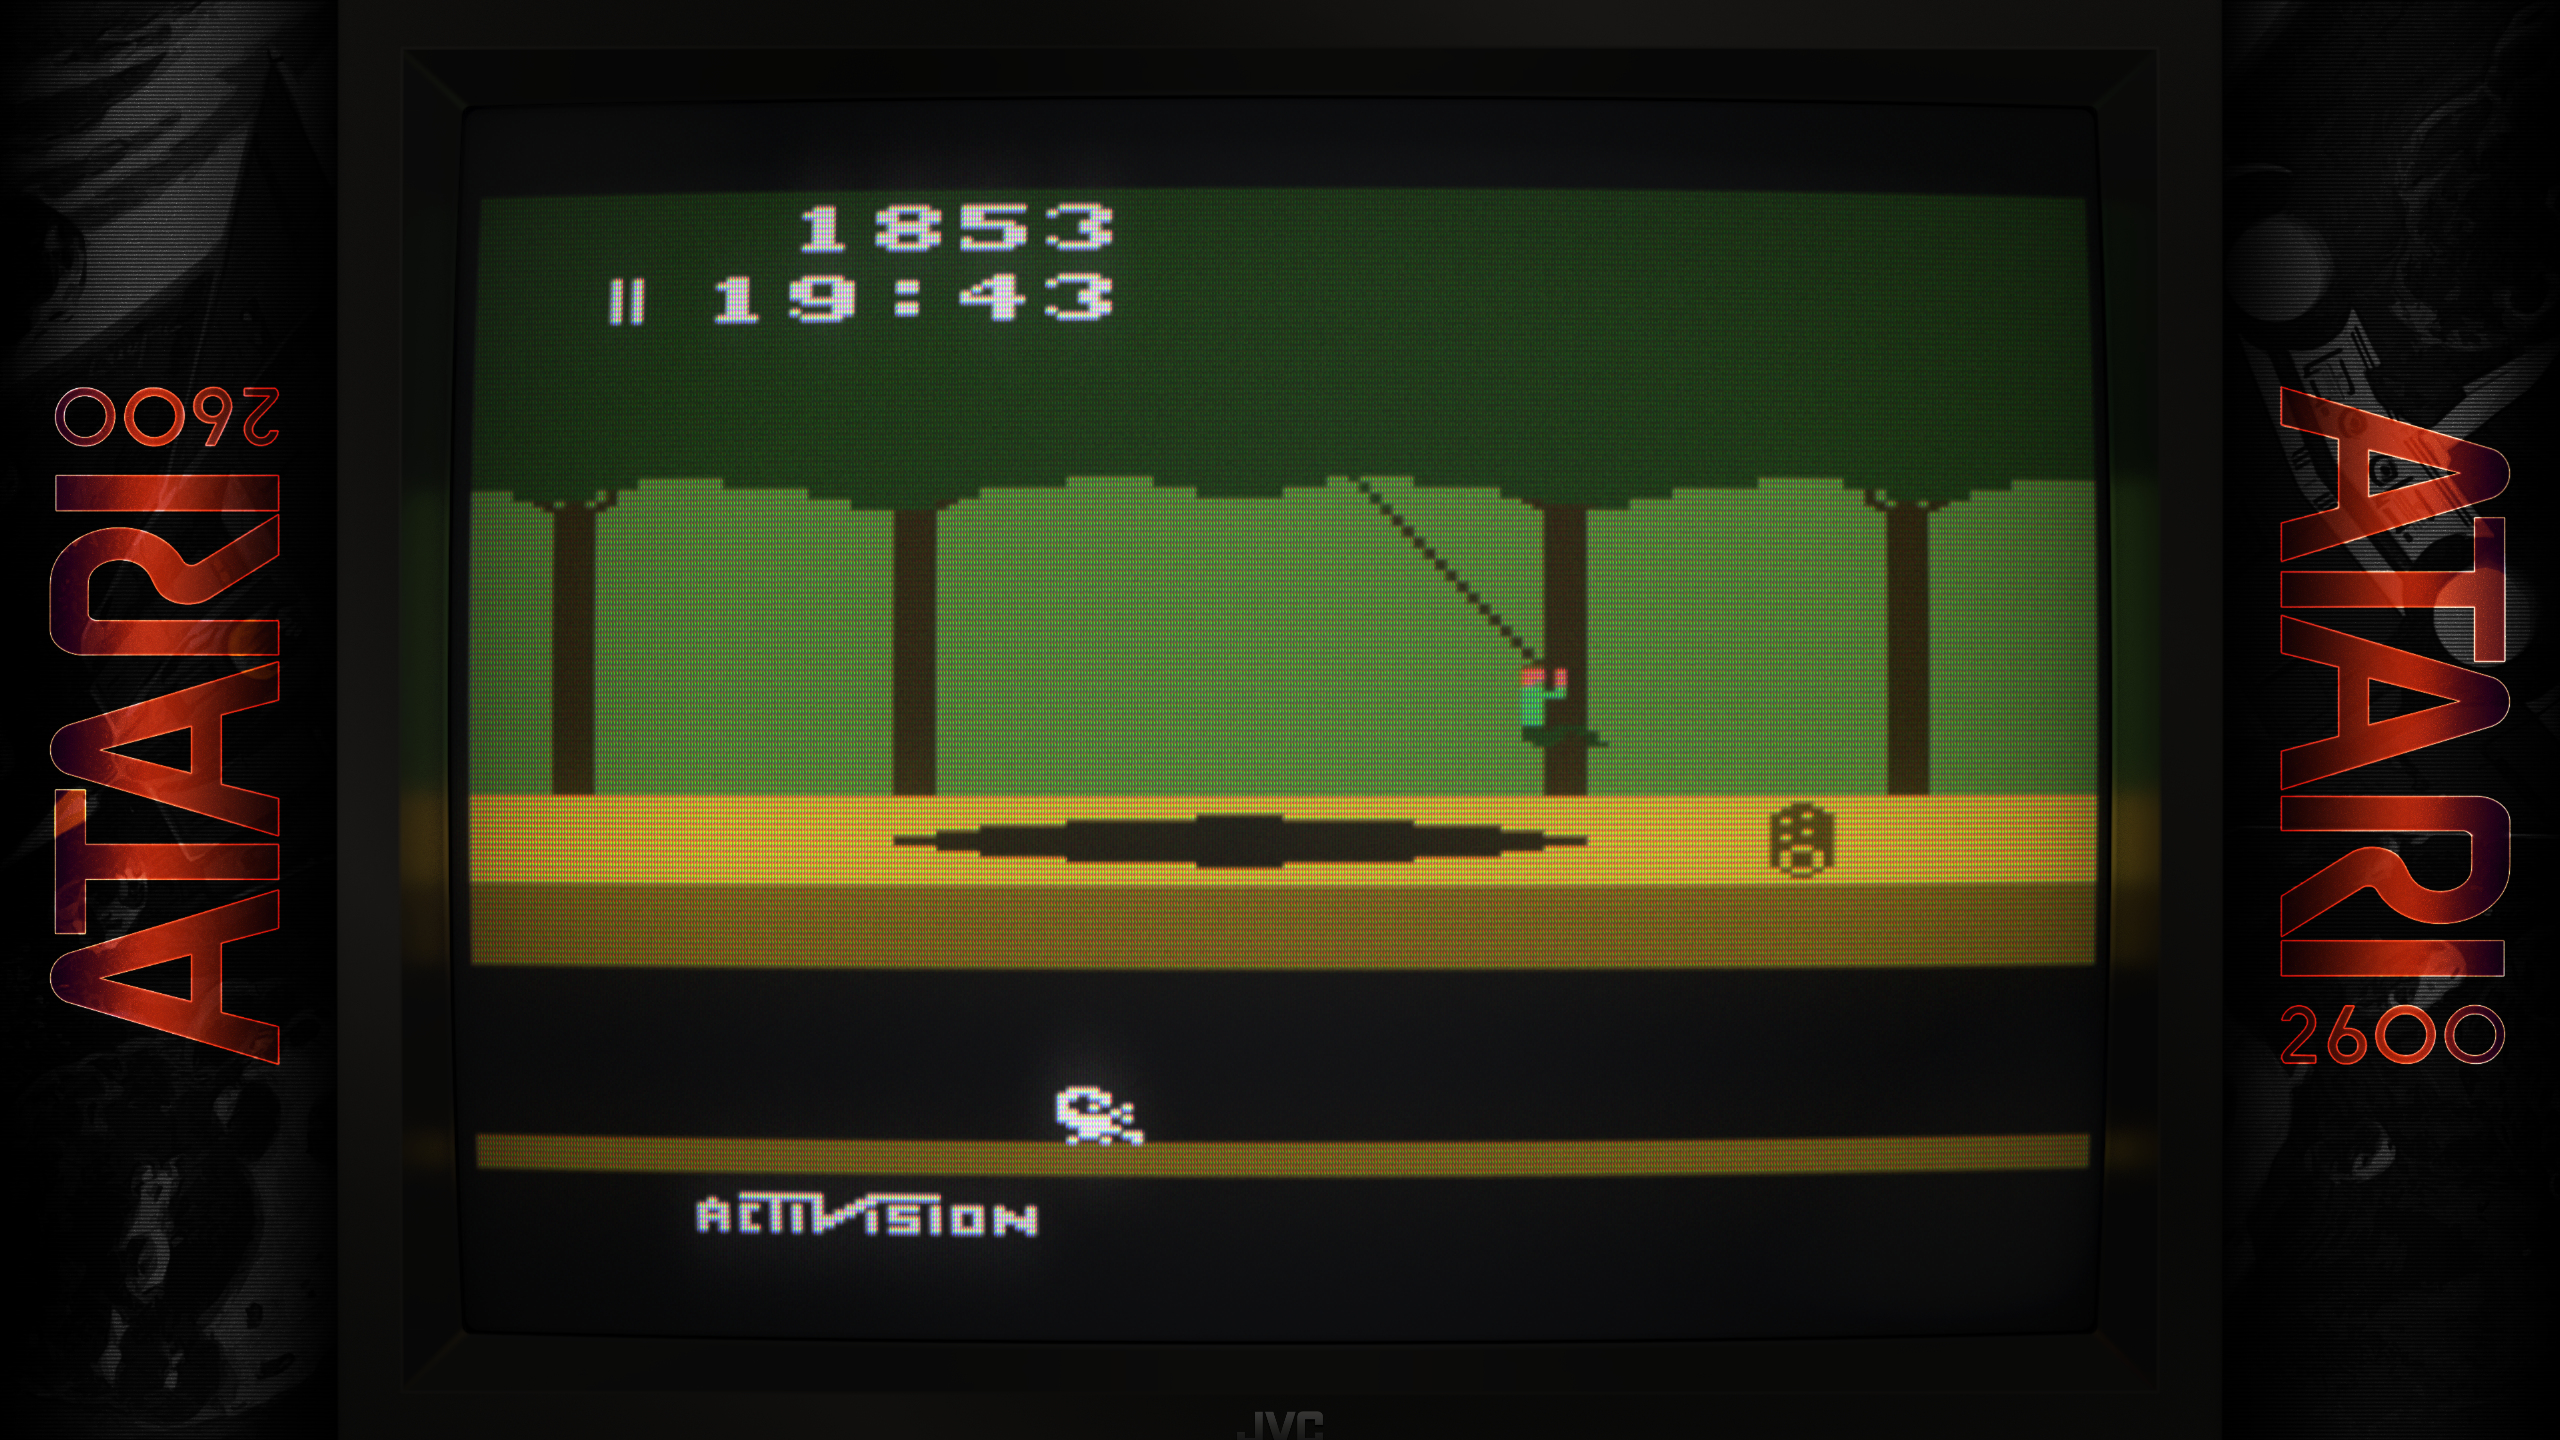
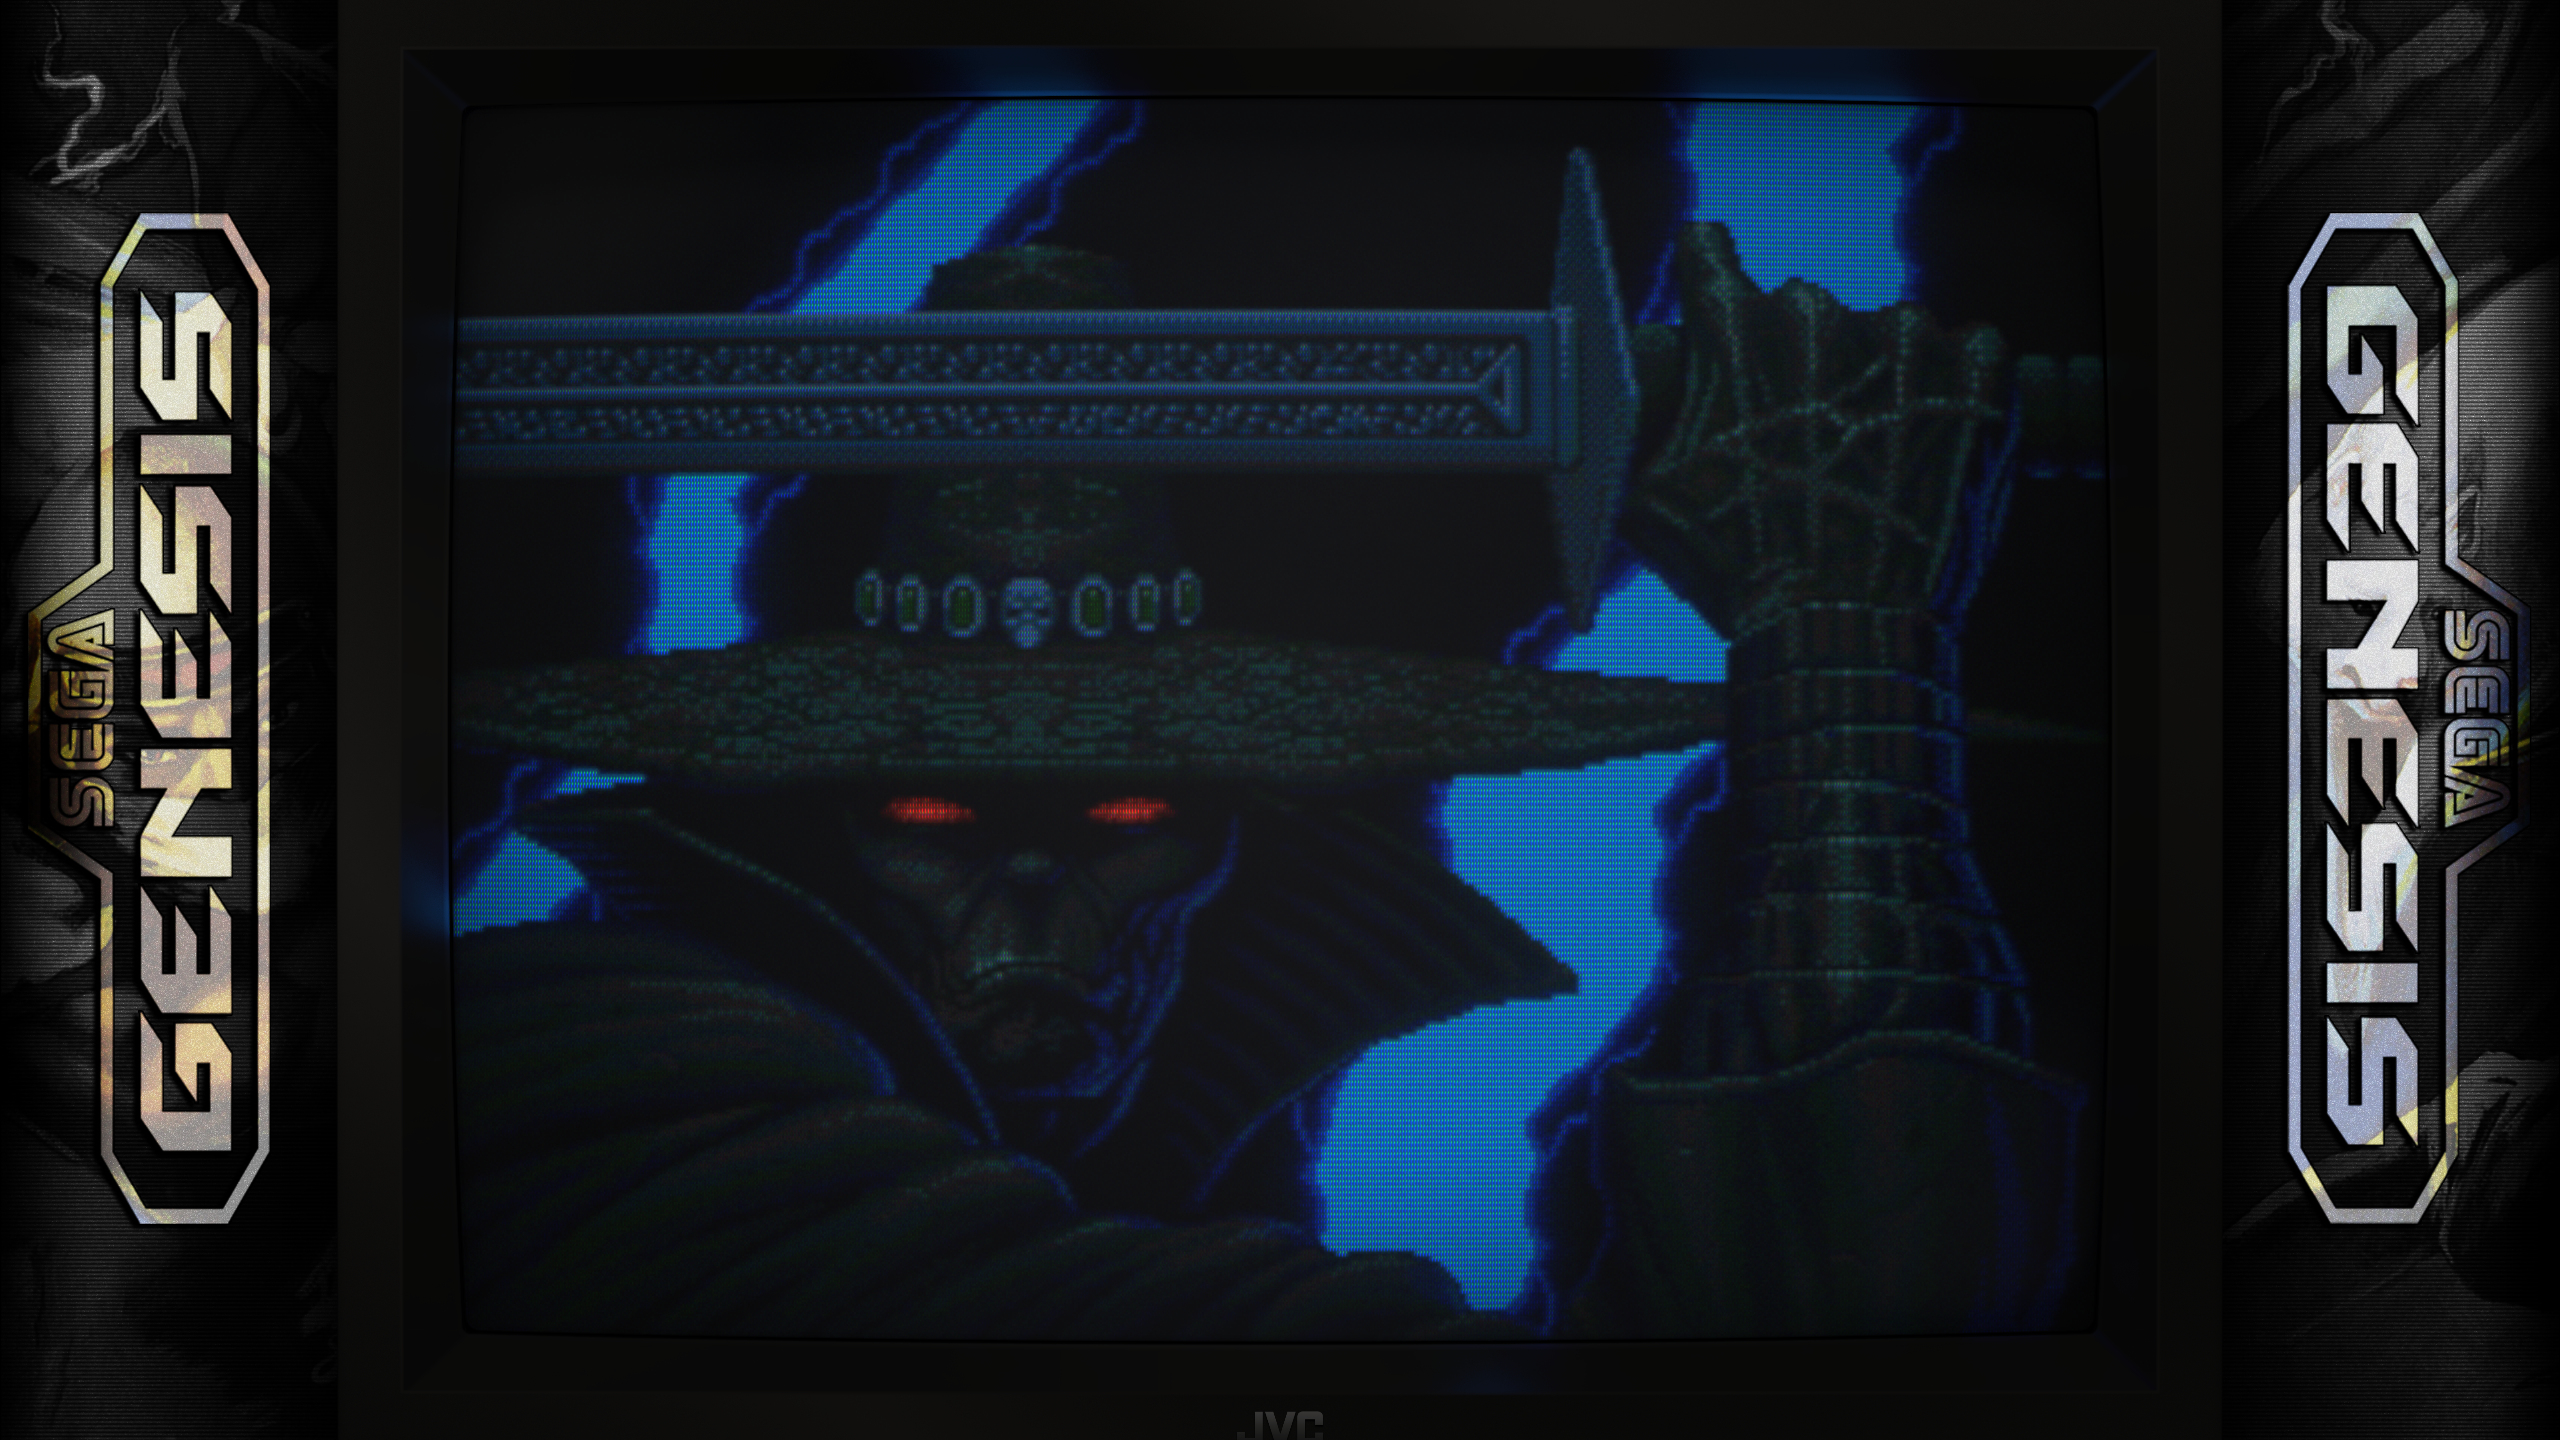
But in addition to this I have platform-specific bezel versions for several different platforms. Currently included are 3DO, Atari 8-bit computers, Atari 2600, Atomiswave, CPS1 (horizontal and vertical), CPS2 (horizontal and vertical), CPS3, DOS, Dreamcast, Genesis, MAME (horizontal, vertical, double screen, and triple screen), Master System, N64, Neo Geo, NES, PC Engine, PC Engine CD, PSX, Saturn, Sega CD, SNES, and x68000. I’ll be adding more over time.

Please note: all rotated presets are currently intended for use with the MAME core and not FBA/FB Neo/Flycast - those cores handle rotation differently and as result will require different presets. The CRT Rotate function in Mega Bezel doesn’t currently work correctly with NTSC filters, which all of my presets use, which results in a blurrier than intended image. Once this is addressed I will create additional rotated presets for use in those scenarios. Note that you need to use Screen Rotation Mode: Internal in the core options of the current version of the MAME core for the rotated presets to work correctly.

All the screenshots above are using the SCA1-Scanner preset, but I’ve made many other presets for you to play around with here. They all alter the look in various ways.

Requirements:

You will need Retroarch 1.11+ and Mega Bezel V1.6.2_2022-11-22 which you can find here. The video driver in Retroarch needs to be set to Vulkan and aspect ratio needs to be set to full.

Installation:

  1. Extract Mega Bezel V1.6.2_2022-11-22 to Retroarch in the shaders\shaders_slang\bezel folder (create a folder named “bezel” if you don’t have one already). So once extracted you should have a path of Retroarch\shaders\shaders_slang\bezel\Mega_Bezel

  2. Extract the attachment below to your Retroarch folder following the path included in the archive. So once extracted you should have a path of Retroarch\shaders\Mega_Bezel_Packs\Zombs Mega Bezel

Usage:

Hopefully this is fairly self-explanatory, but it basically follows a waterfall. First you choose the preset folder based on the content type (in most cases you would want one of the non-HiResContent ones):

Presets-1080p (240p content on 1080p display)

Presets-1440p (240p content on 1440p display)

Presets-2160p (240p content on 4k display)

Presets-HiResContent-1080p (this is for content above 240p or where you’re using upscaling above the platform’s native resolution, like you might be doing with say Dreamcast for example; on a 1080p display)

Presets-HiResContent-1440p (same as above but on a 1440p display)

Presets-HiResContent-2160p (same as above but on a 4k display)

Then you choose whether you want curvature or flat.

Then you can choose any of the presets in this folder if you want the non-platform-specific (wood) background or you can proceed to the platform specific folder to choose a platform-specific version of any of those presets. Alternately you can navigate to the Rotated folder for a list of rotated presets (for vertical shmups) which use the non-platform-specific background unless you navigate to the platform-specific subfolder. The LUTech folder is sortof an experiment with using custom LUTs which alter the colors for fun. Think of these as essentially color-grading for video games.

Anyway, that’s it for now. Have fun and let me know what you think!

14 Likes

Greetings, congratulations and welcome back @Zombeaver. These presets look great!

You can try using IrfanView to reduce your images that are more than 4096Kb. It has an option that automatically selects the best possible quality that won’t exceed the filesize limit. It also has an option to disable chroma subsampling and you can preview your image while changing compression settings before you save!

Other than that, if you use GDV Noise in your presets you might want to disable that before taking screenshots as there will be a lot of information missing from the frame due to the temporal nature of this effect.

Thanks for the tips! I actually happen to use Irfanview regularly anyway so that was easy enough. Unfortunately I apparently can’t edit the opening post at this point…

So I guess I’ll just post the edited pics here. They need to be viewed at full size to display properly though.

6 Likes

You’re most welcome!

I guess you should be able to eventually.

https://forums.libretro.com/uploads/default/original/3X/4/e/4ec8cef37d32f813744b22c023c12d00417fd8a8.jpeg

I think I’m seeing the artifacts from only part of the noise being captured in this frame. I’m sure it looks higher res in realtime.

Please correct me if I’m wrong.

No you are correct. Noise is visible in the screenshots as it’s used in all the presets. I didn’t recapture, I just converted the existing screenshots. The previous screenshots looked noticeably different from my original captures, whereas these are mostly indistinguishable.

The noise in real time isn’t quite as noticeable as it is in stills here, but it’s there on purpose (because I like the way it looks haha).

1 Like

These are a stellar contribution to the community! :star_struck:

I do have some concerns about simple presets though. It appears some of your presets are containing a lot of lines that shouldn’t be there.

For example…

DecalImage = "..\..\..\..\shaders_slang/bezel/Mega_Bezel/shaders/textures/Placeholder_Transparent_16x16.png"
DecalImage_linear = "true"
DecalImage_wrap_mode = "clamp_to_border"
DecalImage_mipmap = "true"

This should have been stripped by saving a simple preset. While it works, it may cause issues if something changes dramatically in the base preset.

If you have been talking with @HyperspaceMadness in private, maybe the two of you can sort this out.


Again… congratulations on the release and thank you for your work. The Mega Bezel was custom tailored with artist in mind. It is always a pleasure when a new talent joins the community.

5 Likes

Thanks! :heart:

There are some custom resource references in some cases for things like LUTs and diffuse images that use my internal resource\images folder, but yes there are also references to base assets from Mega Bezel itself. It wouldn’t be difficult to strip those or copy them over to my resources folder and change the paths accordingly though. I’ll do that for the next version.

6 Likes

New version: 11-15-2022

Download

  • Added bezel variants for 3DO, Sega CD, and Sega Master System

  • Corrected LUTech presets for Dreamcast and x68k to use the correct background X scale value
  • Moved assets that are part of the base Mega Bezel package to an internal folder and updated references in presets accordingly
  • Added new preset to Presets-HiResContent (both 1080p and 1440p) called CPYN-Cypher-NoScanlines - this is designed for high res/upscaled content where you don’t want any scanlines/mask at all; it is not intended for sprite-based content

7 Likes

These look really awesome Zomb, I can’t wait to try them out. Belated congrats on the public release!

2 Likes

Awesome job! :star_struck:

2 Likes

I couldn’t find the CPYN-Cypher-NoScanlines in the pack.

edit nm… it’s in the pack on the LB forums. Thanks.

Trabalho incrível. Testei na Oled e ficou perfeito mesmo em 4k. Você é o cara :+1:

1 Like

Wow these look amazing, lovely contribution you got here.

2 Likes

It’s included both places. You have to download from the update post and not the opening post though because I can’t edit old posts yet.

It’s only in the HighResContent folders.

1 Like

That’s where I messed up. Thank you.

Currently working on a new preset that’s a bit like something between Cypher and Jammer that’s higher contrast, higher sharpness, higher saturation, and a bit more pronounced scanlines. That’s not something that I typically go for, but it does look pretty good in most cases.

No shader:

Cypher:

Scanner:

No shader:

Cypher:

Scanner:

No shader:

Cypher:

Scanner:

8 Likes

I prefer Scanner in all of the screenshots, but that’s just me.

1 Like

I’m inclined to agree as much as it surprises me to say so. I tend to like things slanted a bit to the blurry side but yeah I’m leaning the same way myself. Jammer is similar looking in terms of sharpness but has different color, contrast, and scanline values.

I inevitably get into a pattern while working on this stuff that whatever the newest variation I do becomes my favorite, for a while anyway haha

3 Likes

Trust me I know this feeling. I don’t know if it’s my eyesight but I’ve gotten really sensitive to blur since starting making presets. I sometimes have to convince myself that a little bit of softening might be okay for better blending.

It could really be my eyes because things that look slightly blurry from a distance become sharp and clear when I go a little closer to the screen.

I think the more defined scanlines in Scanner brings out the contrast a bit better in the images. It’s definitely not too sharp to be harsh in my opinion. Still provides some nice, smooth edges and transitions.

I initially looked at them zoomed in but zoomed out its really no contest (at least for me).

Everything is looking good :sunglasses:. The preset I liked the most was Interface.

5 Likes